Dressed-Up PumpkinsNo. 5944 · The 2026 edition
DIY Pom-Pom Pumpkins
Turn plain foam pumpkins into colorful pom-pom art with three easy techniques that add texture and fun.
Our own summary of the original — the full post and photos live at designimprovised.com.
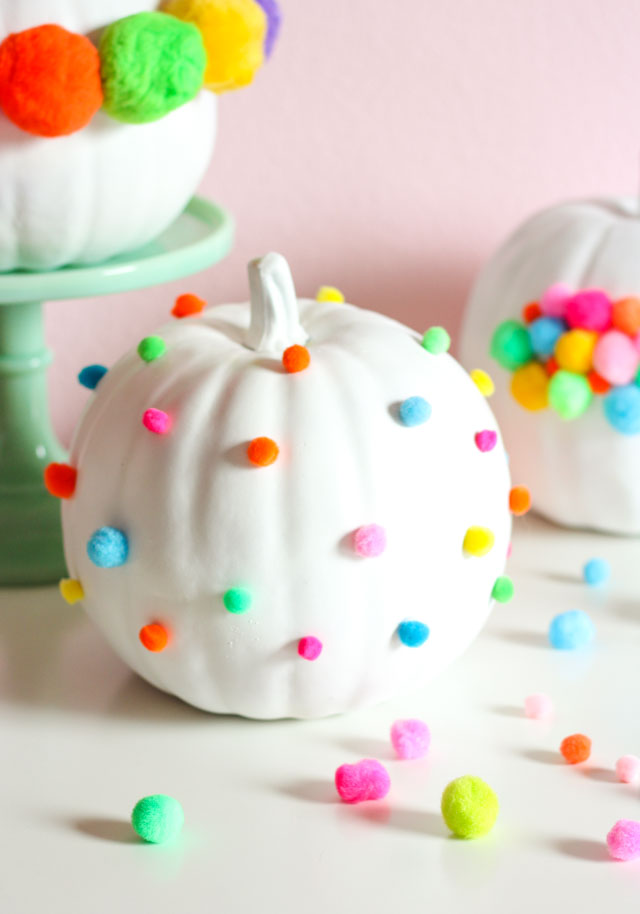
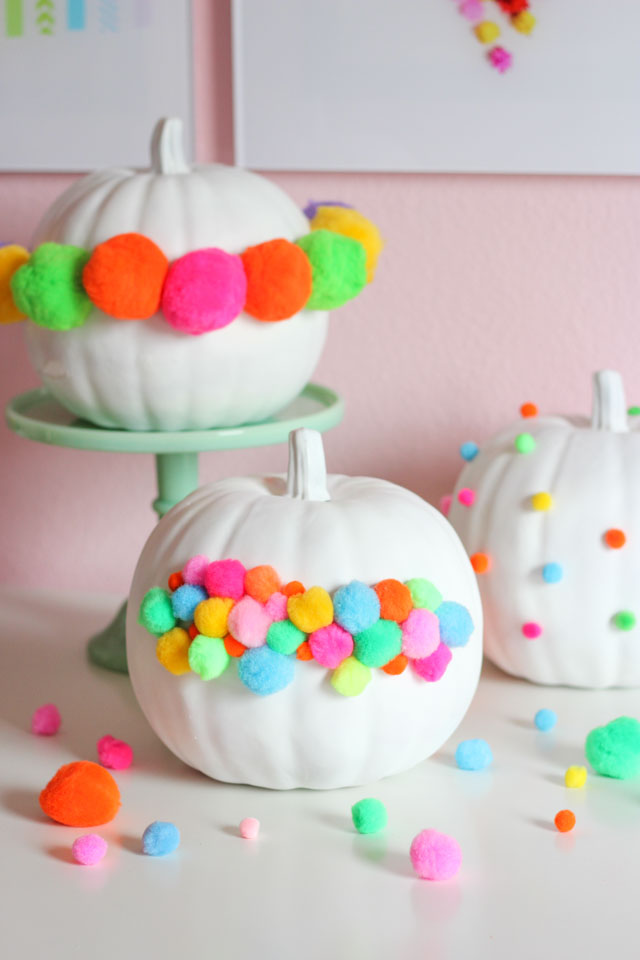
This craft project transforms foam pumpkins using pom-poms and hot glue. Start by painting the pumpkins white (if needed), then choose from three decorating styles: a clustered wave, a bold ring of large pom-poms, or a playful polka-dot pattern. Mix and match bright colors to create a coordinated set.
You'll need
Directions
- First, if your foam pumpkin is orange, give it a coat of white spray paint. One can is enough to paint three pumpkins. If you already have a white foam pumpkin, you can skip this step entirely.
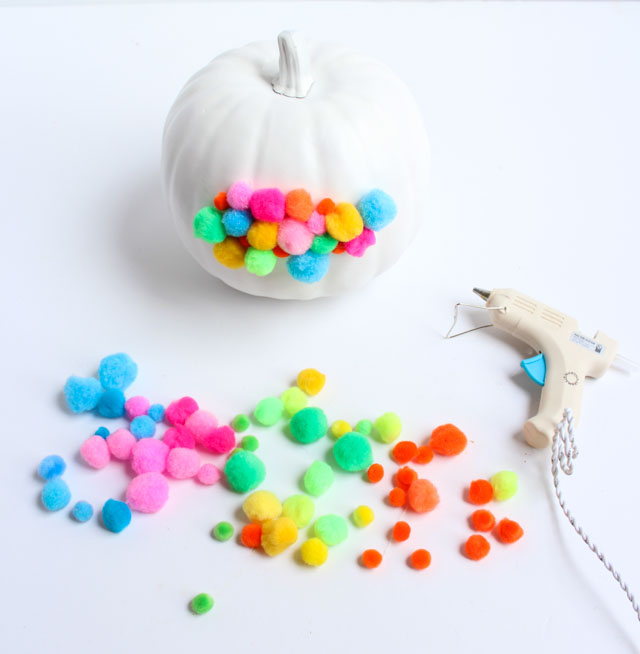
- Select a mix of small and medium pom-poms in bright shades like pink, orange, yellow, light green, and blue. Apply a dab of hot glue to the back of each pom-pom and press it onto the front of the pumpkin. Arrange them in a clustered wave or continue wrapping them all around the pumpkin if you prefer.
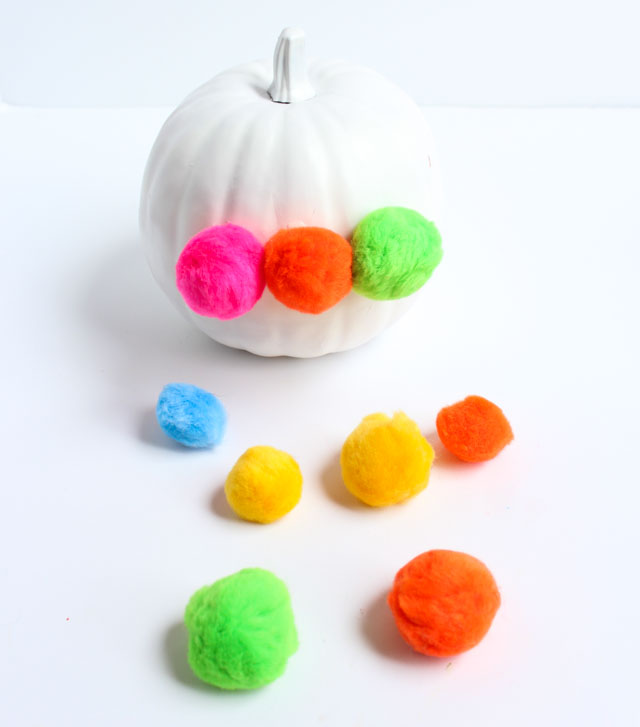
- For a bolder look, use the largest pom-poms you have—I used 2-inch ones. Glue them in a ring around the center of the pumpkin, sticking to the same color palette (pink, orange, green, yellow, blue) to keep the set coordinated.
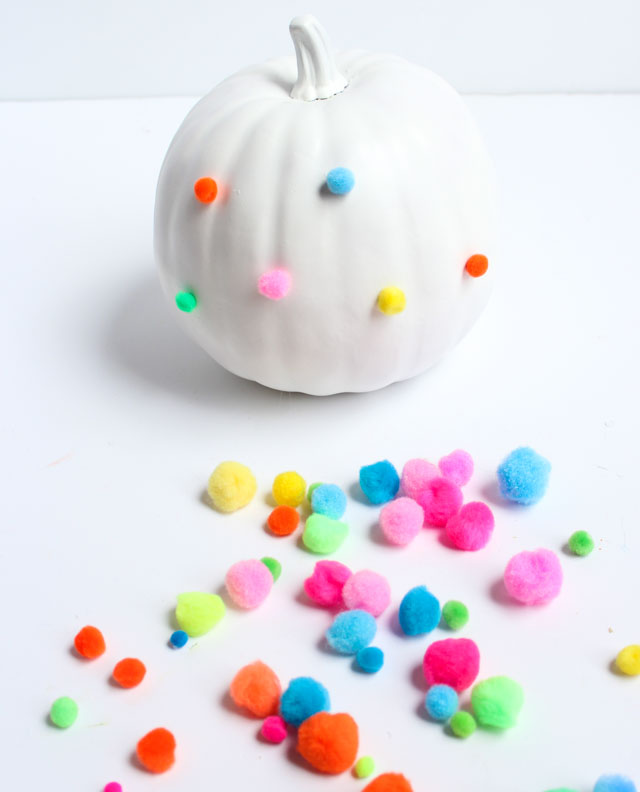
- Create a polka-dot design with small 1/2-inch pom-poms. Randomly attach them to the pumpkin with hot glue, making sure to spread out the colors evenly. You can add as many or as few as you like.
More photos

Photos hosted by designimprovised.com.