Dollar Store HacksNo. 7968 · The 2026 edition
DIY Spooky Pumpkins (Dollar Tree Supplies!)
Turn dollar-store pumpkins into eerie metallic decor with spooky cloth and stiffener for a creepy vintage look.
Our own summary of the original — the full post and photos live at modpodgerocksblog.com.
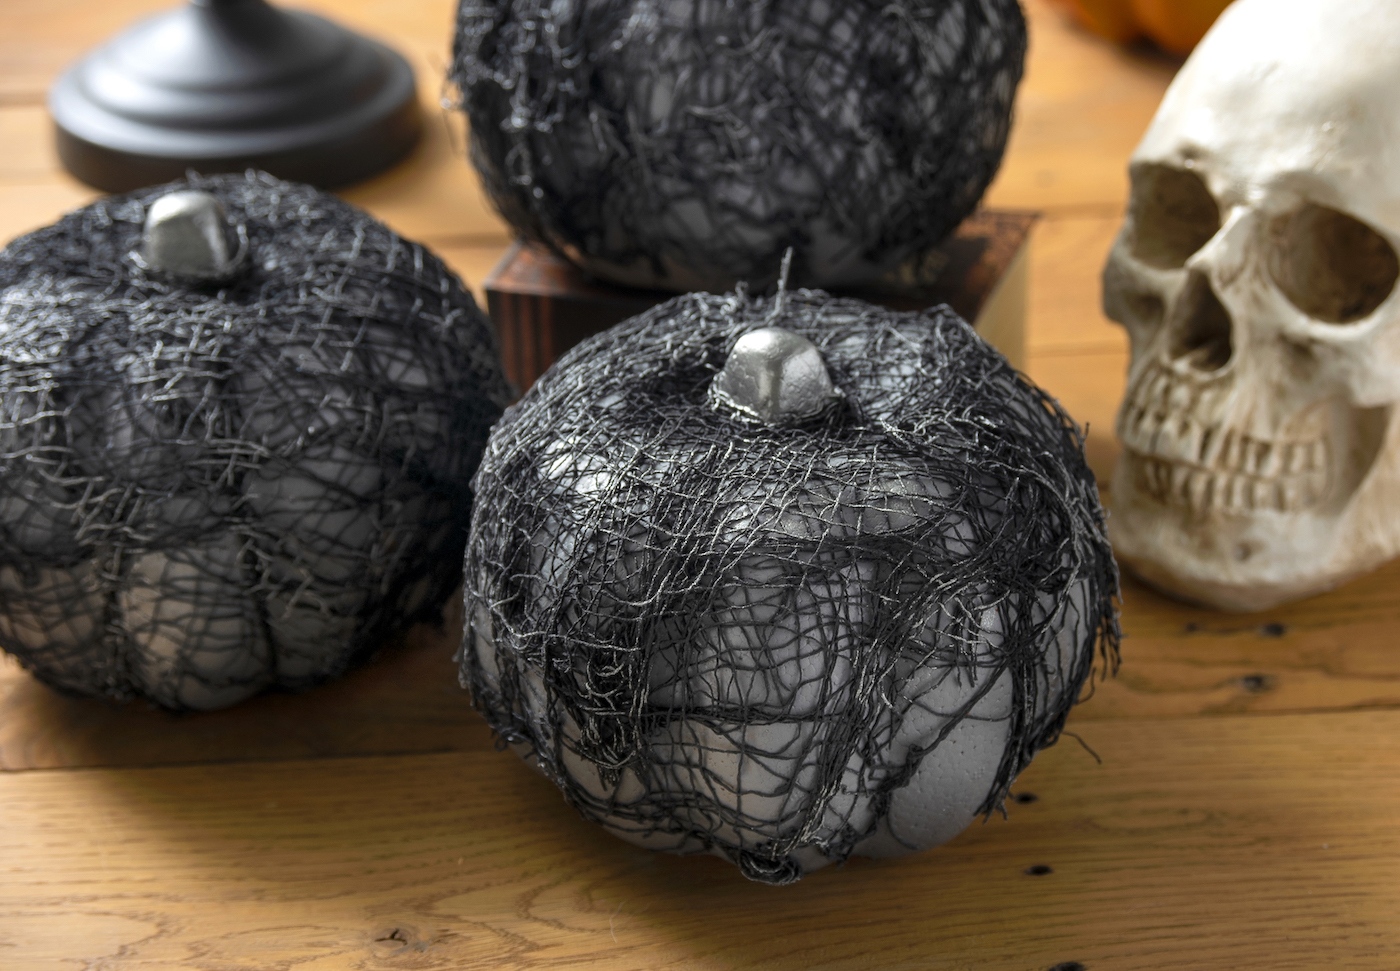
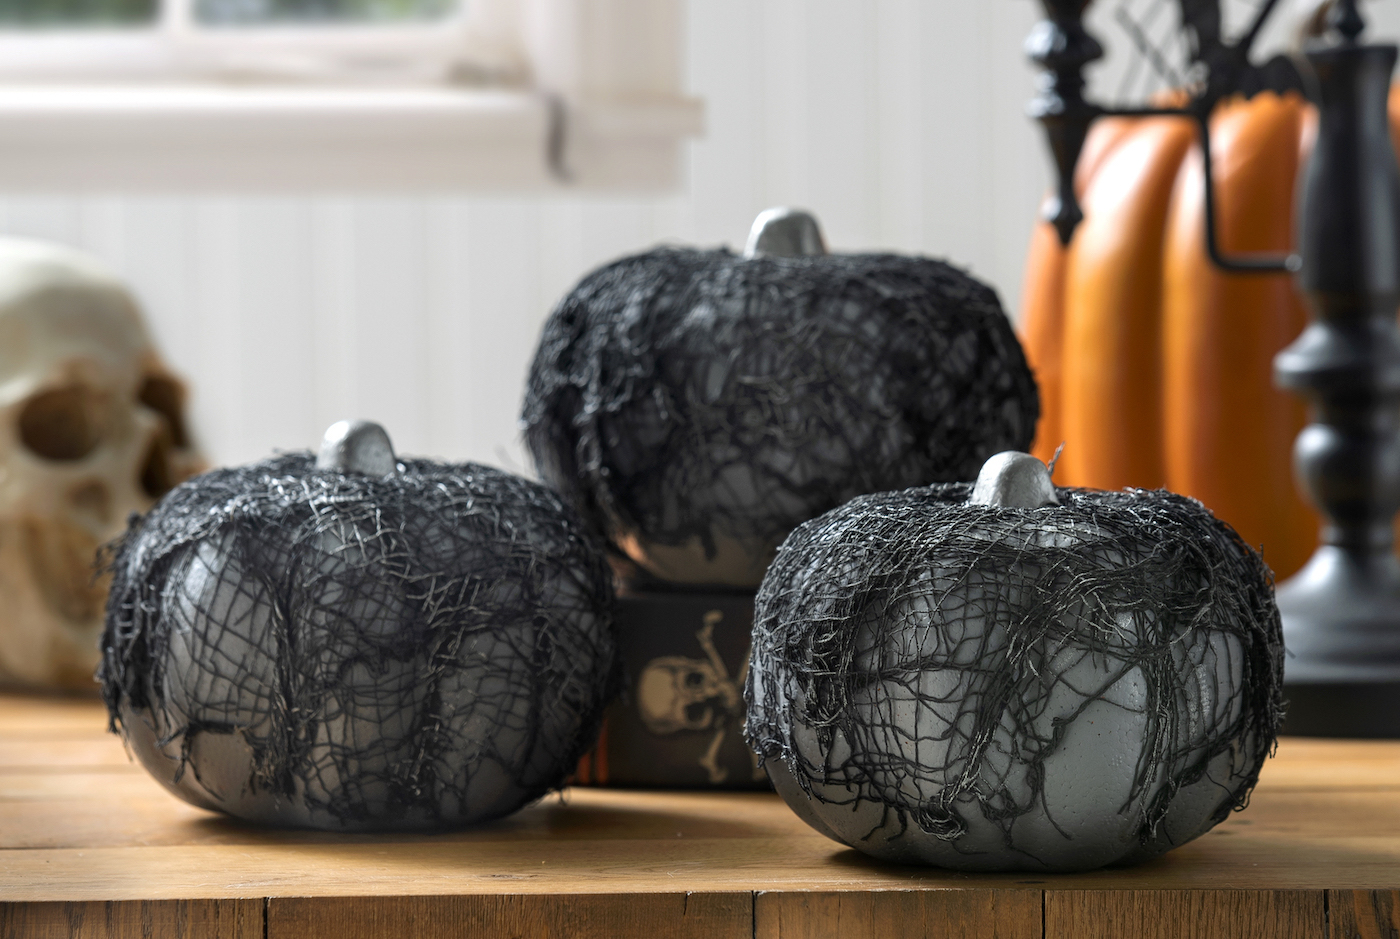
This DIY project uses inexpensive foam pumpkins, gray paint, and Mod Podge Stiffy to create a patina-like finish. Layers of spooky cloth are stiffened over the pumpkins, then highlighted with silver Treasure Gold for an aged, metallic effect. The finished pumpkins make a striking addition to any Halloween display.
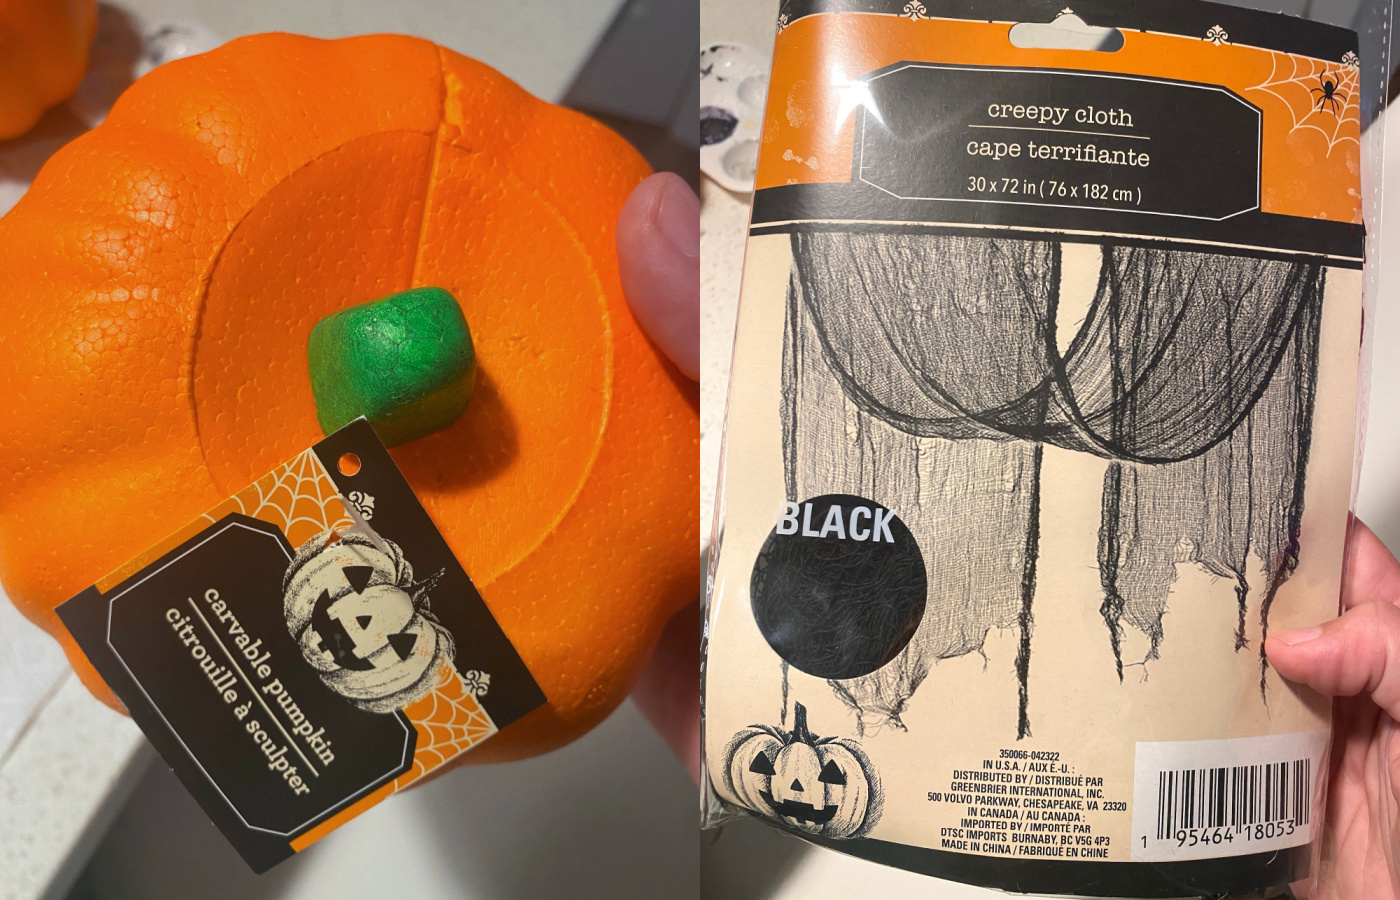
You'll need
Directions
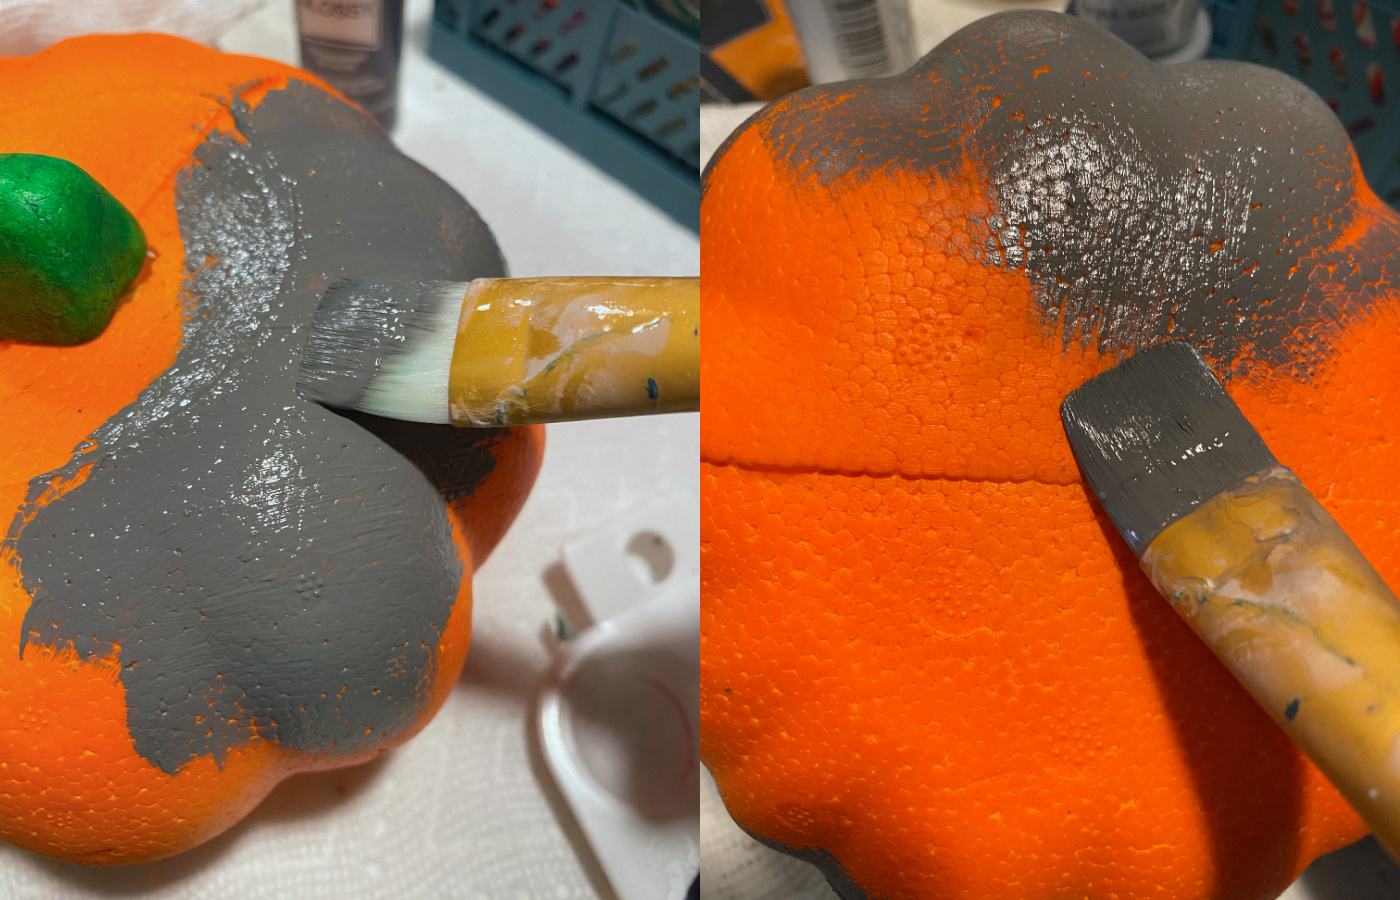
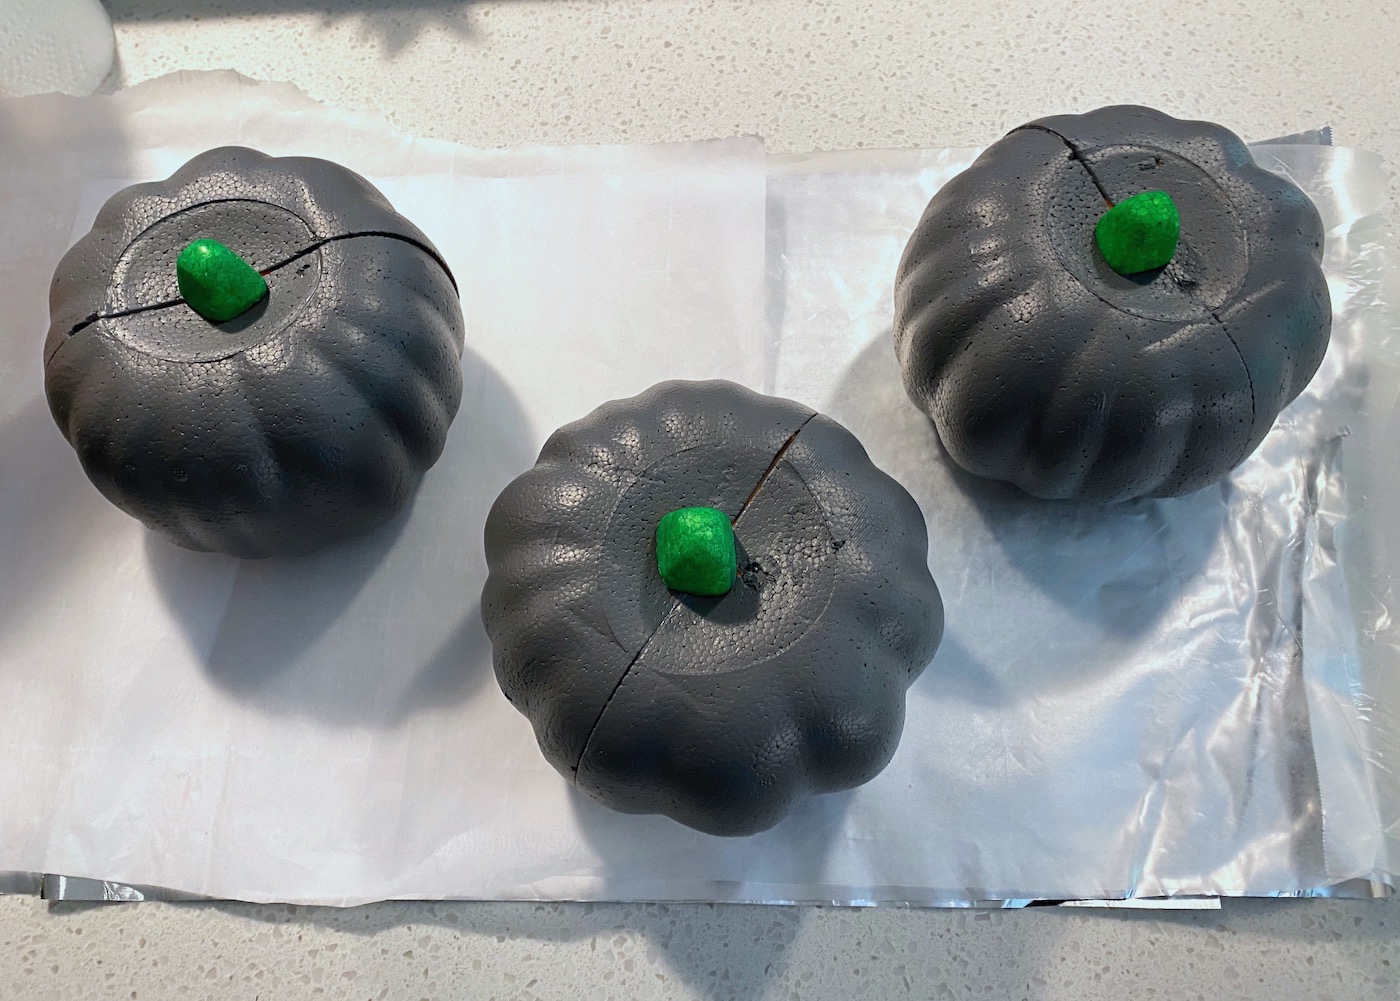
- Apply gray craft paint directly to the foam pumpkins; the stems can be gently moved to paint underneath. Add several coats and allow to dry.
- Set the painted pumpkins on a sheet of parchment or wax paper on your work surface.
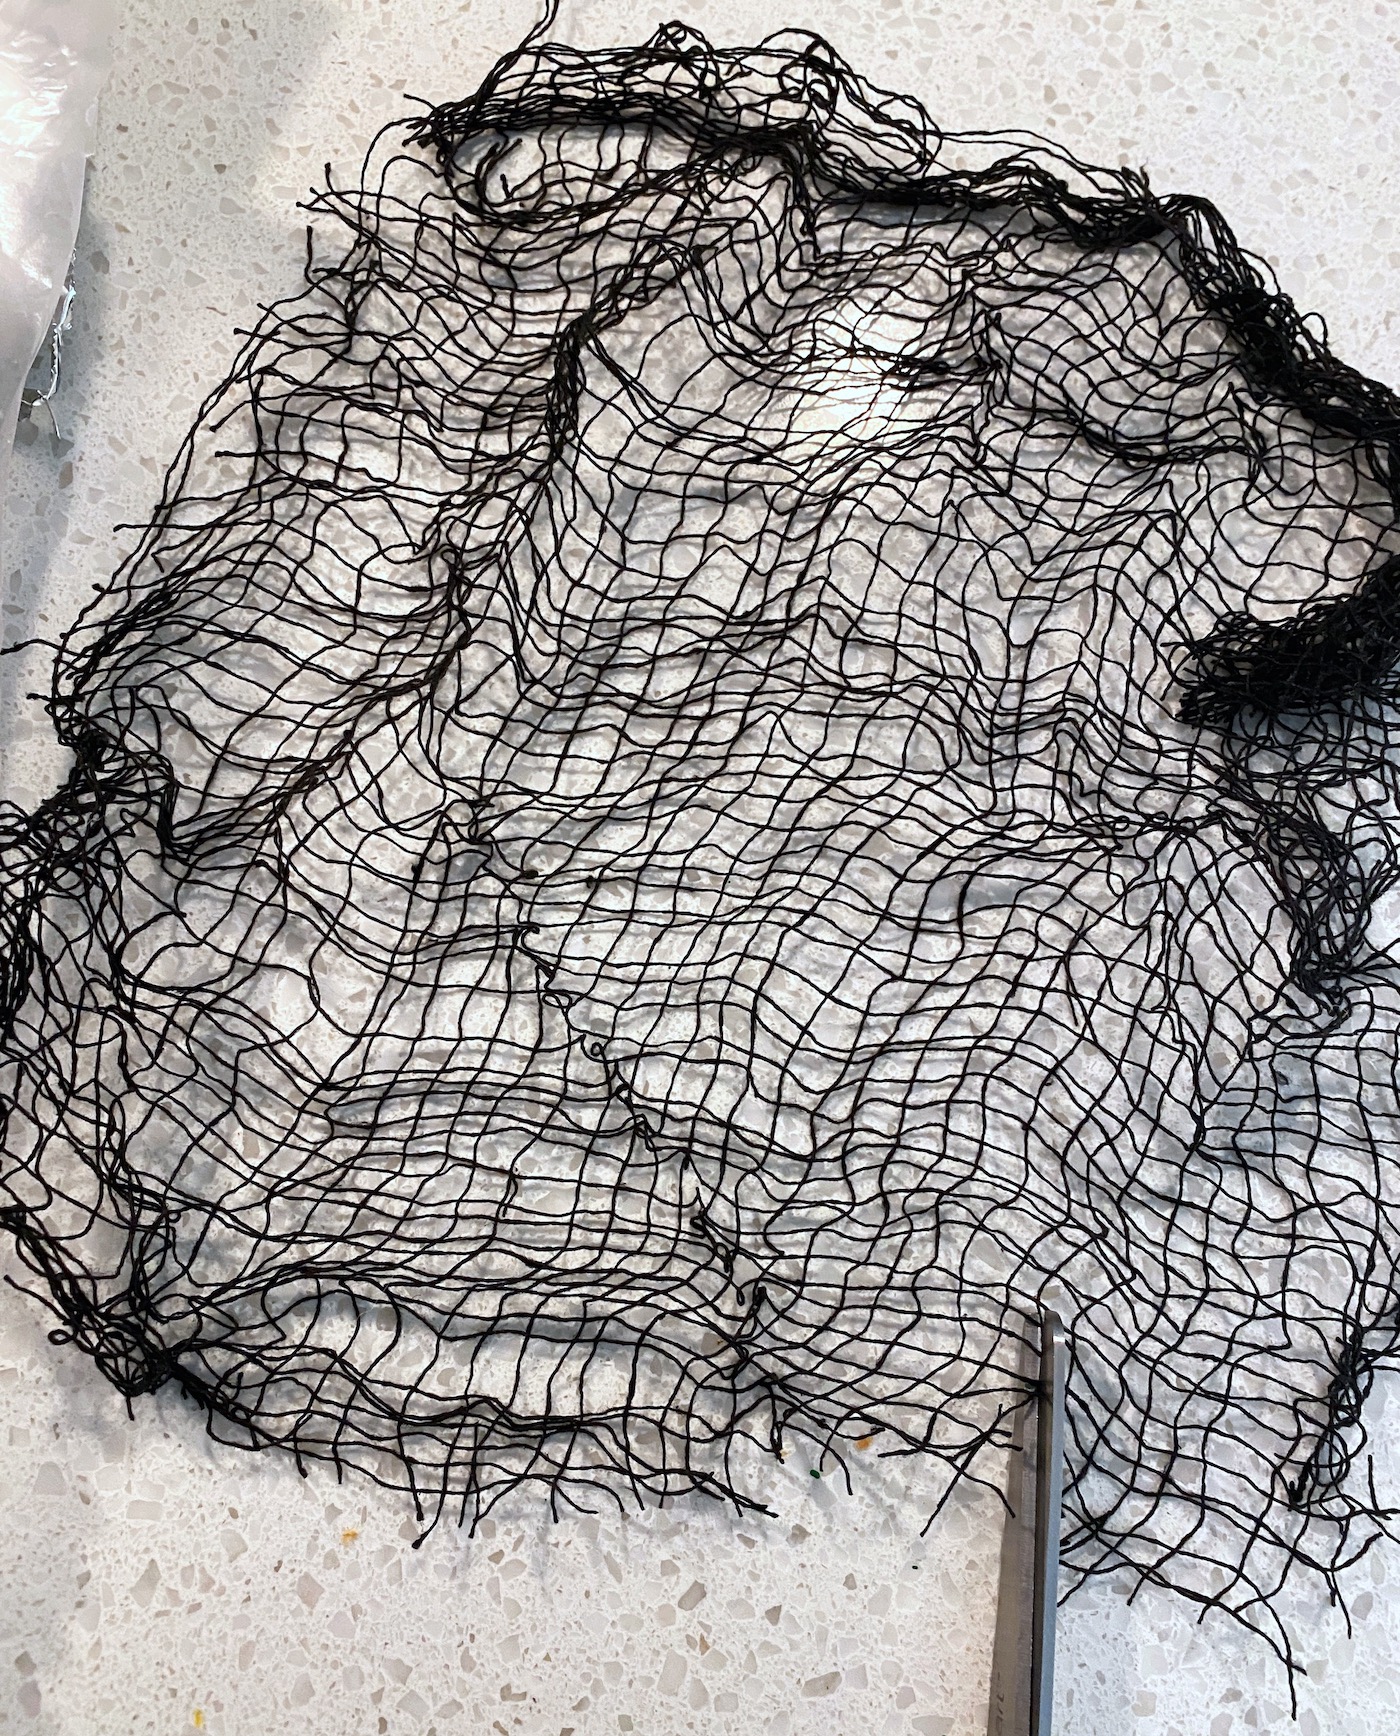
- Unfold the spooky cloth and cut a few pieces from it. Start with a smaller piece.
- Test fit the small piece on top of a pumpkin to check the size; adjust if you want more or less drape.
- Pour some Mod Podge Stiffy into a plastic container. Dip the cut cloth piece into the stiffener.
- Pull out the cloth and squeeze excess stiffener from it with your hand.
- Lay the cloth over the pumpkin top, positioning it around the stem so it sits on the surface. The stiffener both hardens the cloth and glues it to the pumpkin.
- After placing one piece, repeat steps 5–7 for 3 to 5 more pieces, layering them on top of each other. The Stiffy will dry and make the cloth rigid.
- Leave the pumpkins on the wax paper to dry; they should peel off easily once dry.
- If any cloth edges around the bottom need extra gluing, brush on additional Stiffy with a paintbrush and let dry again.
- Paint the stem with Treasure Gold using a paintbrush.
- Use a foam spouncer to apply silver Treasure Gold all over the dried creepy cloth, giving the pumpkins a metallic aged appearance.
- Allow the paint to dry, then check if extra paint is needed. Once fully dry, add the pumpkins to your spooky display.
More photos
Photos hosted by modpodgerocksblog.com.