Wood ProjectsNo. 6502 · The 2026 edition
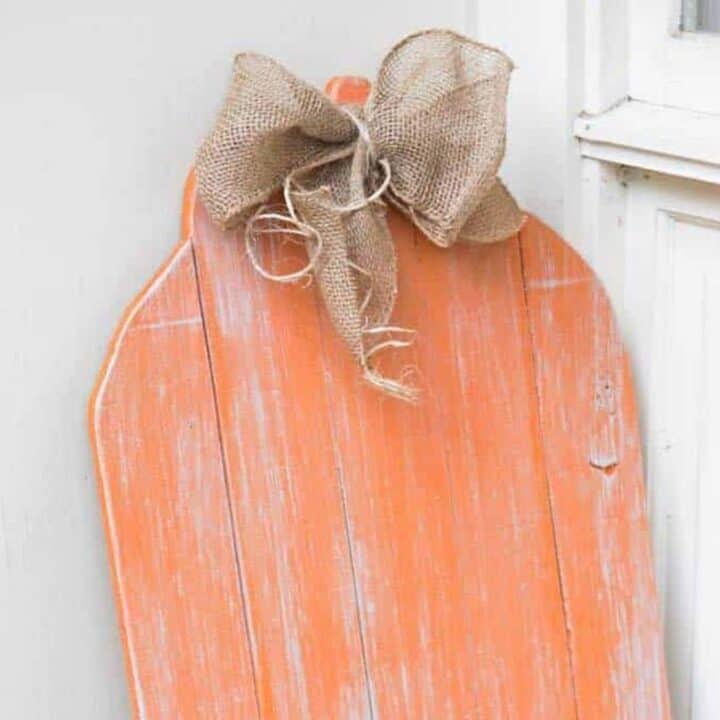
Wood Pumpkin
Our own summary of the original by Happiest Camper — the full post and photos live at happiestcamper.com.
You'll need
Directions
- Cut all of the fence planks in half. Cut 6-8 inches off of all but one. This longer one will be the center of the pumpkin.
- Line the fence panels up how you want them to stand by your porch. Meaning, line up the bottoms and line up the sides. Place the longest one in the center.
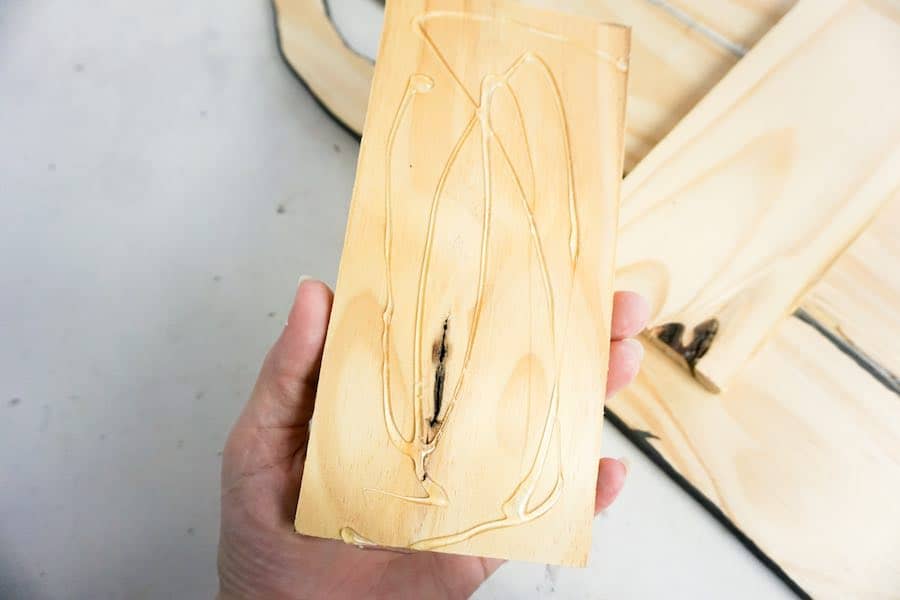
- Hot glue the cutoff pieces from step 1 onto the fence panels in different places, across all of the planks, making sure to cross each of the planks at least twice. This will hold the pumpkin together.
- Using a pencil, draw the top and bottom of the pumpkin as desired. I wanted a big bumpy top and a round bottom, so I just drew that. Make sure to draw a 1-2 -inch wide stem at the top at least 2 inches tall so that you have something to tie your decorations to.
- Cut out the pumpkin shape.
- Sand the pumpkin shape.
- Paint the entire pumpkin orange.
- Allow the paint to dry fully.
- Dry brush the entire pumpkin with the grey wood stain.
- Allow the stain to dry.
- Fold burlap ribbon in half longways, then fold it in half again.
- Lay twine alongside burlap ribbon.
- Wrap twine and burlap ribbon around the stem of the pumpkin and tie in a bow.
- Enjoy your Wood Pumpkin.
More photos




Photos hosted by happiestcamper.com.