Dressed-Up PumpkinsNo. 7676 · The 2026 edition
Easy DIY Velvet Pumpkins
Create charming velvet pumpkins in minutes using socks, fabric, and simple craft supplies—no sewing required!
Our own summary of the original — the full post and photos live at hgtv.com.
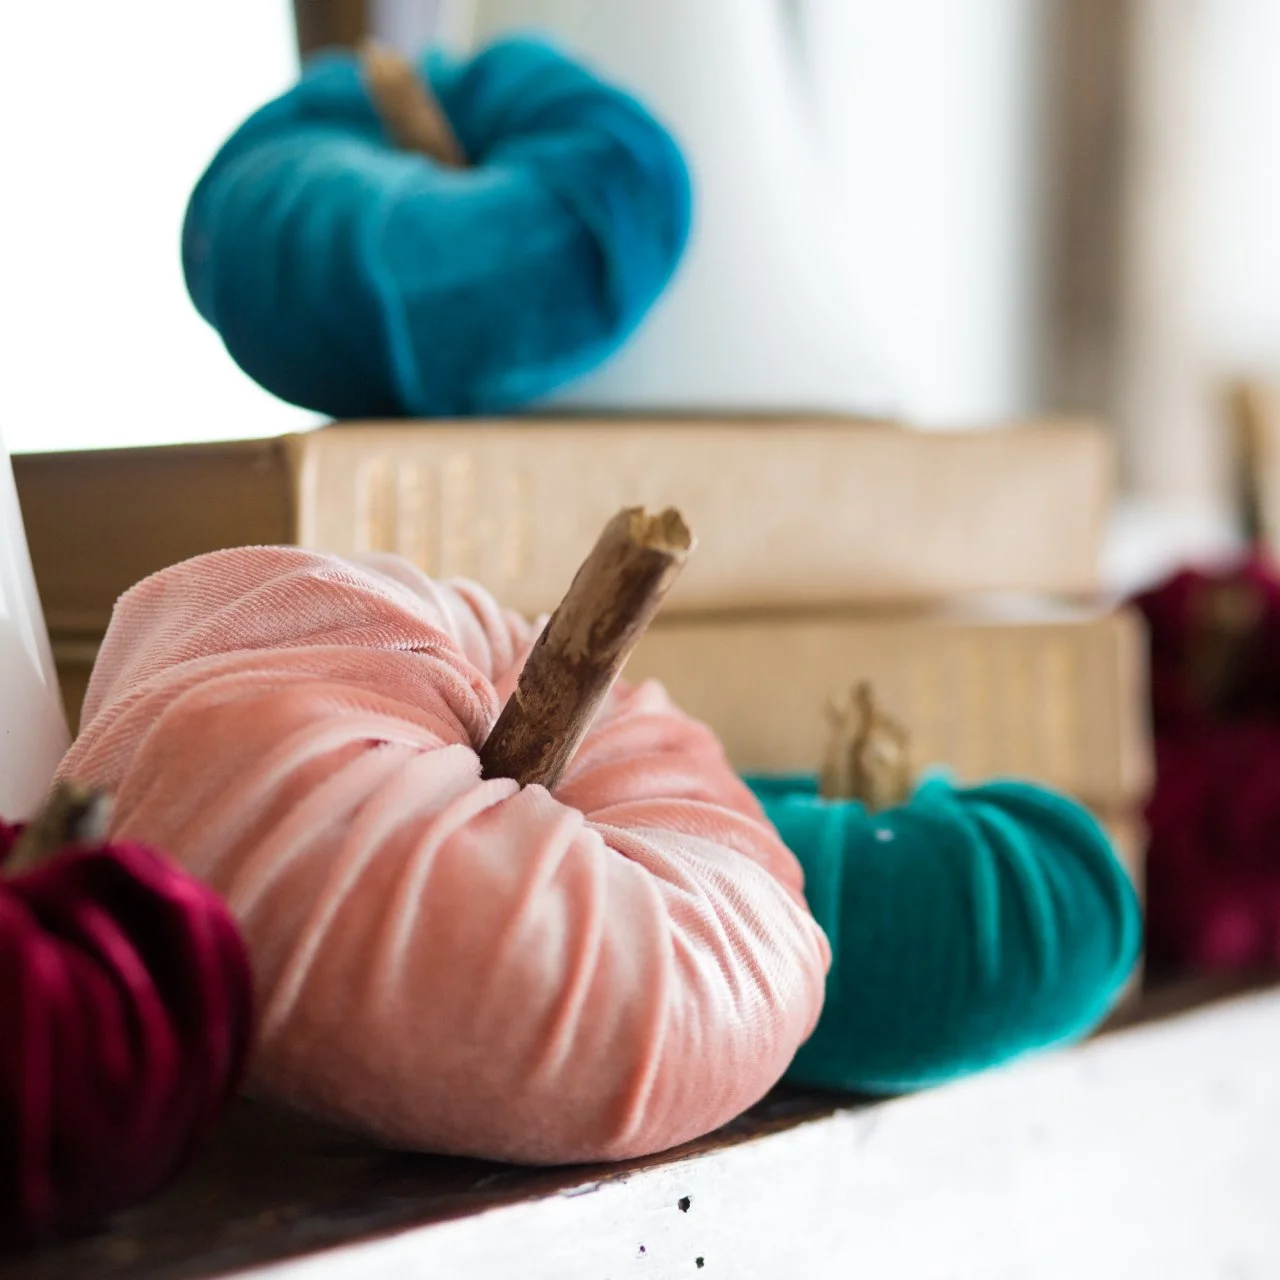
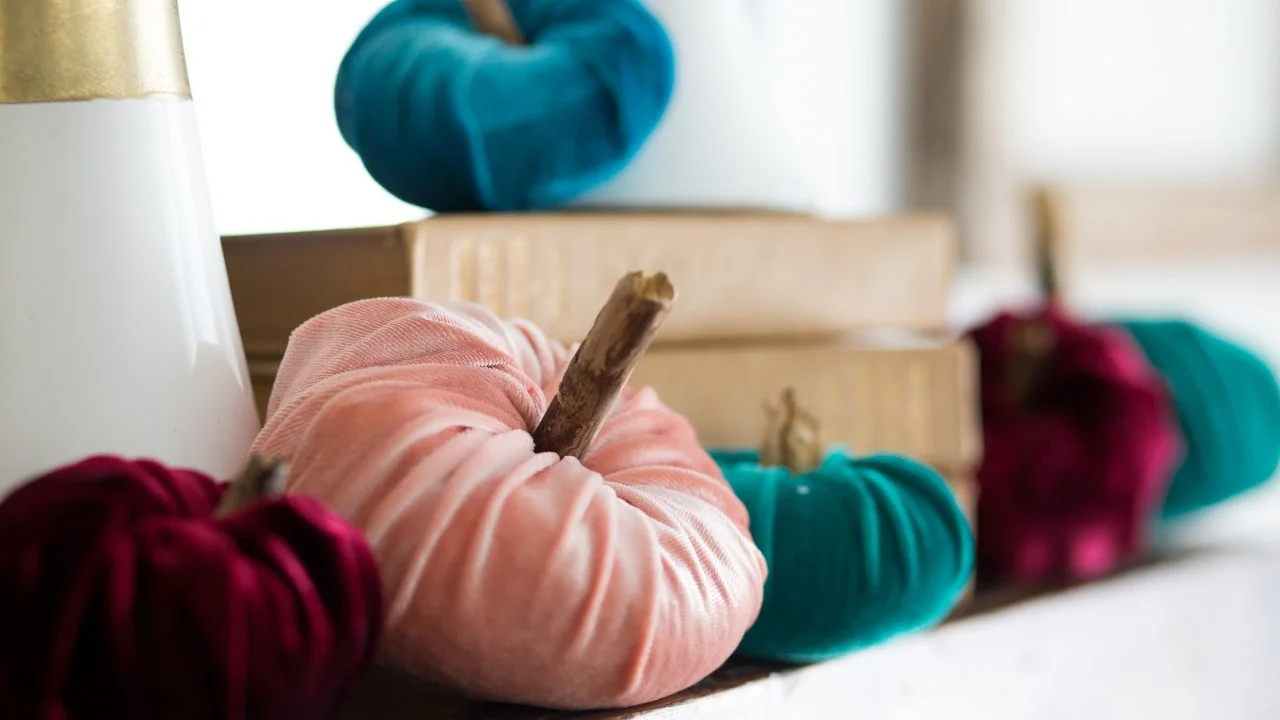
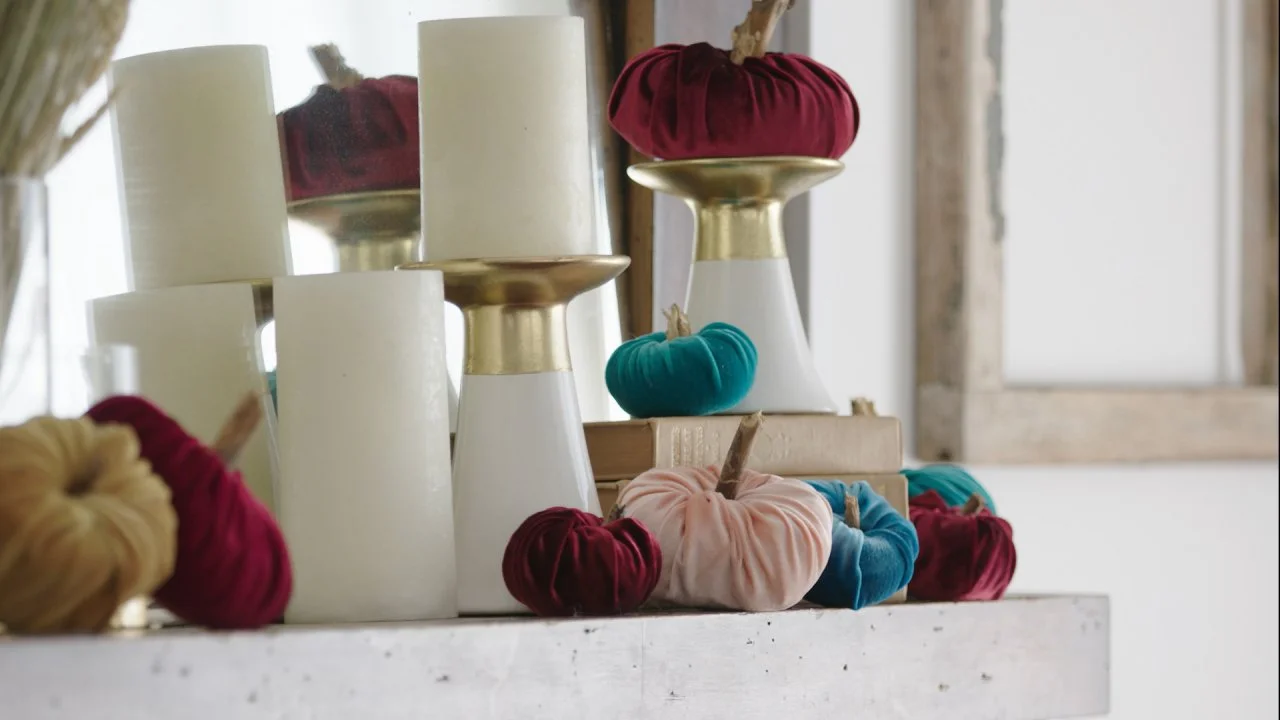
This easy DIY project shows you how to make small and large velvet pumpkins using tube socks, cotton batting, and hot glue. You'll trace circles onto velvet fabric, wrap them around rolled socks or cotton spirals, and add a stick stem for a festive fall decoration.
You'll need
Directions
- Remove the toe section from a tube sock, then turn it inside out and roll it up.
- Place your velvet fabric with the soft side facing down, and use a plate as a guide to draw a large circle with a marker.
- Cut out the fabric circle and set the rolled sock in the middle of it.
- Apply a small amount of hot glue to the center of the sock, then gather the velvet edges around the sock and press them into the glue to secure.
- Add a dot of hot glue to one end of a stick and insert it into the center of the bundle to create the pumpkin stem.
- For a bigger pumpkin, pull apart some cotton batting and cut a piece that is four layers thick and six inches wide.
- Separate the layers of cotton and spread it out flat.
- Roll the cotton lengthwise first, then continue rolling it into a spiral shape.
- Use hot glue to fix the end of the cotton roll so it stays together.
- On another piece of velvet, trace a circle that is big enough to fully enclose the cotton batting pumpkin.
- Finish by repeating the wrapping and stem steps with this new fabric and a stick.
More photos
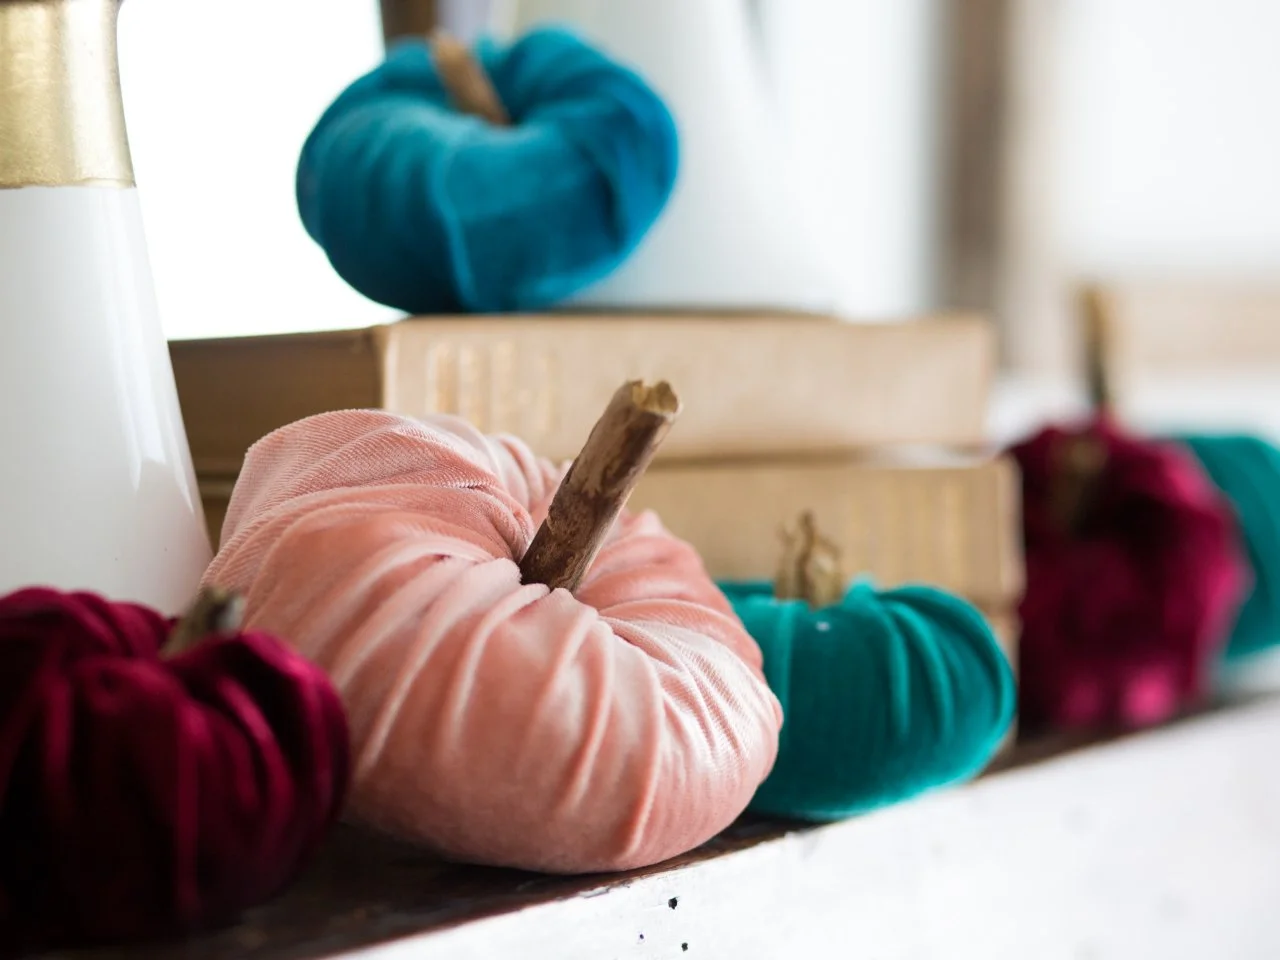

Photos hosted by hgtv.com.