Dressed-Up PumpkinsNo. 6982 · The 2026 edition
Easy-to-Craft Yarn Pumpkins
Turn plain faux pumpkins into textured decorations with simple yarn and glue techniques.
Our own summary of the original — the full post and photos live at hgtv.com.
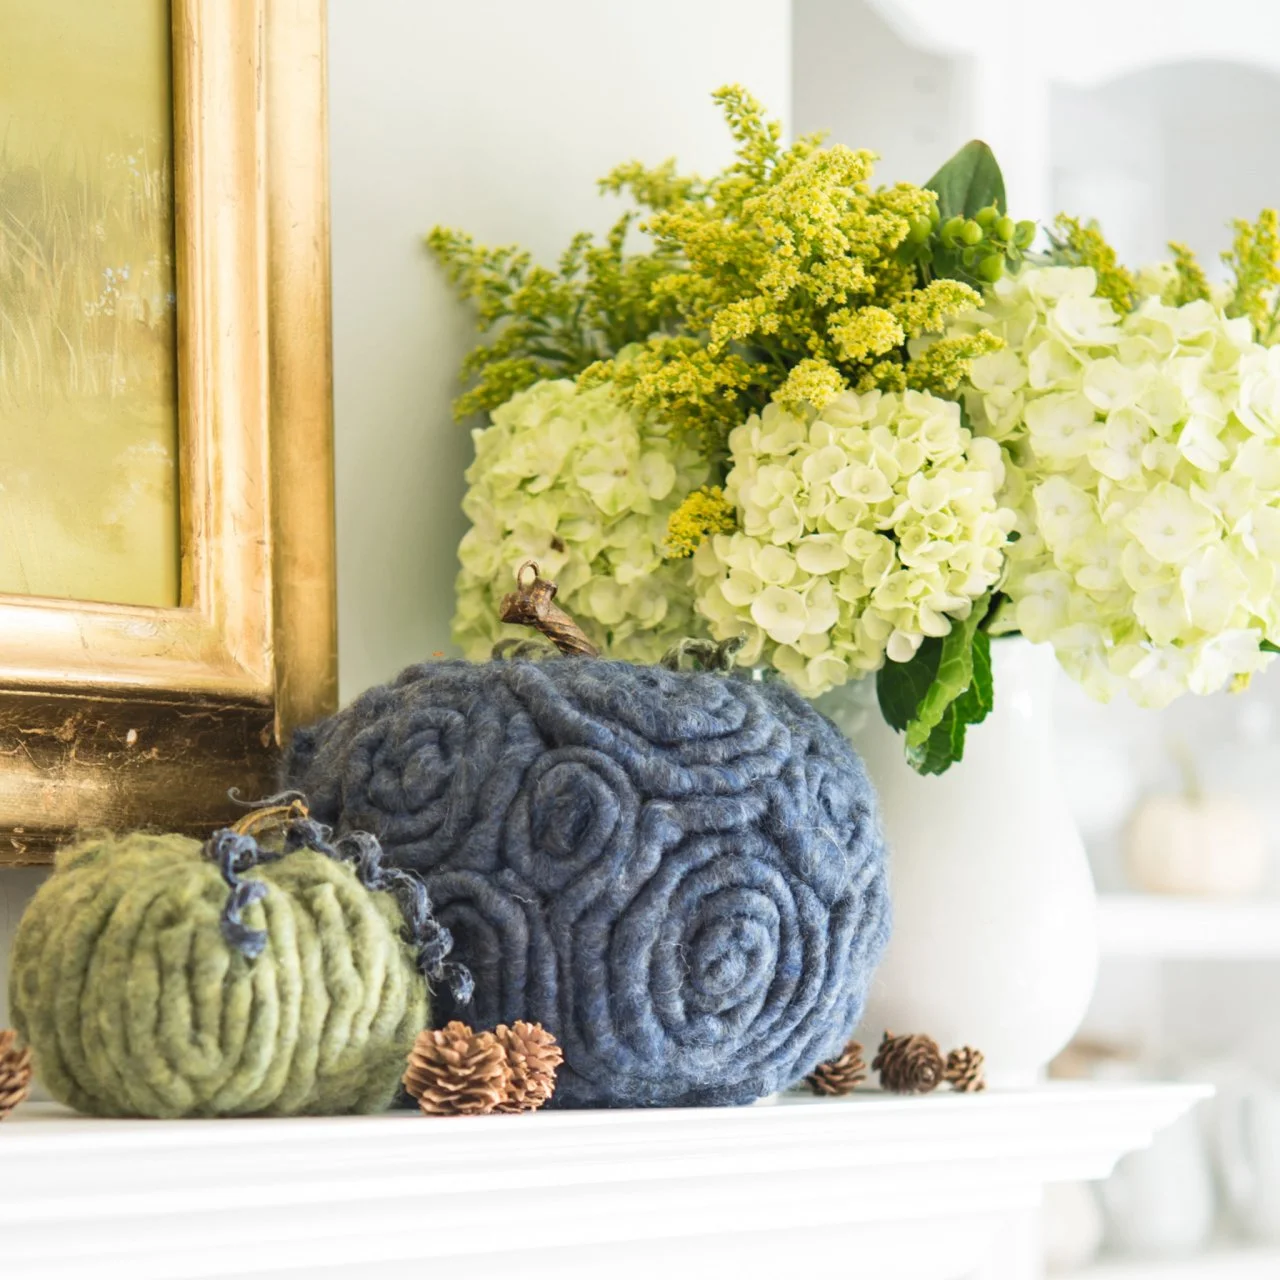
This easy craft transforms plastic pumpkins into charming yarn-covered decor. Using fabric decoupage glue and hot glue, you can create intricate patterns with yarn. The process involves dipping yarn in glue, drying it, then attaching it in swirls or other designs.
You'll need
Directions
- Cut a 12-inch piece of yarn per pumpkin in your chosen color. Thinner yarns are easiest for this part. Pour some fabric decoupage glue into a paper bowl. Dip the yarn into the glue, then squeeze out the extra. Wrap it around a pencil or dowel and let it dry on a paper plate for 4 to 6 hours. Prop the pencil's end on the plate's rim so the glue doesn't stick.
- You can arrange the yarn on the pumpkin in many designs, like swirls or S-shapes. Use hot glue to attach the yarn to the plastic pumpkin's surface, pressing it down right away. Hold it for 3 to 5 seconds until the glue sets. When you finish a section, snip off the extra yarn, put a small bit of glue on the end, and hide it under the nearby yarn. Repeat until the whole pumpkin is covered. A wooden popsicle stick can help press the yarn without burning your fingers.
- The bottom of the pumpkin won't be seen, so fill it with yarn in a random design, securing each piece with hot glue. Trim any excess and clean off any glue residue.
More photos


Photos hosted by hgtv.com.