Painted PumpkinsNo. 4969 · The 2026 edition
Enchanted Black Beaded Painted Pumpkins
Give your fall decor a glamorous makeover with these black beaded pumpkins accented in gold.
Our own summary of the original — the full post and photos live at madeinaday.com.
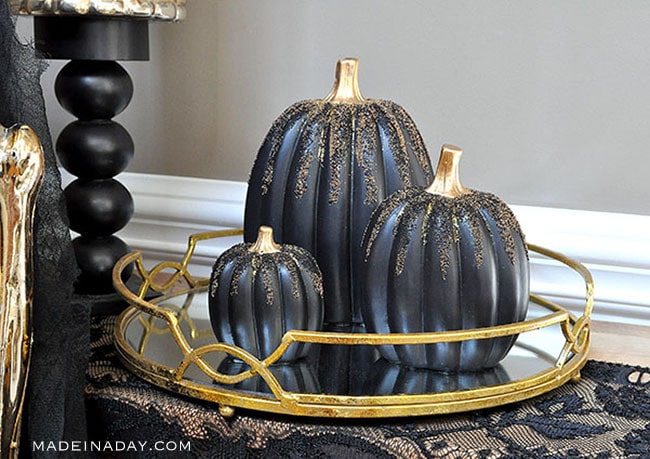
These enchanted pumpkins start with a coat of black acrylic paint, then get gold-leafed stems. A blend of black micro beads and fine gold glitter adds texture and sparkle for an elegant Halloween centerpiece.
You'll need
Directions
- Apply two coats of black acrylic paint to the pumpkins, avoiding the stems. Allow the paint to dry completely between coats.
- Work in a well-ventilated area and wear gloves. Carefully brush liquid gold gilding onto the stems.
- Follow the gilding product's instructions precisely—gilding can be toxic, so keep a window open. Let the gilding dry fully.
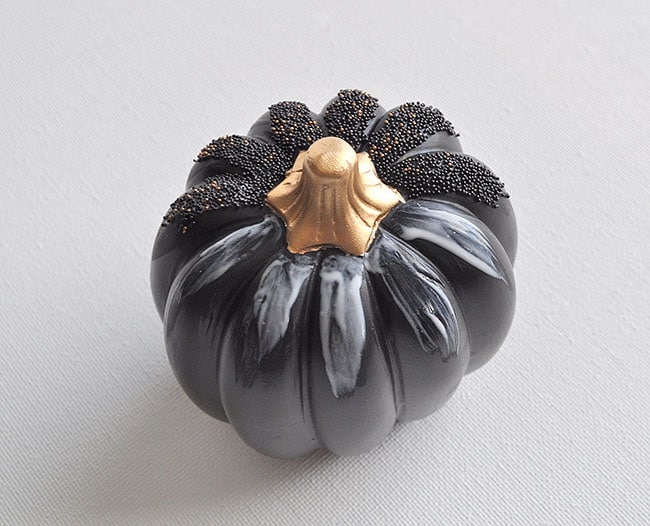
- Use a brush to apply Elmer's Glue-All around the base of the stem and along the pumpkin's top edges.
- Sprinkle black micro beads over the glue, covering all the adhesive. Shake off excess beads and repeat until the glue is fully coated.
- Add more glue to any bare spots and sprinkle additional micro beads to fill them in.
- Apply another thin line of glue around the stem's edge and dust fine gold glitter over it.
- Allow everything to dry thoroughly, then arrange your finished pumpkins as desired.
More photos

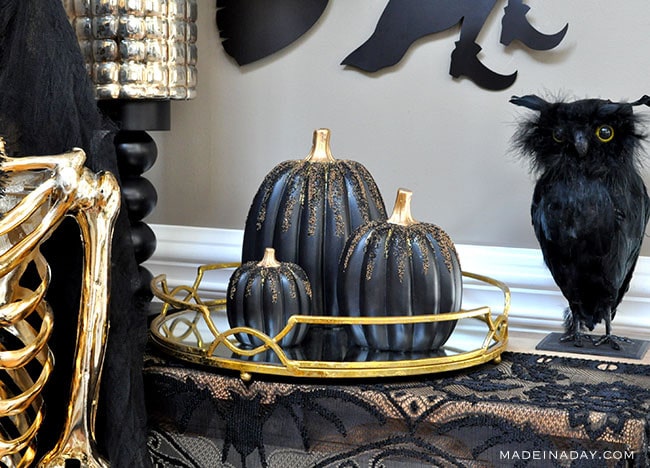

Photos hosted by madeinaday.com.





