Candies & ChocolatesNo. 1395 · The 2026 edition
Halloween Cake Pops
Turn simple cake into spooky treats with these Halloween cake pops—perfect for parties and ghoulishly fun to decorate!
Our own summary of the original — the full post and photos live at iheartnaptime.net.

These Halloween cake pops start with a crumbled white cake mixed with buttercream, rolled into balls, and dipped in chocolate. Decorate them as pumpkins with orange coating and a drawn face, or as mummies with drizzled white chocolate. They're a festive, bite-sized dessert that stays fresh for days.
Ingredients
Directions
- In a medium bowl, beat the softened butter until fluffy. Add 1 cup of powdered sugar and mix well. Stir in the vanilla extract and gradually add the remaining 1 to 1½ cups of powdered sugar, alternating with the heavy cream or milk, until the frosting is thick and holds a peak.
- Crumble the cooled cake into fine crumbs in a large bowl. Add 2 spoonfuls of the buttercream and mix with your hands or a spoon. Continue adding frosting a little at a time until the mixture holds together when squeezed—you may not need all the frosting. Avoid making it too dry or too wet.
- Use a cake pop press or a medium cookie scoop to portion the cake mixture. Roll each portion into a smooth ball and place on a plate. Freeze the balls for about 10 minutes.
- Just before removing the cake balls from the freezer, melt the dark chocolate and white chocolate in separate microwave-safe bowls. Heat in 30-second bursts, stirring between each, until smooth.
- Dip the tip of each lollipop stick into the melted chocolate, then insert it into the center of a cake ball. Return to the fridge or freezer until the chocolate sets. Pour the coating chocolate into a narrow glass or jar. Dip each cake pop into the chocolate, gently tapping the stick on the rim to remove excess. You can also spin or twirl the pop to help the excess drip off.
- While the coating is still wet, add Halloween sprinkles, jimmies, or other decorations. If you plan to add more chocolate details, let the first layer harden completely first.
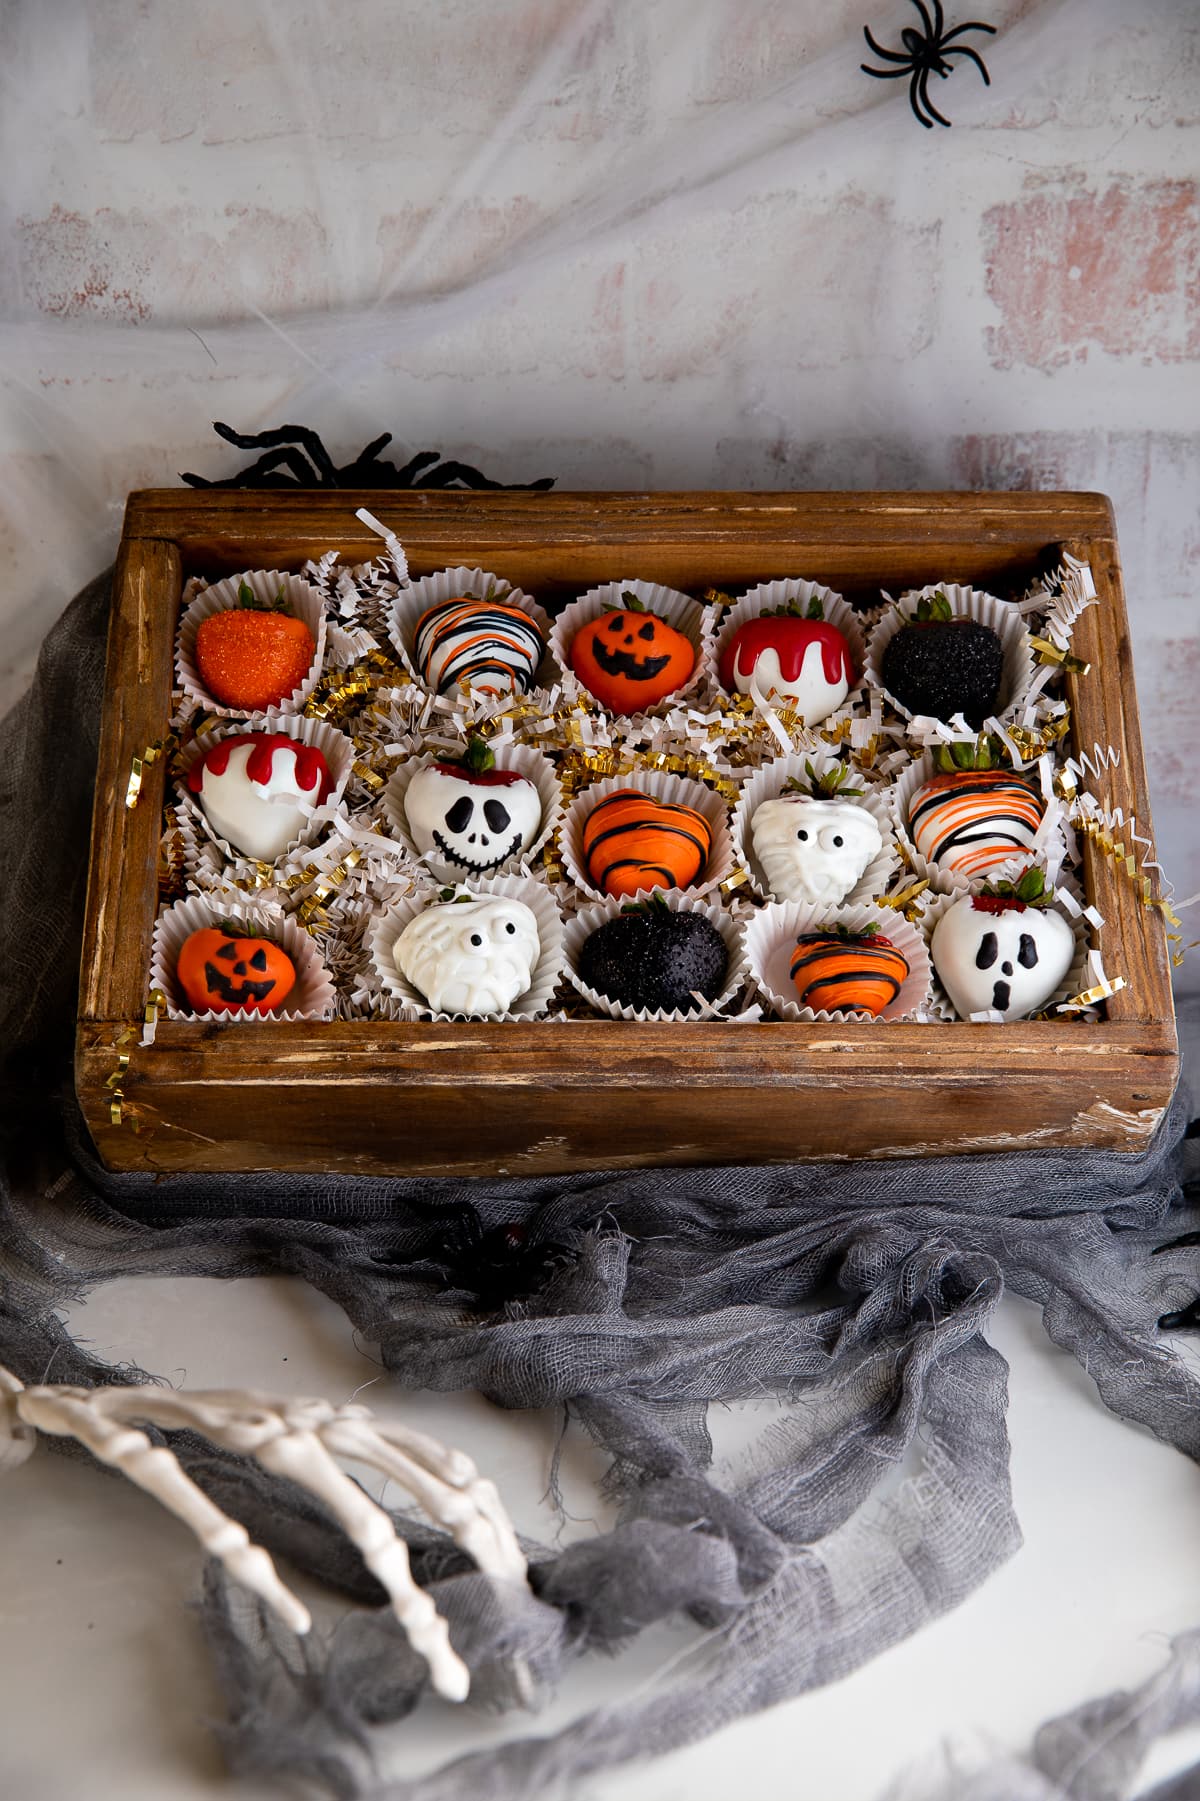
- For pumpkin pops: Dip the cake pop in orange melted chocolate. Once hardened, pipe a small amount of green frosting on top for the stem, and use a black edible ink pen to draw a jack-o'-lantern face.
- For mummy pops: After the first chocolate layer hardens, place leftover white chocolate in a zip-top bag, snip a tiny corner, and drizzle it back and forth over the pop to create bandages.
- Insert the sticks into a styrofoam block or a glass filled with rice to hold the pops upright. The chocolate will fully set in about an hour. Store the finished cake pops in an airtight container in a cool place for up to 3-4 days.