Painted PumpkinsNo. 7812 · The 2026 edition
Harry Potter Pumpkin
Turn a simple foam pumpkin into a magical Harry Potter decoration with just paint and markers.
Our own summary of the original — the full post and photos live at funmoneymom.com.

Create a charming Harry Potter pumpkin using a foam base, white and black paint, and a few colorful markers. This easy craft involves painting, drawing, and adding signature details like the scar, glasses, and hair. Perfect for Halloween or a Harry Potter themed party.
You'll need
Directions
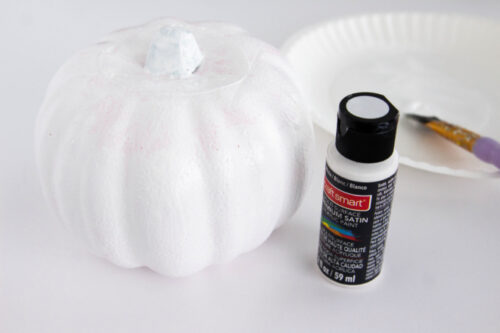
- Coat the foam pumpkin with white paint, applying 2 to 3 layers for full coverage. The top can be less perfect since it will be painted black later. Let it dry for about 30 minutes.
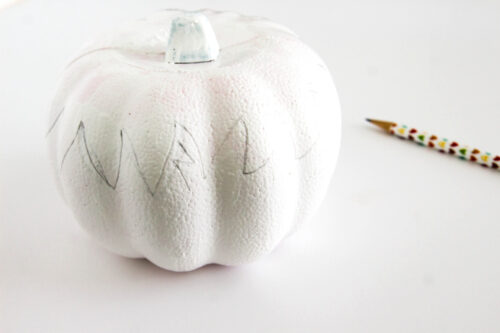
- Once the paint is dry, lightly sketch Harry's lightning-bolt scar with a pencil. This helps position the hair. Then outline the hair shape on the pumpkin's top with a pencil, or skip if you prefer freehand. Mistakes are easy to fix with paint.
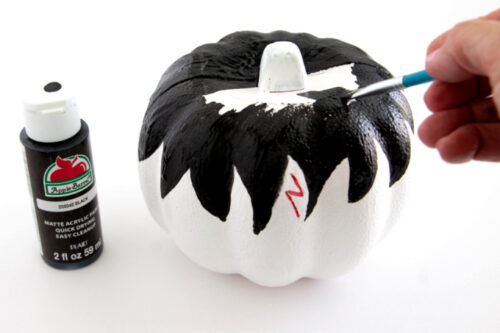
- Go over the scar with a red Sharpie, then fill in the hair area with black paint and allow it to dry.
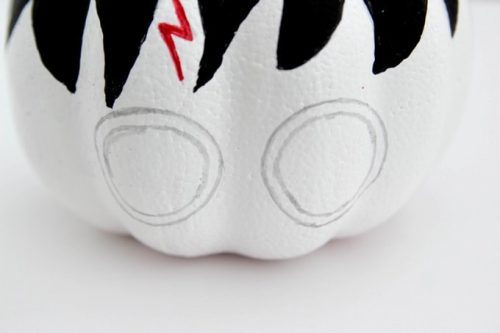
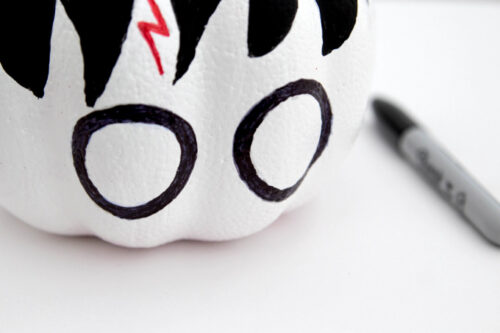
- After the black paint dries, pencil in Harry's round glasses. Use a round object, like a circle of craft wood, to trace the outer frames.
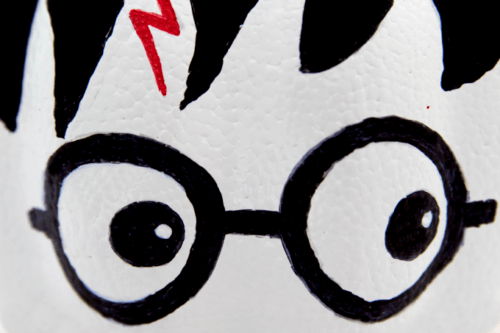
- Draw the inner part of the glasses by hand, and optionally enlarge the scar a little.
- Instead of painting the glasses, it's much simpler to outline them with a black Sharpie.
- With the same Sharpie, add the eyes inside the frames. For a lively touch, dab a tiny bit of white paint onto each eye.
- Using your pencil, draw vertical lines across the bottom section of the pumpkin. Paint those lines and let them dry.
- Your adorable Harry Potter pumpkin is ready to display!
More photos
Photos hosted by funmoneymom.com.





