Dressed-Up PumpkinsNo. 6147 · The 2026 edition
How to Make a Boho-Chic Macramé Pumpkin
Turn a simple pumpkin into a boho-chic decoration with this macramé wrapping technique.
Our own summary of the original — the full post and photos live at hgtv.com.
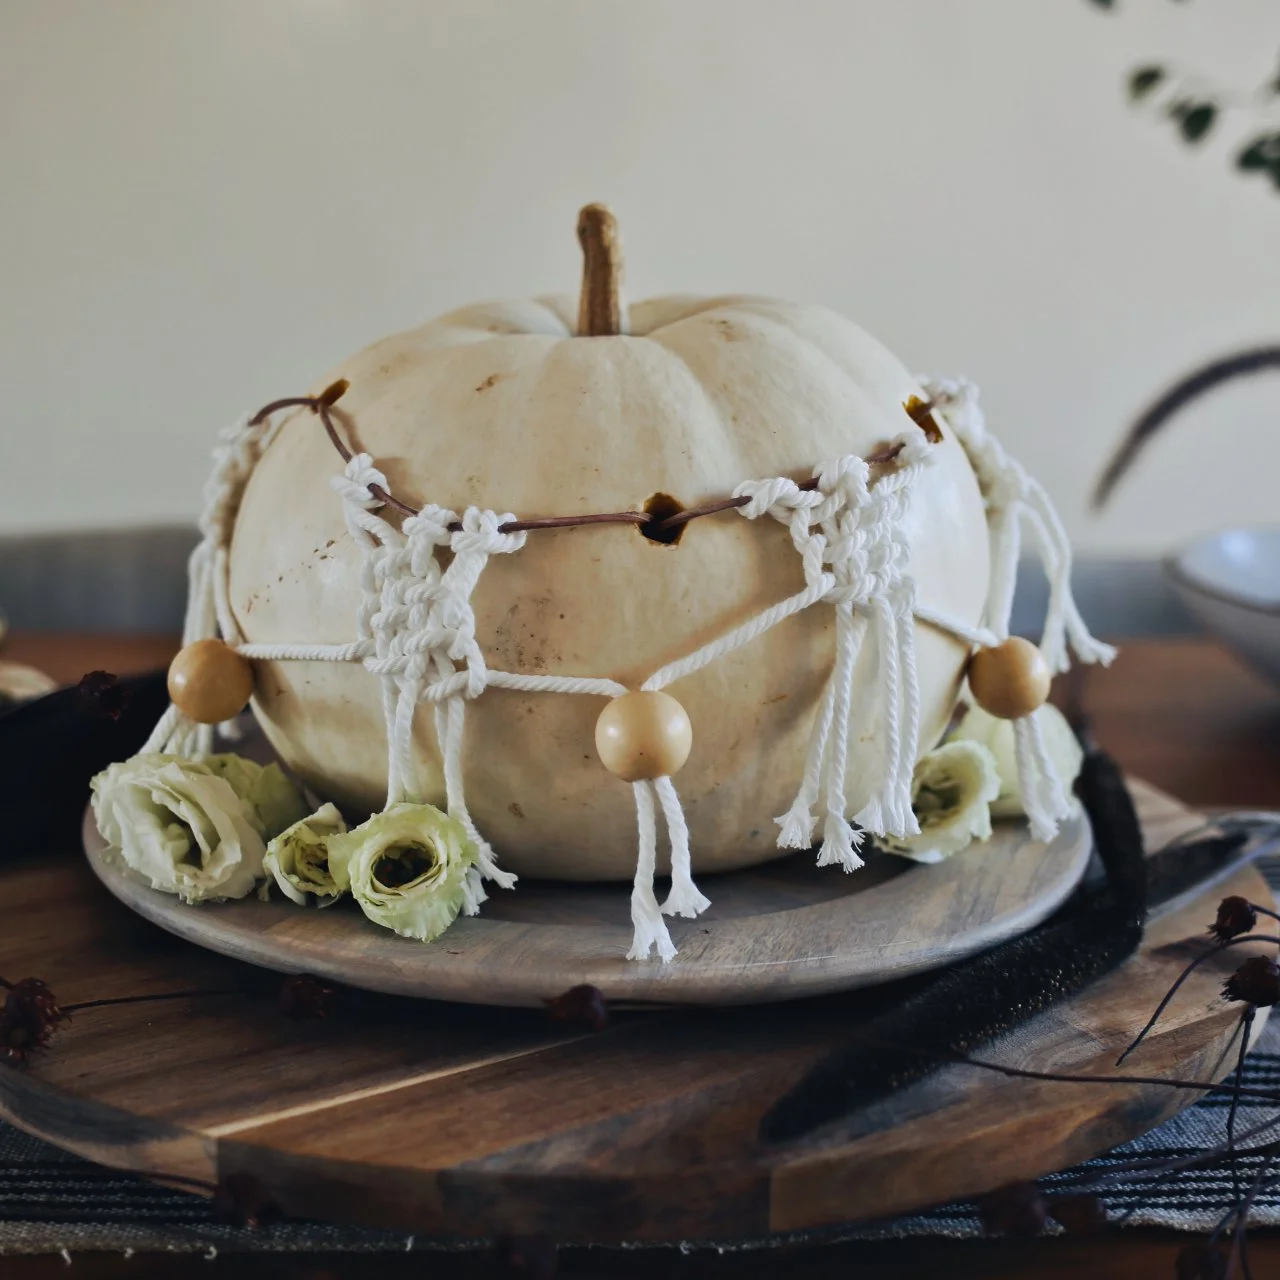
This project combines a white pumpkin with craft rope, leather cord, and wooden beads to create a stylish macramé-covered pumpkin. By carving holes, lacing leather cord, and tying lark’s head knots, you’ll build a textured web. An optional battery-powered candle adds a warm glow from inside.
You'll need
Directions
- Using a knife, cut a circular opening around the pumpkin's base. Take out the bottom piece and scoop out all the seeds and stringy pulp. For a reusable option, consider using a fake pumpkin instead.
- With a serrated blade, create small holes in the top half of the pumpkin—big enough for the leather cord to pass through. A helpful tip: mark the hole positions with a pen before cutting.
- Lace the leather cord through the holes, going in and out, so that it wraps all the way around the pumpkin in one continuous line.
- Measure and cut a rope that is 2–3 inches longer than twice the pumpkin's height. Fold it in the middle, then slide the folded loop under the leather cord.
- Bring the two loose ends of the rope over the leather cord, then pass them through the folded loop from underneath.
- Tighten the knot by pulling the ends. This creates a lark's head knot (also called a cow hitch).
- For each section, tie three of these knots in a row and make sure they are snug.
- Grab the first four rope strands on the left side. Take the leftmost strand, bring it over the two middle strands, and thread it under the fourth strand.
- Take the fourth strand (the far right of the four), pass it behind the two middle strands, and pull it through the loop created on the left side.
- Pull the ends firmly to form a knot.
- Perform the same knot-tying process using the four strands on the right side.
- Now, again take the leftmost strand, bring it over the two middle strands, and tuck it under the fourth.
More photos
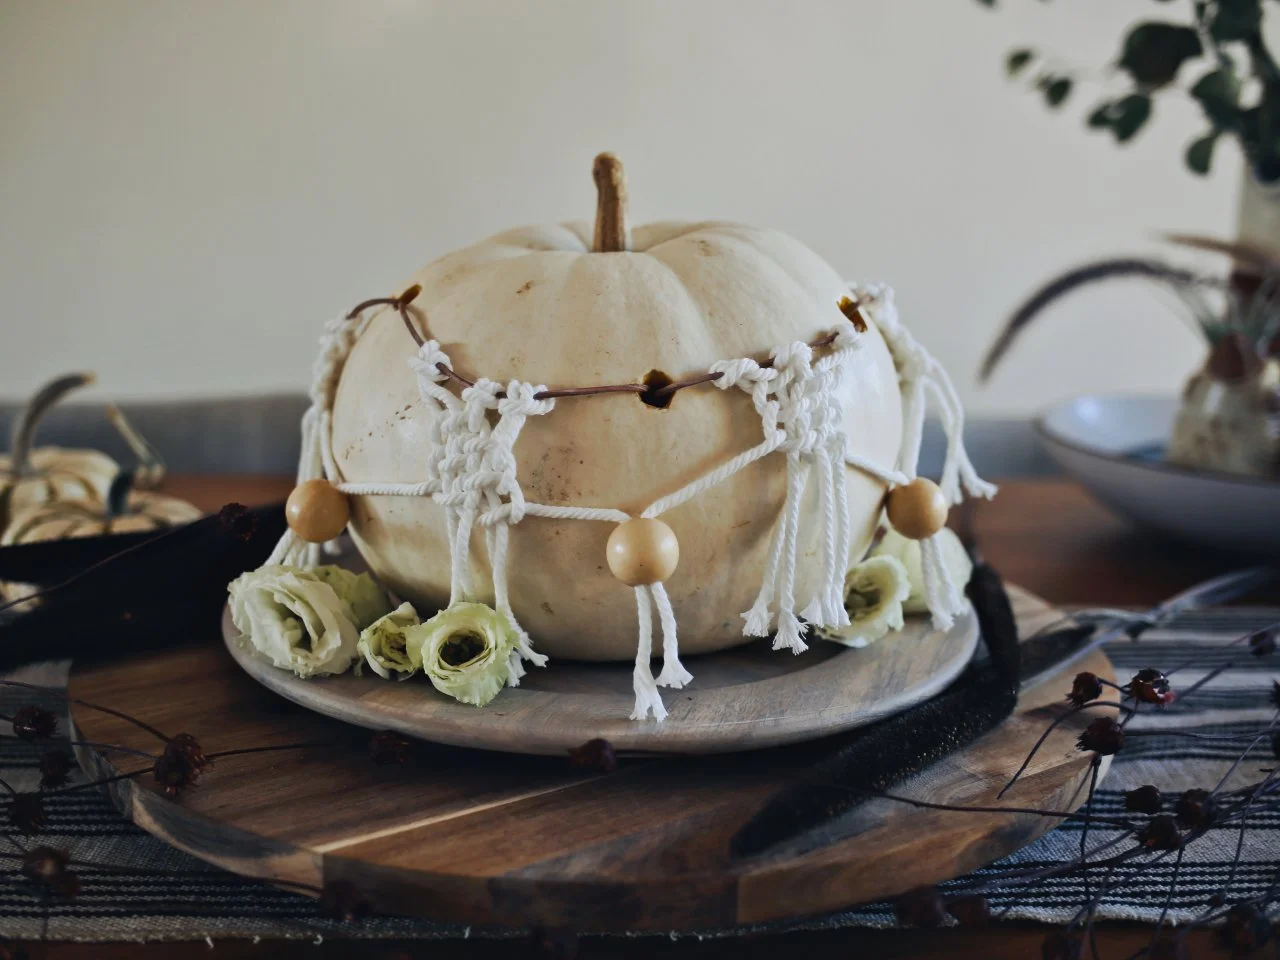
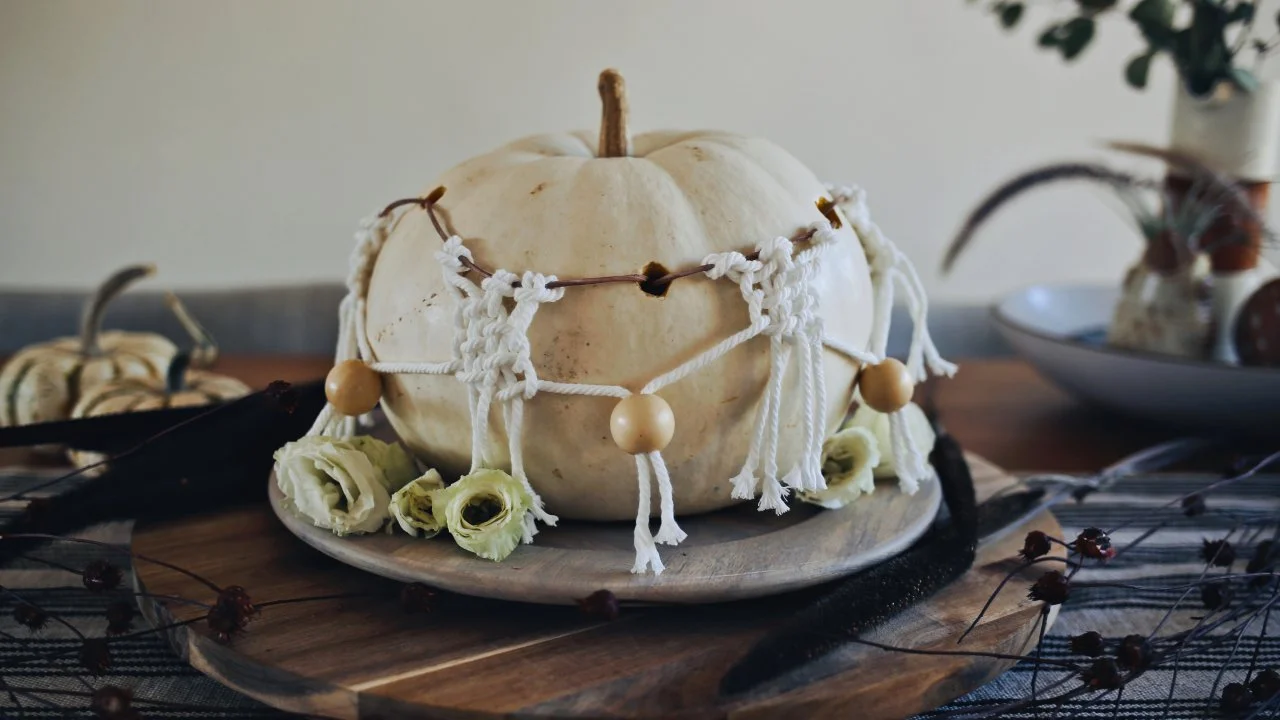


Photos hosted by hgtv.com.