Wood ProjectsNo. 8091 · The 2026 edition
How to Make a Reclaimed Wood Pumpkin
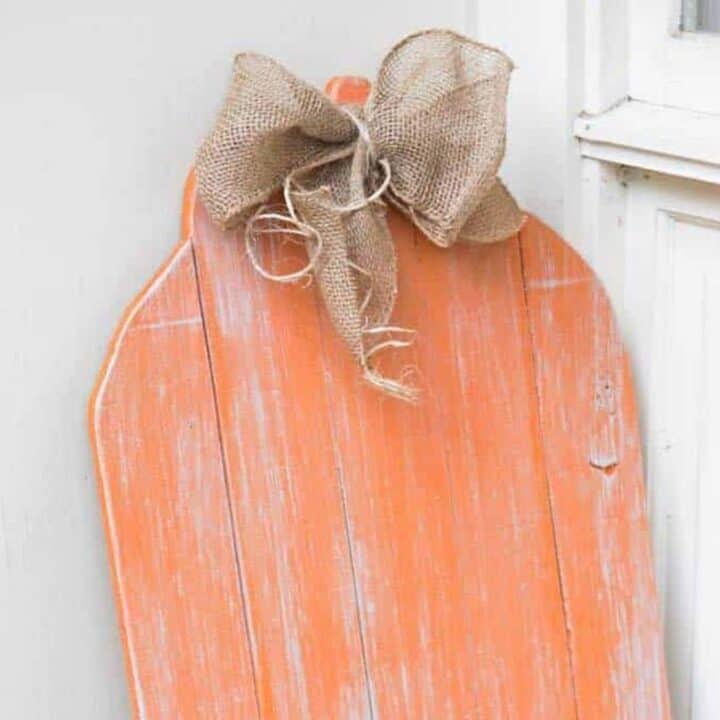
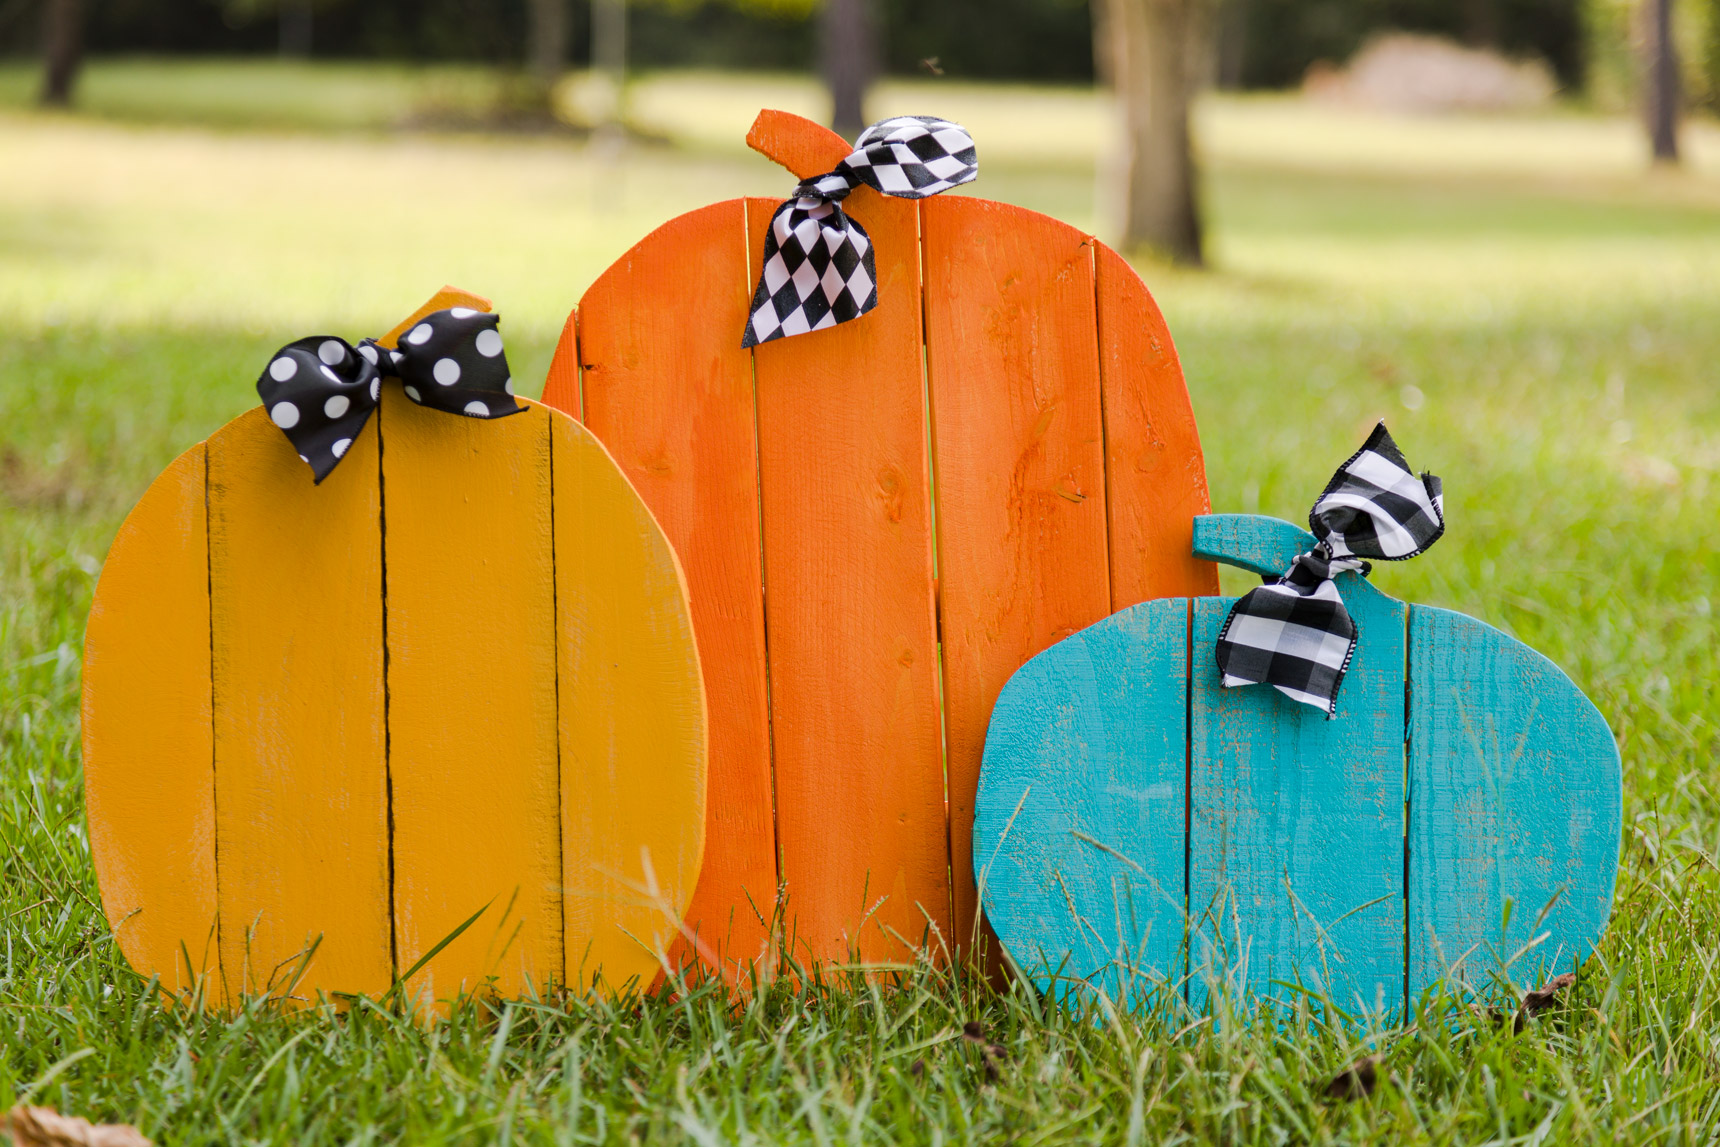
Turn scrap wood into a rustic fall decoration with this easy DIY reclaimed wood pumpkin.
Our own summary of the original — the full post and photos live at infarrantlycreative.net.

This project uses salvaged lumber and plywood to create a charming pumpkin decoration. You'll cut a plywood template, attach planks, then shape and sand. Finally, add a branch stem and optional stain and sealer for durability.
You'll need
Directions
- Draw the pumpkin shape onto a piece of plywood, then use a jigsaw to carefully cut it out.
- Cut salvaged wood into pieces about an inch longer than the pumpkin on all sides. Line them up on top of the pumpkin shape. Place another piece of plywood on top (just for flipping), then flip everything over so the pumpkin cutout is on top. Apply wood glue to the front of the plywood pumpkin and press it onto the back of the reclaimed wood planks. Secure with small brad nails through the plywood into the planks, and add screws at the edges if needed (be mindful of wood thickness so they don't poke through). Place something heavy on top and let dry overnight or for several hours.
- Use the plywood pumpkin as a pattern. Follow its outline with the jigsaw to cut the pumpkin shape into the planks.
- Sand all rough edges using a palm sander or sandpaper, and soften the front edges around the perimeter.
- Drill a hole at the top of the pumpkin for the stem, sized to fit a hanger bolt. Drill a matching hole into a piece of branch (cut to length with a miter saw). Screw the hanger bolt into the pumpkin first using pliers, then attach the branch stem by hand. Sand the bottom of the stem if needed for a snug fit. Using wood scraps, attach one board at the bottom with wood screws; pre-drill pilot holes to prevent splitting.
- Optionally, apply a light coat of dark stain and wipe it off quickly to unify the wood. Then add a coat of clear wax. For outdoor use, finish with a spray clear coat to protect and prevent wax from melting in heat.
More photos


Photos hosted by infarrantlycreative.net.