Dressed-Up PumpkinsNo. 4120 · The 2026 edition
How to Make Felt Pumpkins
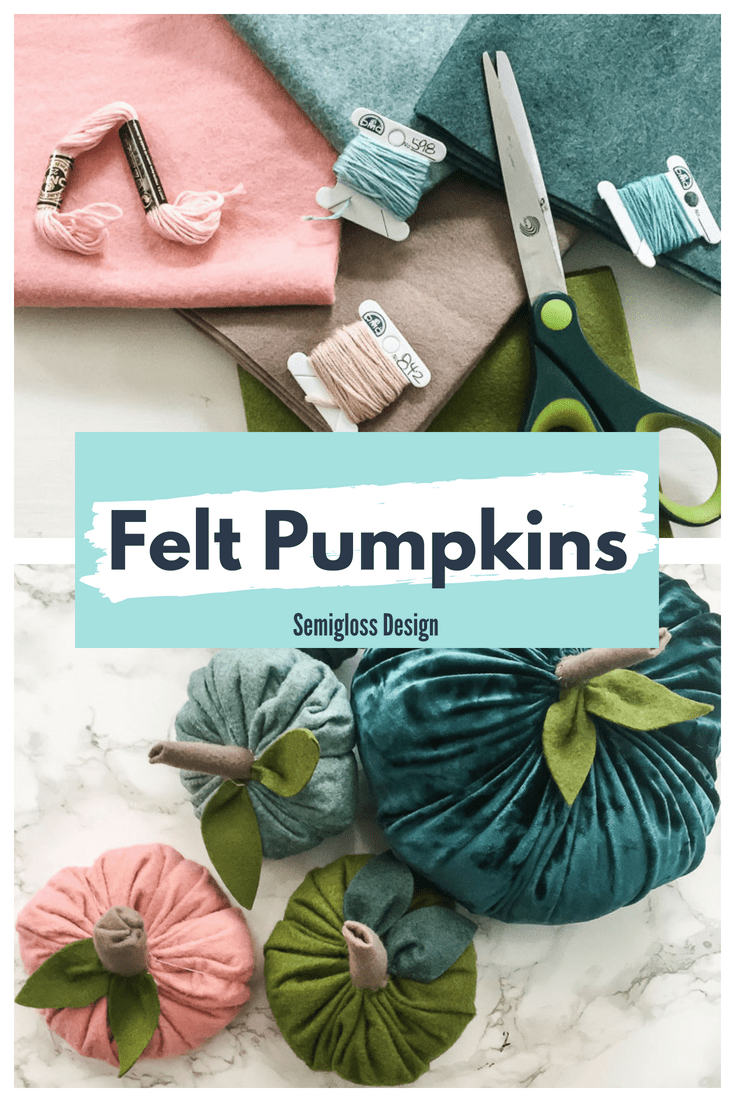
Transform wool felt into charming pumpkins with this step-by-step guide—perfect for fall decor.
Our own summary of the original — the full post and photos live at semiglossdesign.com.
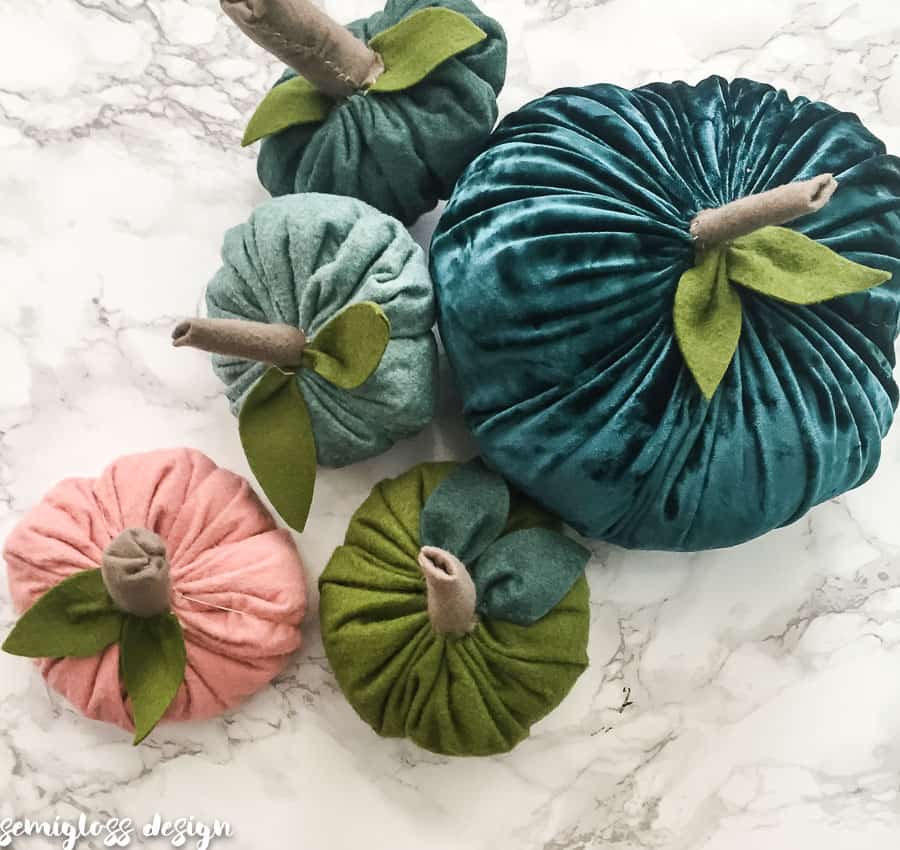
Learn how to make adorable felt pumpkins using wool felt, embroidery floss, and fiberfill. The process involves cutting circles, gathering with running stitches, stuffing, and shaping into pumpkins with optional stem and leaf details.
You'll need
Directions
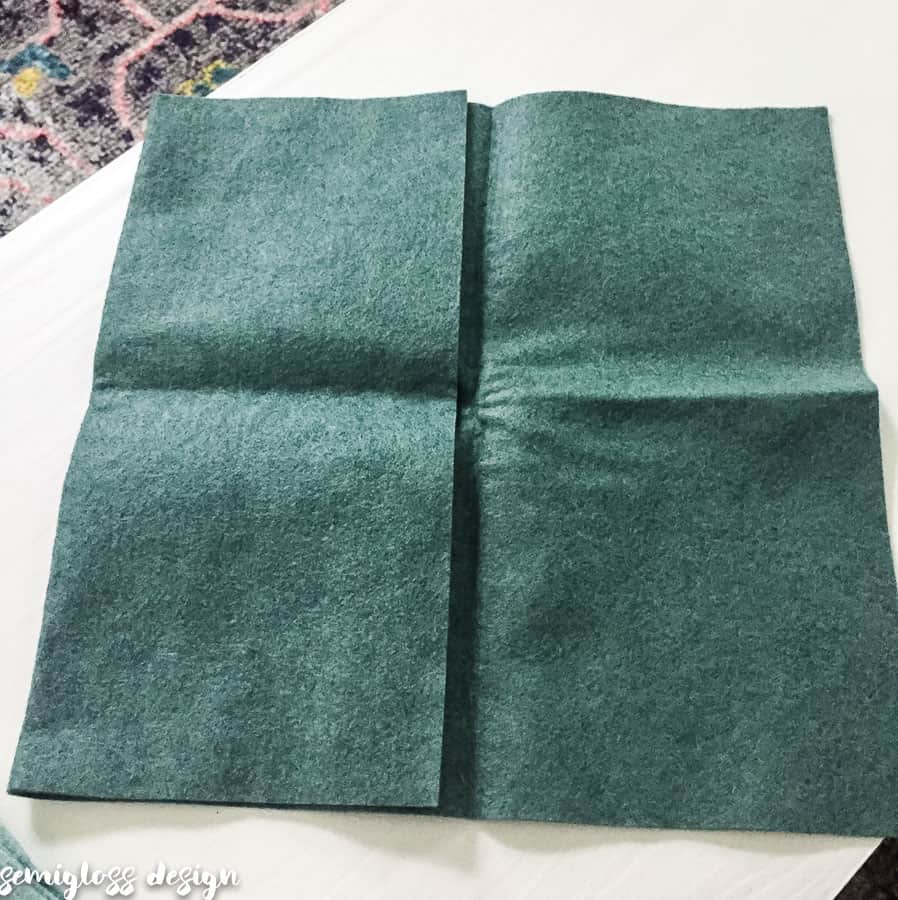
- Fold a 12x18 inch sheet of wool felt to create a square shape.
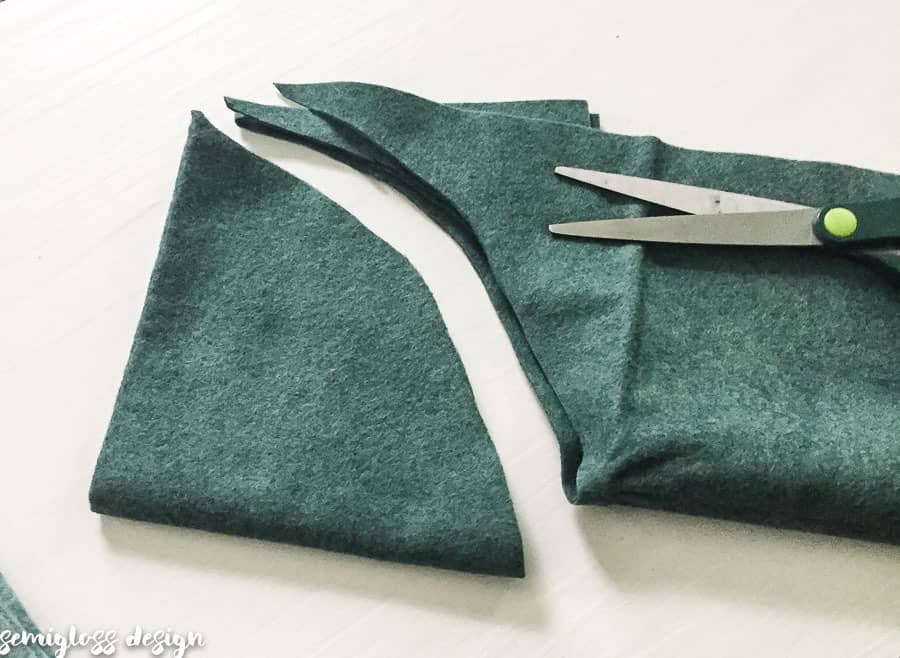
- Freehand cut a curved arc to form a circle; it doesn't need to be perfect or can even be oval.
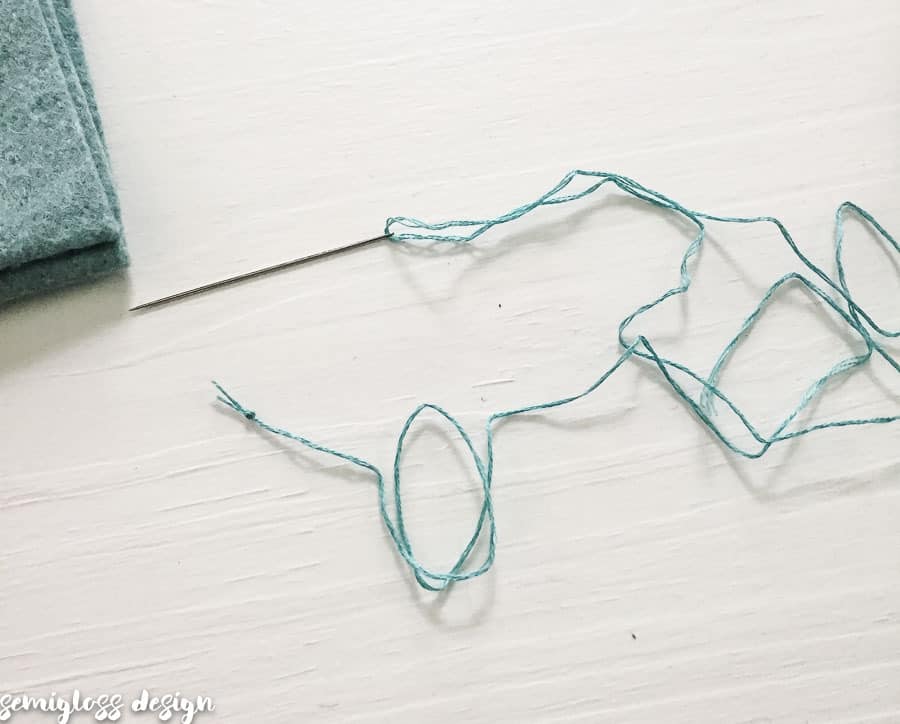
- Cut about 20 inches of embroidery floss (which has 6 strands) and separate it into two sections of 3 strands each. It's easiest to separate from the middle of the strand rather than the ends to avoid tangles.
- Thread the needle with one 3-strand section, leaving one end loose and tying a knot at the other end.
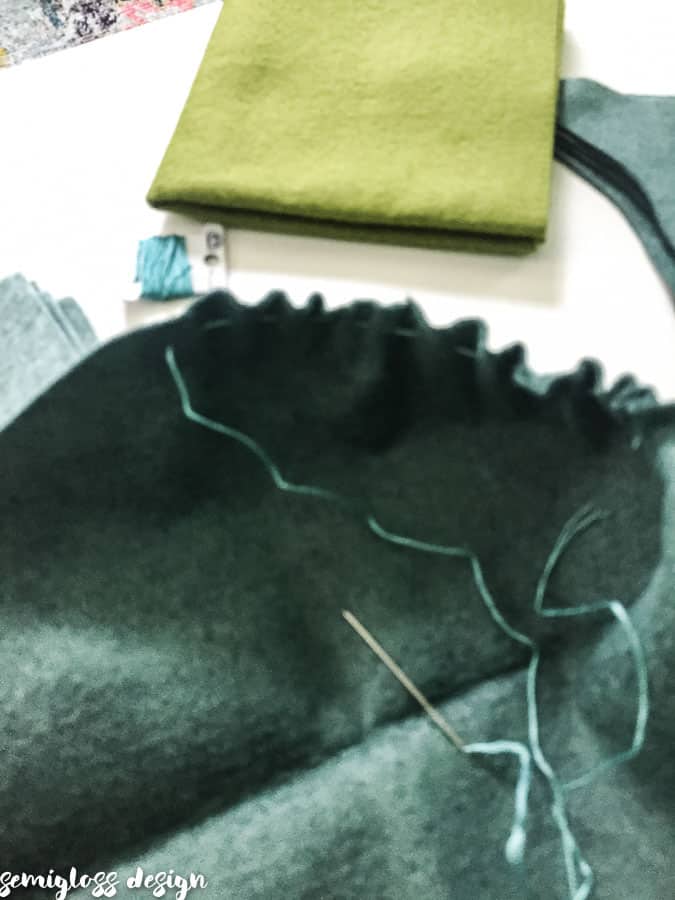
- Insert the needle through the edge of the felt circle so the knot is on the inside. Use a running stitch (in and out) to gather the fabric, making stitches about 3/4 inch long and 1/4 inch from the edge.
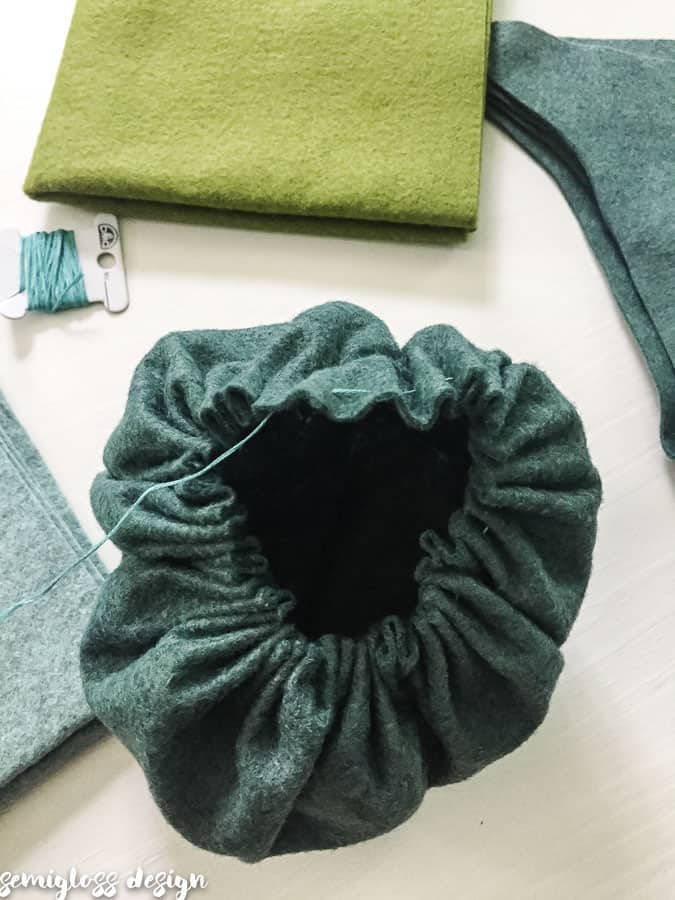
- Stitch most of the way around the circle, then pull the thread tight to gather, leaving a gap in the middle.
- Fill the gap with fiberfill—grab a wad and stuff it in without balling it up. Fill it as full as possible.
- Finish stitching the rest of the edges and tighten the thread. If the pumpkin feels loose, add more fiberfill until it's nice and plump.
- When fully stuffed, pull the gathering tight, then sew the last gathered pleat to the first one and knot the thread.
- Take the needle and push it through the center of the pumpkin so it emerges at the bottom. Pull tight, then push the needle back through to the top.
- Make a small stitch at the edge of the pumpkin gathers to secure that tight bottom stitch.
- (Optional) To create lines on the pumpkin, push the needle through the center from top to bottom. Wrap the thread around the outside back to the top, and repeat, spacing the lines evenly. Tie off at the gathered edge.
- Cut a leaf shape and a stem from felt. The stem should be a small rectangle about 3 inches tall.
- For a fatter stem, gather the top edge of the rectangle just like the pumpkin, then turn the pleats inside and fold the rectangle lengthwise.
- Sew the long edges of the stem together, using evenly spaced stitches for a nicer look.
- When you are about halfway done sewing the stem, stuff some fiberfill into it. For thin stems, use a small cuticle stick to push the fill in.
- Finish sewing the stem closed and knot the thread at the end.
- For a thin stem, start by turning the top edge down and sew the sides together.
- Squish the pumpkin slightly and sew the ends of the stem to the gathered part of the pumpkin. Use thread matching the pumpkin color to hide stitches. Knot and cut the thread when done.
- Gather multiple pumpkins and sew them together if desired. Then sew the leaves around the base of the stem on the pumpkin. If leaves are floppy, take a tiny stitch in the middle of each leaf to attach it securely.
More photos
Photos hosted by semiglossdesign.com.