Dressed-Up PumpkinsNo. 8639 · The 2026 edition
How to Make Yarn Pumpkins
Turn yarn and glue into adorable, no-carve pumpkins with this easy hanging technique.
Our own summary of the original — the full post and photos live at onelittleproject.com.
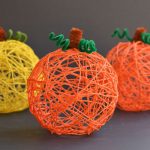
This craft uses a balloon base, orange yarn, and a glue-water mixture to create firm, hollow pumpkins. After wrapping and drying, you pop the balloon and add pipe cleaner stems. The result is a cute, flexible decoration perfect for fall.
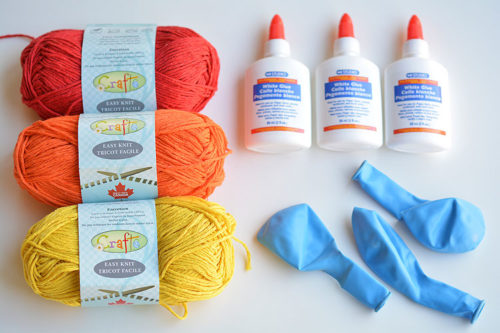
You'll need
Directions
- Collect all your materials: a balloon, orange yarn, white glue (Aleene's Tacky Glue works best), and brown and green pipe cleaners.
- Blow up a 12-inch balloon to about half full. The size affects the final shape—larger balloons need more yarn, while smaller ones become more egg-shaped.
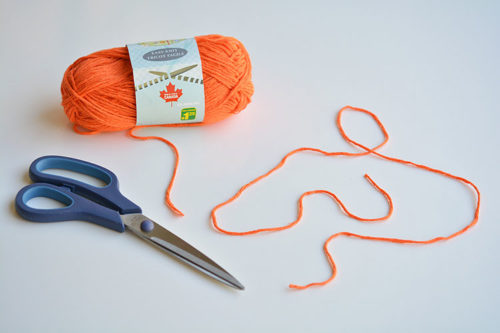
- Cut roughly 21 strands of yarn, each about 36 inches long. Using a table that's exactly 36 inches wide as a guide helps keep lengths consistent. Avoid cutting much longer pieces to prevent tangling when soaked in glue.
- Pour glue into a small bowl. You'll need about one full 2-ounce bottle per pumpkin. For better results, mix half Aleene's Tacky Glue with half water (dollar store glue makes the pumpkin too soft). Add three bottles at a time for convenience.
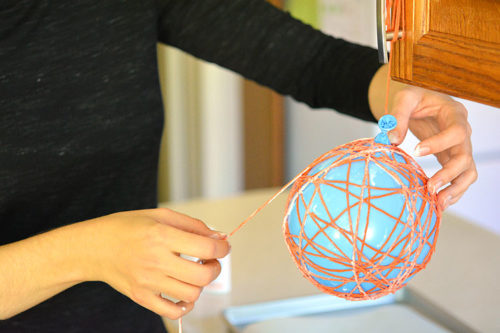
- Tie one piece of yarn to the balloon's end, then hang the balloon from a kitchen cabinet handle. This keeps the balloon suspended and makes it easier to work with than on a flat surface.
- Dip a yarn strand into the glue bowl and gently swirl it with a plastic fork until fully coated. Pinch the strand between your fingers, then run it through the fork tines to remove excess glue. The fork method leaves enough glue for a firm shape without dripping. Using fingers alone removes too much glue, resulting in a soft pumpkin.
- Press the glued end onto the balloon (at the top or bottom) and wind the strand around the balloon, pressing down the ends to secure them. Repeat with all remaining strands.
- Hang the glue-covered balloon to dry in a spot where it can drip, like a coat closet. Place an old towel, tarp, or disposable tablecloth underneath to catch glue drips.
- Allow the balloon to dry for a full 24 hours. When dry, the glue will have hardened, and the pumpkin should feel firm.
- Carefully press your fingers under the yarn all around the balloon to detach the glue from the balloon surface. This step is crucial—if you skip it, the deflating balloon may pull the yarn inward and ruin the pumpkin's shape.
- Make a very small cut in the balloon near the knot to let the air out slowly. Cutting near the knot prevents a loud pop and gives you time to detach any missed yarn as the balloon shrinks.
- Pull the deflated balloon out through one of the openings in the yarn.
- Create the stem and vine by wrapping pipe cleaners around your baby finger to form a spiral. Tuck the stem end into the yarn (no glue needed—it stays in place on its own). Your yarn pumpkin is complete!
More photos
Photos hosted by onelittleproject.com.