Painted PumpkinsNo. 3190 · The 2026 edition
Make Your Own Winnie The Pooh Pumpkin
Transform an artificial pumpkin into a charming Winnie the Pooh decoration with this easy DIY craft.
Our own summary of the original — the full post and photos live at thefarmgirlgabs.com.
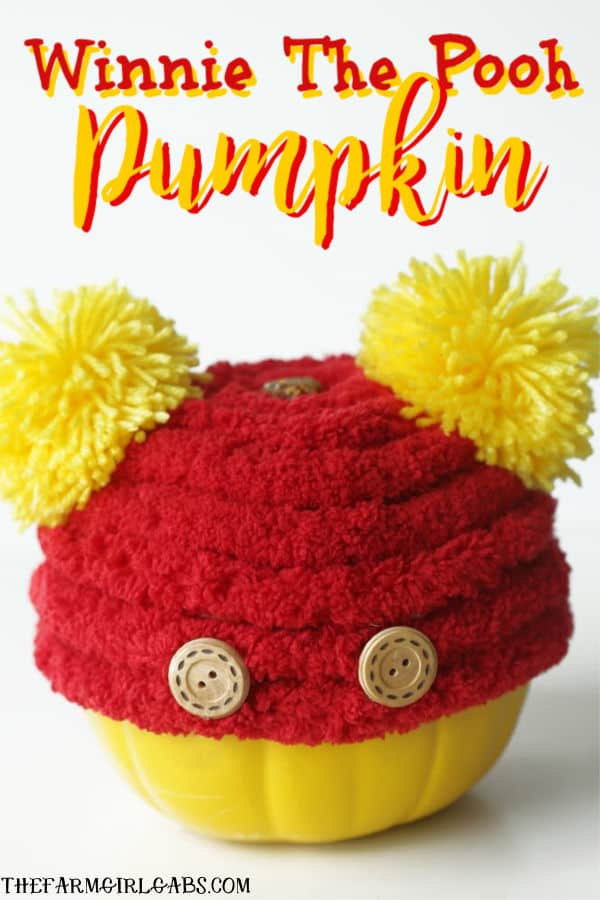
This project shows you how to make a Winnie the Pooh pumpkin using an artificial pumpkin, yellow spray paint, yarn, and a few simple supplies. You'll create fluffy pom-pom ears and add button details, resulting in a cute fall decor piece. The step-by-step instructions guide you through painting, pom-pom making, and assembly.
You'll need
Directions
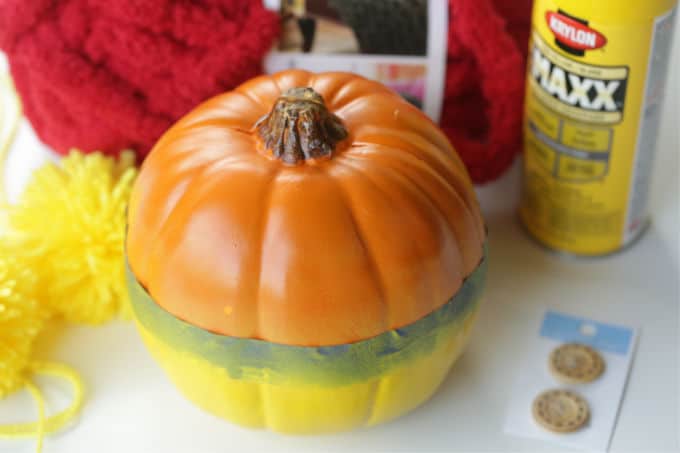
- Cover the upper half of the artificial pumpkin with painters' tape, then spray the exposed lower half with yellow paint. Let the paint dry fully before moving on.
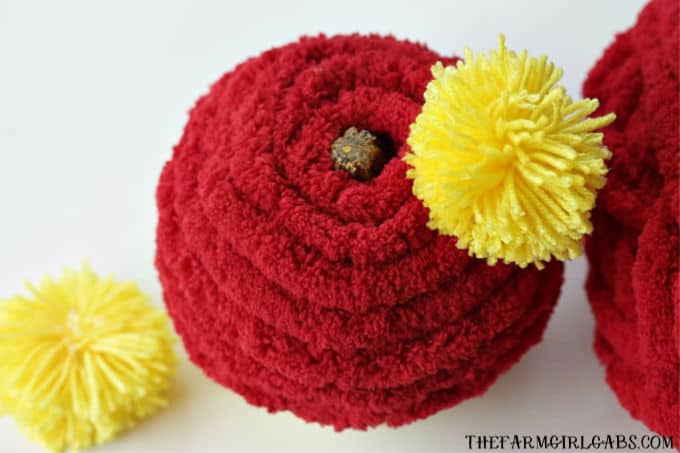
- Attach one pom-pom to each side of the pumpkin's top using hot glue. These will form Pooh's ears. Instructions for making the pom-poms follow.
- Glue the two wood buttons to the lower front of the pumpkin to represent the buttons on Pooh's shirt.
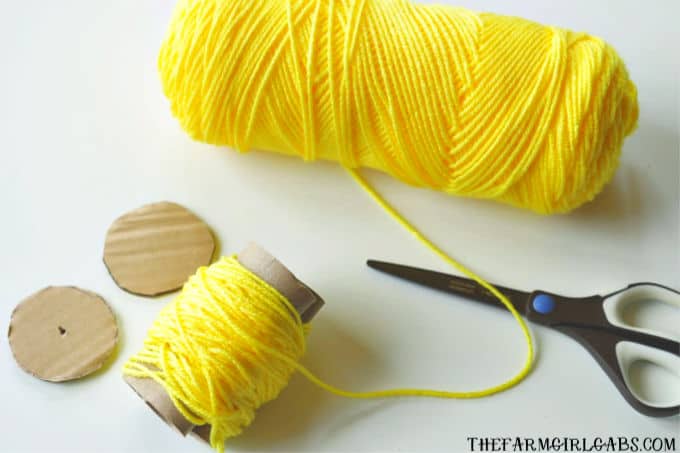
- Take your yellow yarn and wrap it 120 times around two toilet paper holders placed side by side. More wraps yield thicker pom-poms.
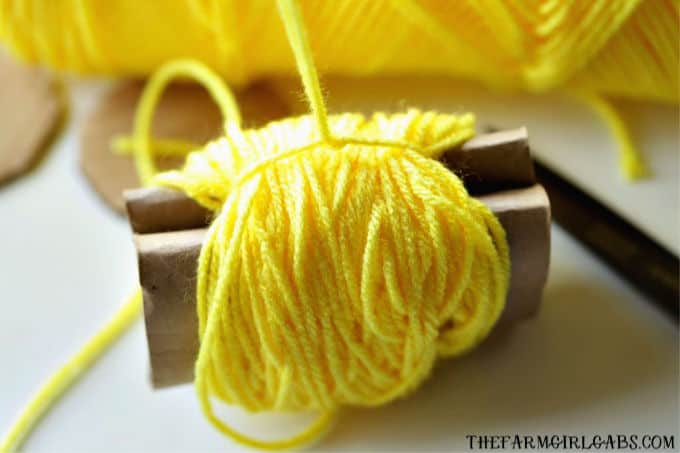
- Tie a tight knot around the entire bundle of yarn at the center, then slide the yarn off the toilet paper holders after knotting.
- Cut through the yarn loops on both sides of the knot to create a shaggy pom-pom shape.
- Place one cardboard circle on top of the pom-pom and one underneath, sandwiching it. Trim around the edges of the circles to shape the pom-pom into a neat round form.
More photos
Photos hosted by thefarmgirlgabs.com.





