Painted PumpkinsNo. 6225 · The 2026 edition
Minion Pumpkin (No Carve)
Transform a simple foam pumpkin into a cheerful yellow buddy without making a single cut! This no-carve project uses everyday craft supplies to create a recognizable character perfect for your fall de
Our own summary of the original — the full post and photos live at funmoneymom.com.
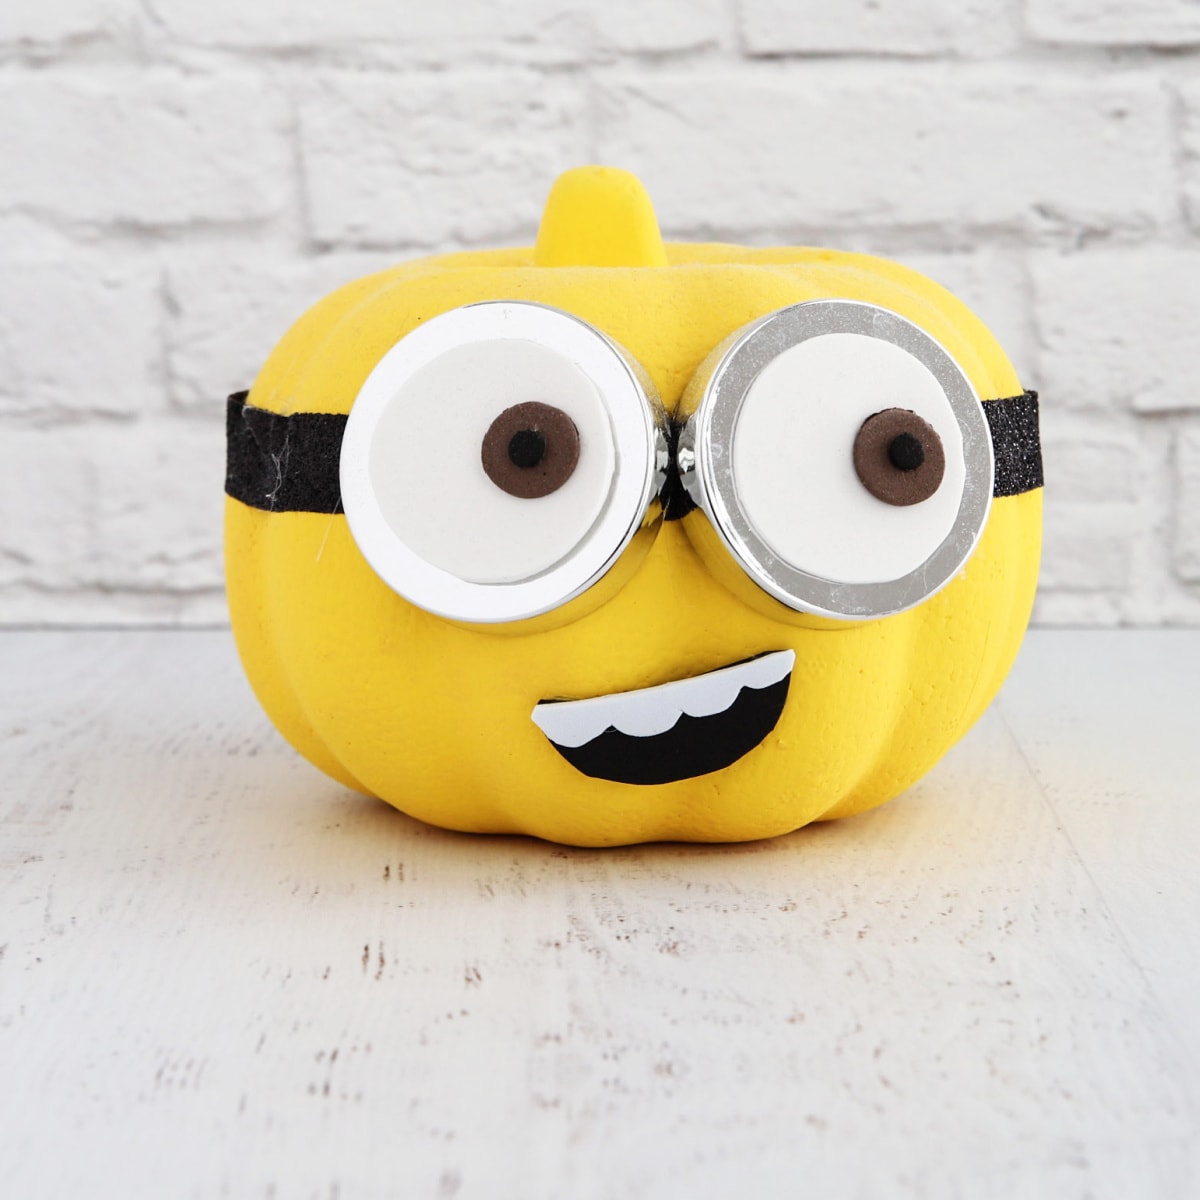
This no-carve pumpkin project requires a foam pumpkin, yellow paint, black ribbon, and various craft foam colors. The process involves painting the pumpkin yellow, adding a ribbon band, and attaching jar lids or silver foam circles as eye bases. By tracing circles from household items and a quarter, you create layered eyes with white, brown, and black foam. Finally, assemble a toothy grin from black and white foam to complete the character.
You'll need
Directions
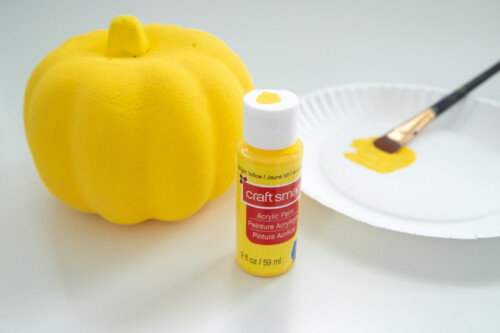
- Apply a layer of yellow acrylic paint to the foam pumpkin. Allow the surface to dry for roughly half an hour, then check the coverage. If the color appears uneven or translucent, add another coat until you achieve a solid finish.
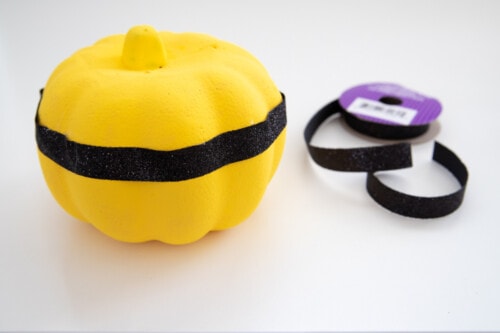
- Position a strip of half-inch black ribbon around the pumpkin's circumference. Align the ribbon so it sits approximately one-third of the distance down from the top of the pumpkin.
- Secure the metal jar lids to the pumpkin using hot glue. If metal lids are unavailable, cut circular shapes from silver or grey craft foam to serve as the eye sockets.
- Place a common household item, such as a milk jug cap or a spice jar lid, onto a sheet of white craft foam. Trace around the edge to create a large circle for the eyeballs.
- Take a quarter and place it on the brown craft foam. Trace around its edge to cut out a smaller circle that will act as the iris.
- Create two tiny dots for the pupils using black craft foam. You can use a hole punch for precision, or simply cut small circles with scissors. Alternatively, a black marker or a dot of black paint works perfectly. Once prepared, use hot glue to stick the brown iris circles onto the white eyeballs, and then attach the black pupils to the center of the irises.
- Position the completed eye assemblies onto the silver lids or foam circles and secure them with hot glue.
- Cut a wide, toothy grin shape from black craft foam and add individual teeth using small pieces of white craft foam. Glue the teeth onto the black mouth piece, then attach the entire mouth assembly to the pumpkin below the eyes.
More photos
Photos hosted by funmoneymom.com.





