Painted PumpkinsNo. 6504 · The 2026 edition
Minion Pumpkin (No Carve)
Transform a simple foam pumpkin into a beloved animated character without making a single cut! This no-carve project uses everyday craft supplies to bring a cheerful Minion to life.
Our own summary of the original — the full post and photos live at funmoneymom.com.
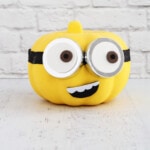
This guide outlines how to decorate a foam pumpkin to resemble a Minion using yellow paint, ribbon, and various craft foam pieces. The process involves painting the pumpkin, adding a ribbon strap, attaching silver lids or foam circles for eyes, constructing detailed eyes with white, brown, and black foam, and finally adding a foam mouth to complete the look.
You'll need
Directions
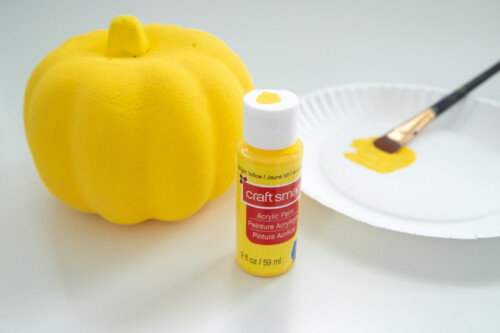
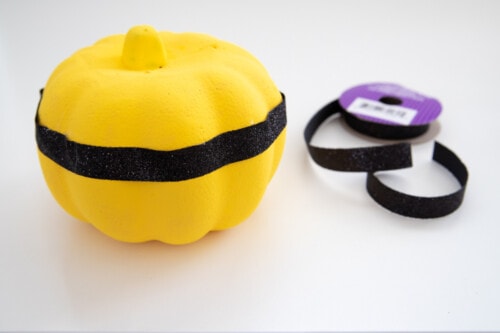
- Apply a layer of yellow acrylic paint to the foam pumpkin and allow it to dry for roughly 30 minutes. If the initial coverage looks thin, add another coat for full opacity.
- Position a half-inch wide black ribbon around the pumpkin, securing it approximately one-third of the distance down from the top.
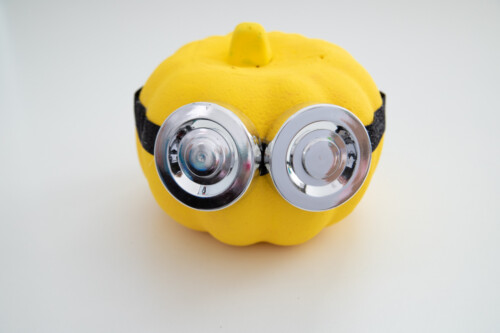
- Secure metal jar lids to the pumpkin using hot glue. Alternatively, cut circular shapes from silver or grey craft foam to serve as the base for the eyes.
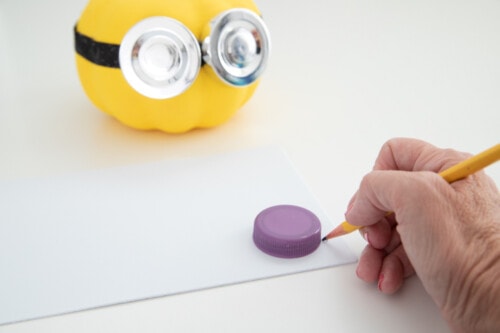
- Place a common household item, such as a spice jar cap or milk jug lid, onto white craft foam and trace around it to create a large circle.
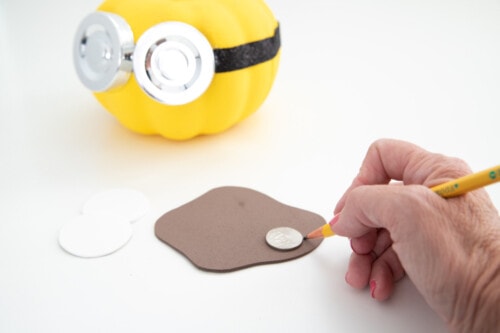
- Use a quarter to trace a smaller circle onto a piece of brown craft foam.
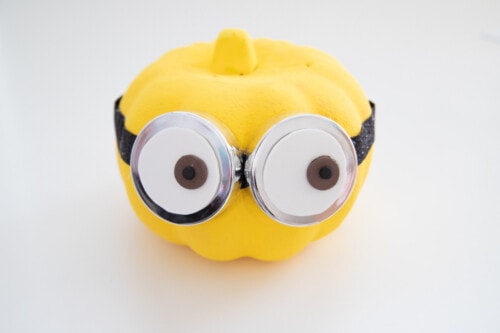
- Create two small black circles for the pupils using a hole punch on black craft foam, or simply draw dots with a black marker or paint. If cutting by hand, use scissors to snip out tiny circles. Apply hot glue to stick the brown circles onto the white ones, then attach the black pupils to complete the eye structure.
- Affix the finished eye assemblies onto the silver lids or foam circles.
- Cut out a mouth shape and individual teeth from black and white craft foam, then bond them together. Glue this assembly to the pumpkin to finish your creation.
More photos
Photos hosted by funmoneymom.com.





