Painted PumpkinsNo. 9906 · The 2026 edition
No-Carve Sugar Skull Pumpkins
Transform ordinary pumpkins into vibrant sugar skull art without making a single cut! This no-carve method uses paint and markers to create a stunning, long-lasting Halloween decoration that captures
Our own summary of the original — the full post and photos live at brit.co.
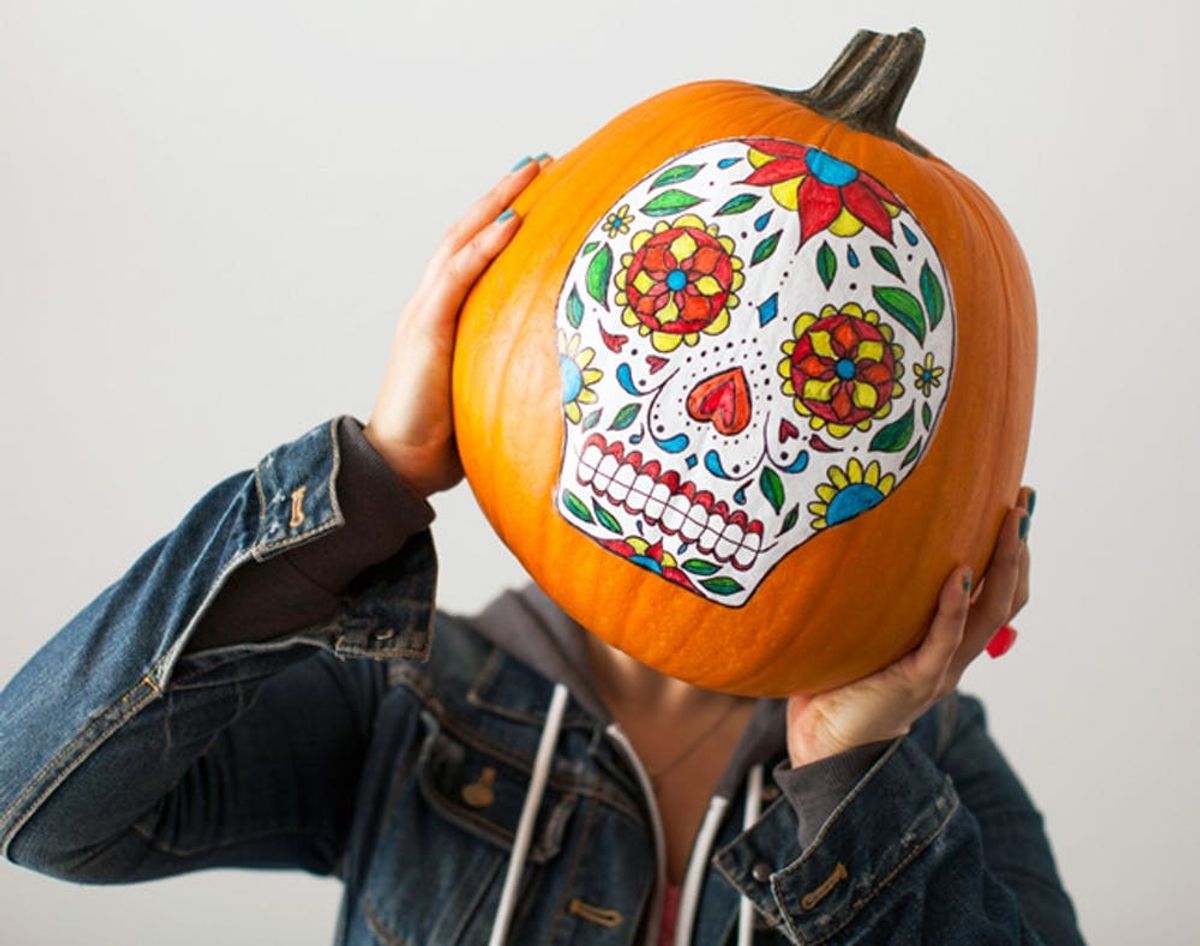
This project guides you through creating decorative sugar skull pumpkins using a printable template, white acrylic paint, and colorful Sharpie markers. By tracing, painting, and drawing over a base layer, you can achieve intricate, vibrant designs without carving. The process includes preparing the pumpkin surface, applying a white base, planning your artwork on practice sheets, and adding detailed floral and graphic elements with markers for a festive, no-carve Halloween display.
You'll need
Directions
- Begin by printing the skull outline and practice pages from the provided link.
- Carefully cut out the gray section of the skull template using your X-Acto knife.
- Wipe down the pumpkin until it is free of dirt or debris. Position the template on the gourd and trace only the outer perimeter of the skull shape with a pencil.
- Apply white acrylic paint to cover the entire traced area. Let the coating dry fully before moving on.
- Use the drying time to brainstorm your skull artwork. Browse the Dia de los Muertos Pinterest board for ideas and sketch your concepts on the practice sheets.
- Once the paint is dry, place the template back over the white section. Use a black Sharpie to outline the eyes, nose, and teeth.
- Add your unique sugar skull details using the black marker. Incorporate graphic floral patterns, flourishes, dots, or even a spider web design.
- Color your design with bright Sharpie markers. Avoid pressing too firmly to prevent removing the white base coat. For best results, use a marker that has been used enough to soften the tip but still holds plenty of ink. If a new marker feels too stiff, press its tip onto paper to soften it, which helps the color appear more vibrant and brush-like.





