Painted PumpkinsNo. 8809 · The 2026 edition
Olaf Pumpkin Idea for Halloween
Transform five pumpkins into a whimsical Olaf decoration with this easy DIY Halloween idea.
Our own summary of the original — the full post and photos live at kidfriendlythingstodo.com.
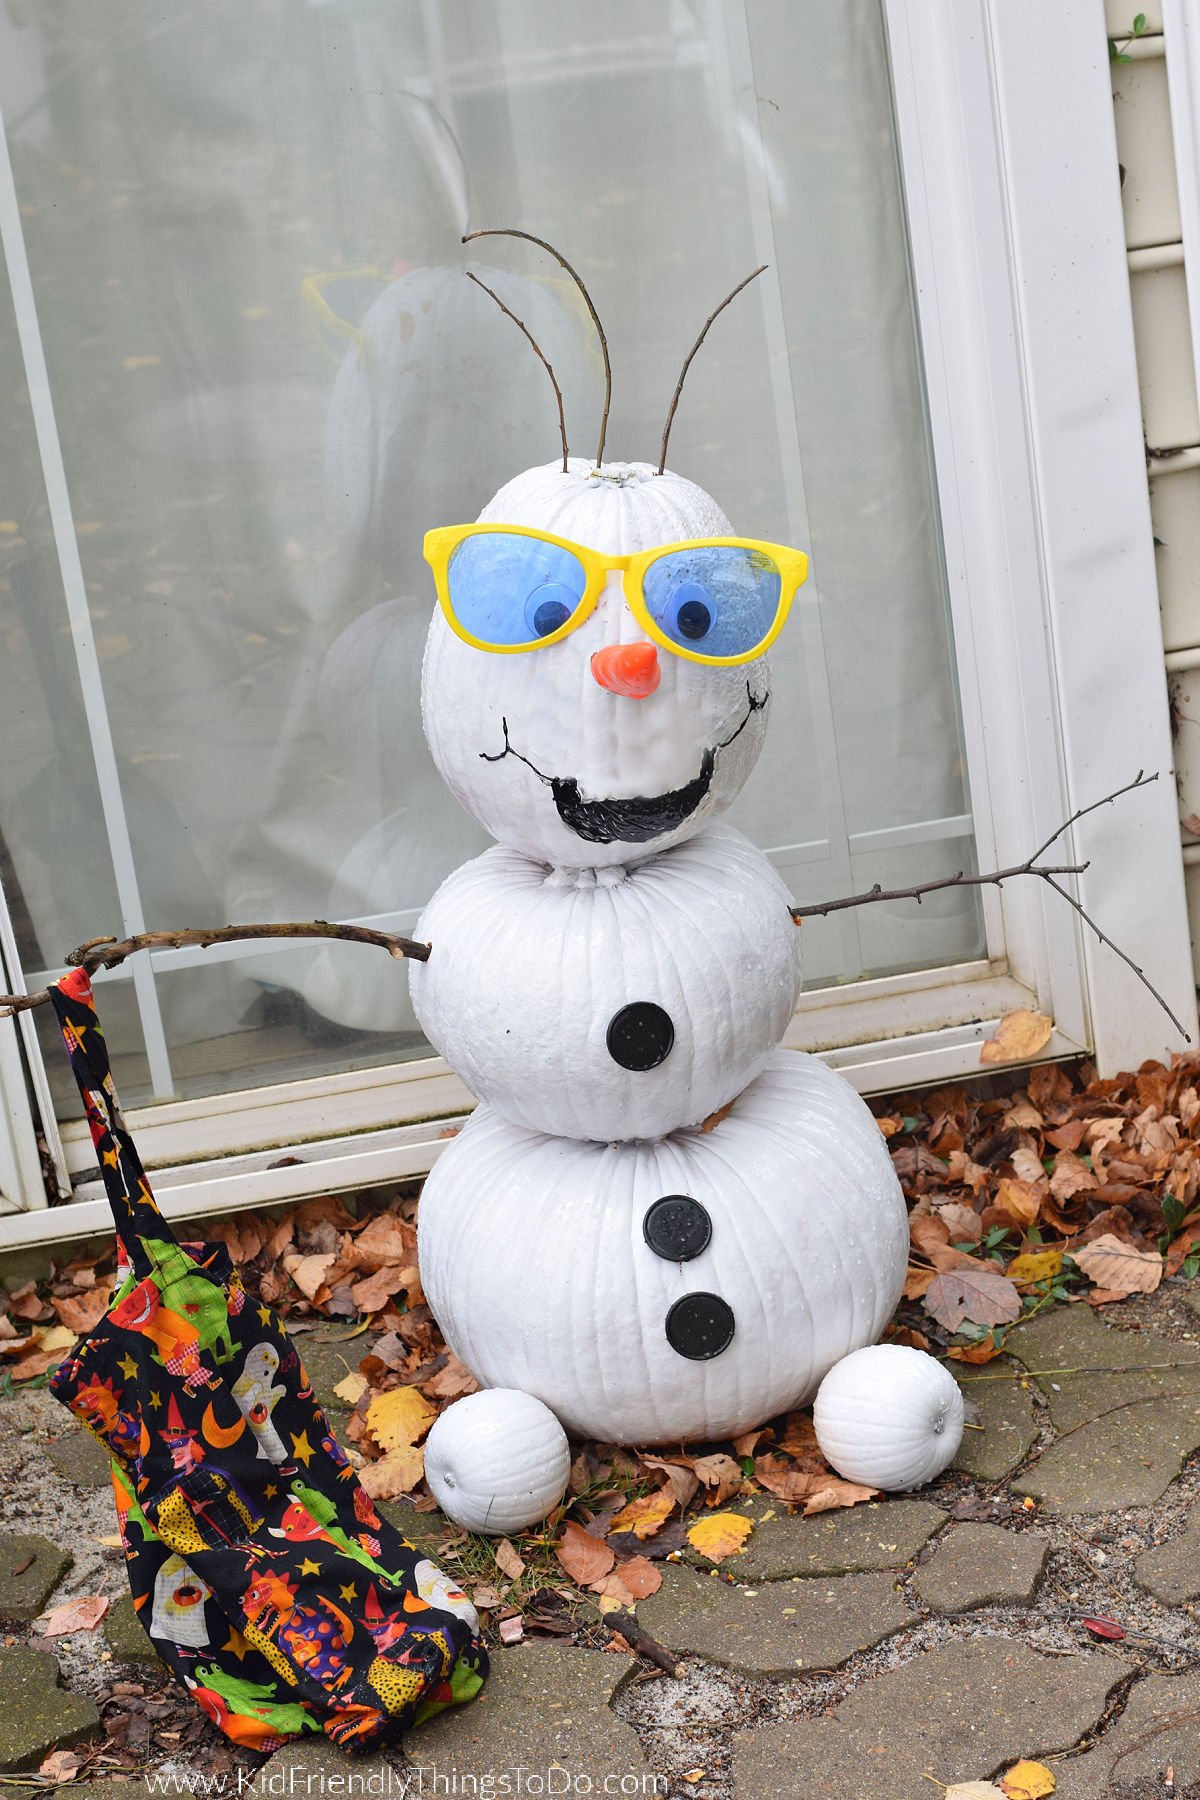
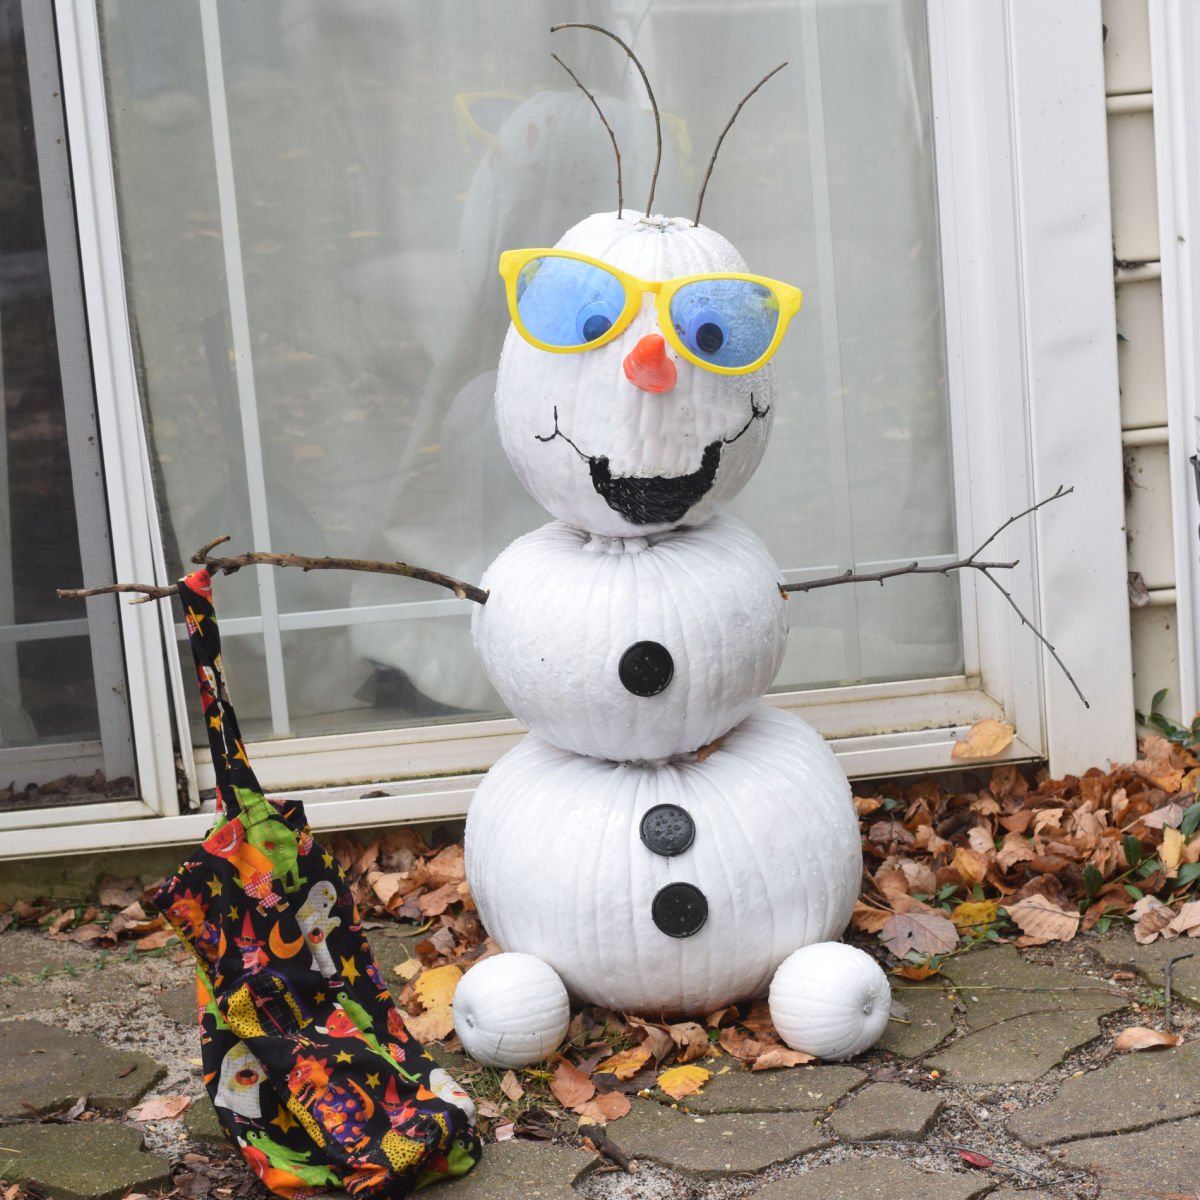
This project uses five pumpkins of various sizes, white spray paint, and snowman accessories to create a friendly Olaf. The pumpkins are stacked and painted white, then decorated with a carrot nose, stick arms, and black buttons. Finally, add a Halloween costume and treat bag for a festive touch.
You'll need
Directions
- Lay down a tarp or similar protective cover to place the pumpkins on while you paint them.
- Wash each pumpkin thoroughly and pat them dry.
- Remove the stems from all pumpkins using a sharp knife.
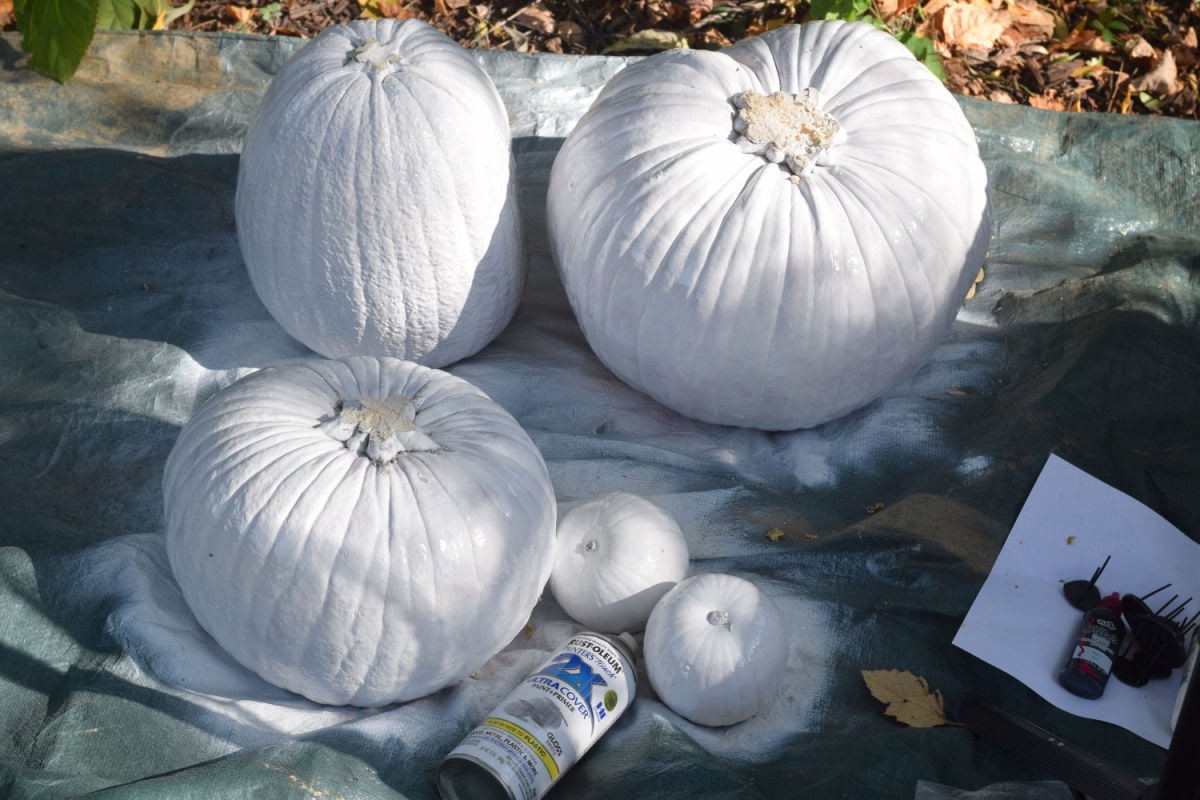
- Apply an even coat of white spray paint to all pumpkins and allow them to dry completely. (Rustoleum paint and primer works well; consider buying two cans.)
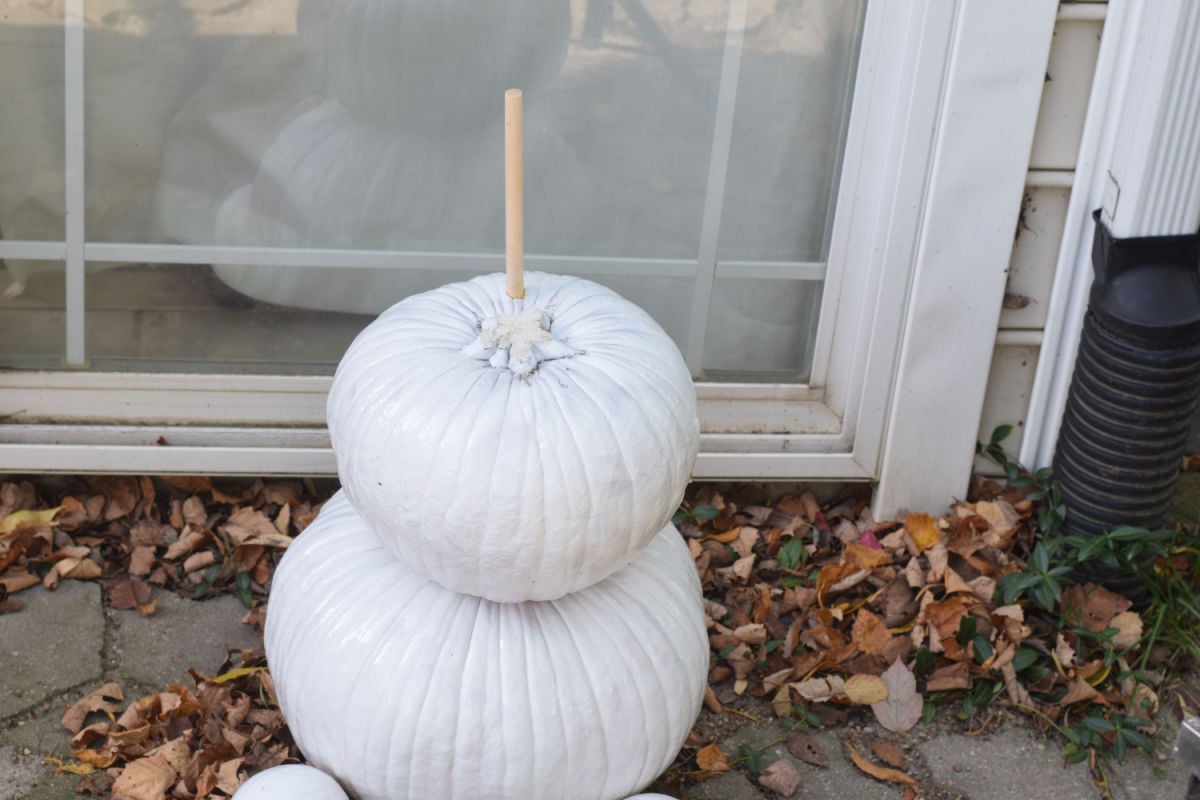
- Stack the pumpkins using wooden dowels for stability: place the largest pumpkin at the bottom, the flat Cinderella pumpkin in the middle, and the oval pumpkin on top for the head.
- With black paint, paint a U-shaped mouth on the top pumpkin.
- Create a large tooth for Olaf using white puffy paint or white foam paper, and attach it above the mouth.
- Poke holes in the sides of the middle (Cinderella) pumpkin with a sharp tool, then insert tree branches to form Olaf’s arms. Also add smaller branches on top of the head for his hair.
- Attach black buttons (like from a snowman kit) down the front of the middle pumpkin, and place a carrot nose on the face.
- Set the two smallest pumpkins on their sides at the base to serve as Olaf’s feet.
- Complete the look by dressing Olaf in a Halloween costume (like a mask) and giving him a treat bag.
More photos
Photos hosted by kidfriendlythingstodo.com.





