Painted PumpkinsNo. 7395 · The 2026 edition
Painted Mini Pumpkins
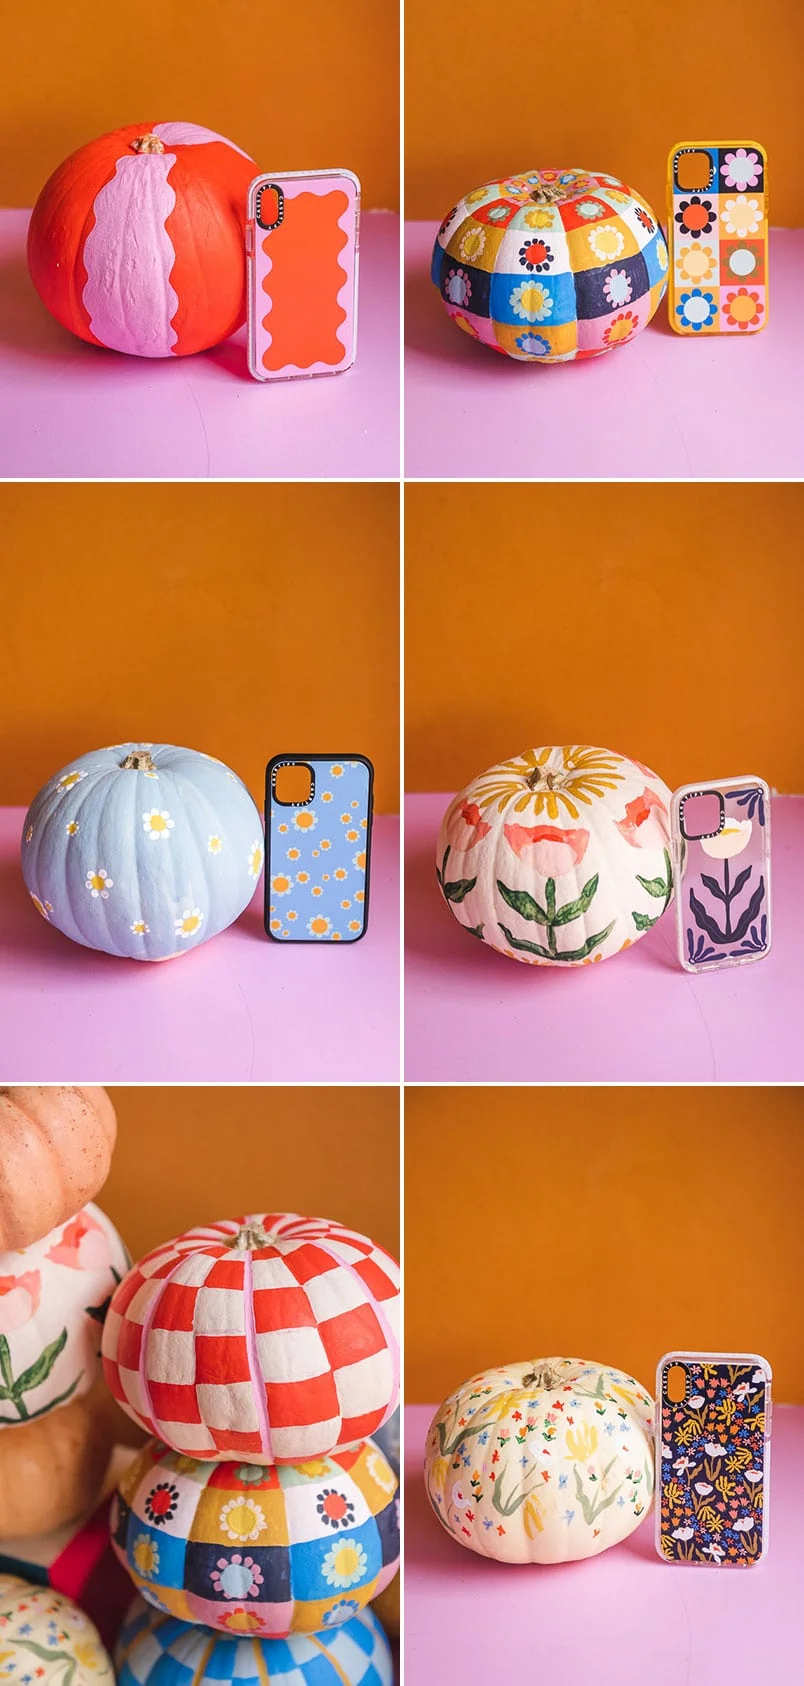
Transform mini pumpkins into stunning works of art with these 6 creative painting techniques.
Our own summary of the original — the full post and photos live at thehousethatlarsbuilt.com.
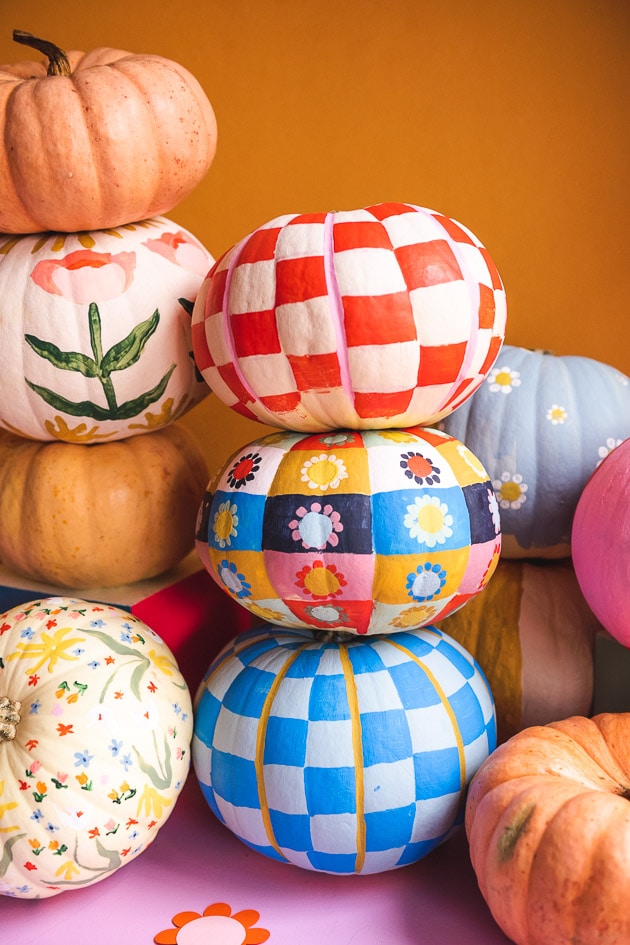
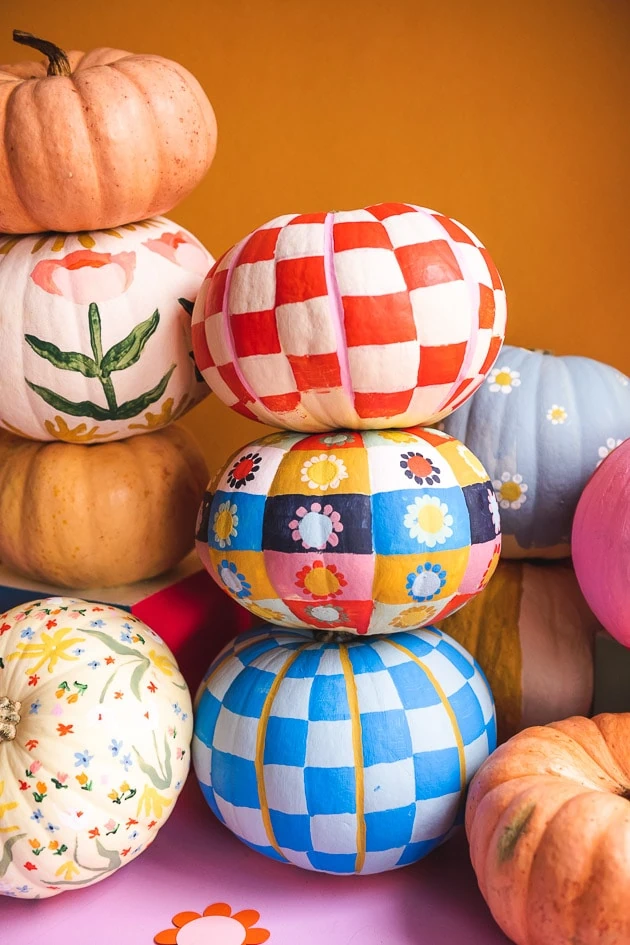
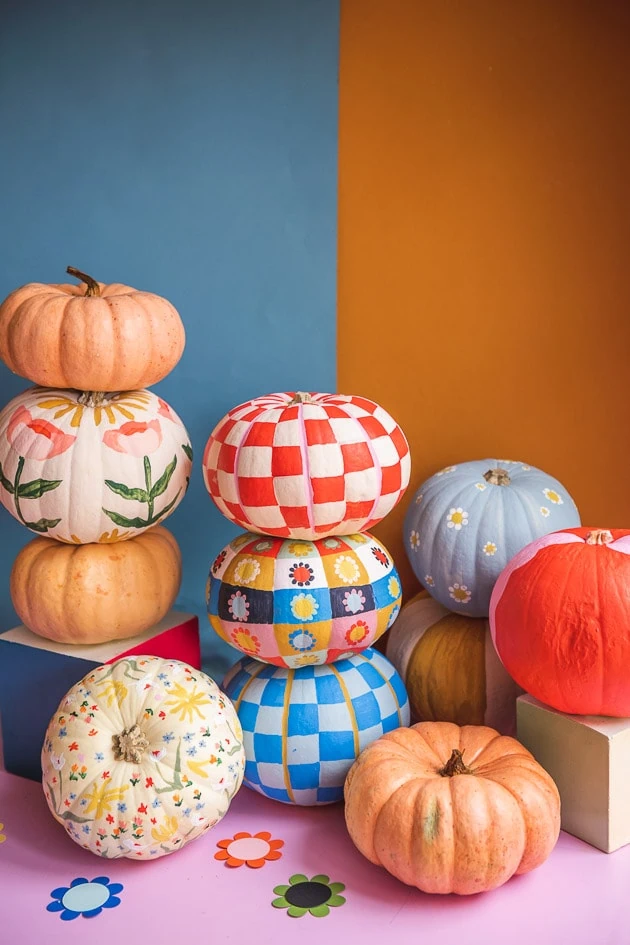
This guide covers six different painting techniques for mini pumpkins: checkerboard, quilted, scattered flowers, tall floral, wavy accent, and flower garden. Each method includes step-by-step instructions for applying base colors, drawing guides, and painting details. Optional UV sealant helps preserve your designs.
You'll need
Directions
- Apply a base coat of the lighter color to the entire pumpkin and allow to dry.
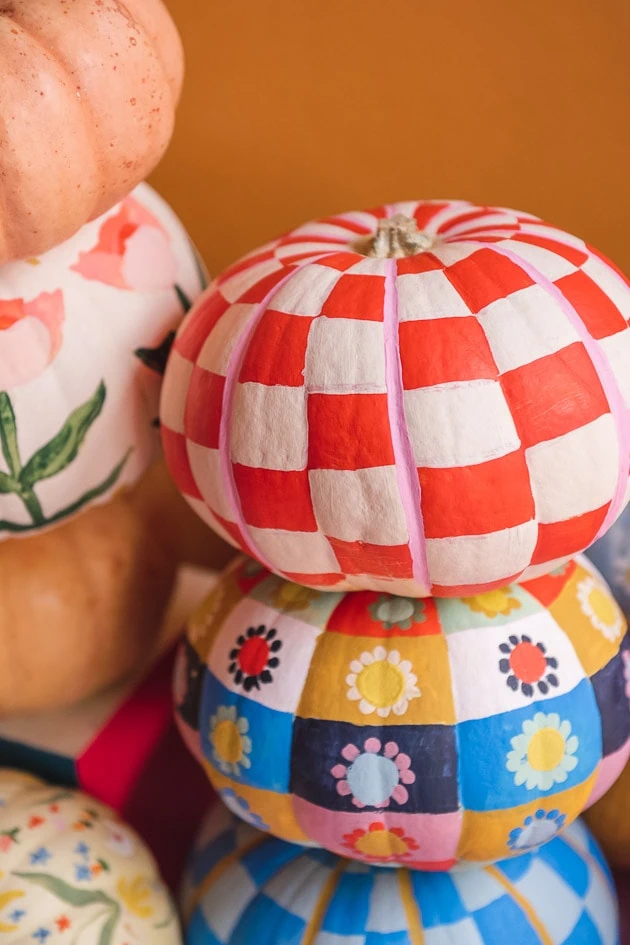
- Use a fine-tip permanent marker to trace lines along each natural groove of the pumpkin; they don't need to be exact but will guide painting.
- Add evenly spaced horizontal stripes around the pumpkin using the marker.
- Paint every other resulting box with the darker color, ensuring the marker lines are fully covered.
- Optionally paint thicker accent stripes over some lines for a decorative touch.
- If you like, apply a UV-protective sealant to preserve the paint.
- Using a permanent marker, create a grid pattern on the pumpkin (like the checkerboard but with cells spanning two grooves for larger quilt squares).
- Fill in each square with your chosen paint colors and let dry completely.
- With the blunt end of a pencil or a paintbrush handle, stamp a ring of petal shapes inside each square.
- Paint a small contrasting circle in the center of each petal ring.
- Optionally seal with UV-protective sealant.
- Apply a solid background color to the entire mini pumpkin.
- Use the same flower stamping technique from the quilted design, but place the flowers randomly across the pumpkin surface without a grid.
- Apply UV sealant if desired.
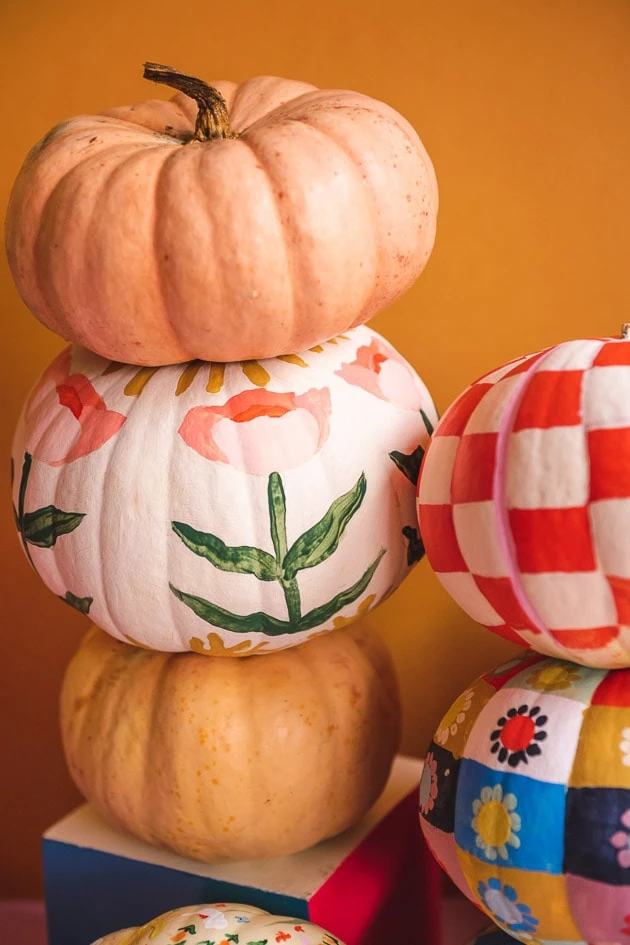
- Use a permanent marker to draw vertical lines along the pumpkin's natural ridges, splitting it into equal sections.
- Sketch your desired design in each section. For instance, a yellow abstract flower at the top, a tall symmetrical flower in red and pink with green stem and leaves in the middle, and two abstract yellow flowers at the bottom.
- Paint the background color over most of the pumpkin, being careful not to cover the flower sketches. Slight overshoot onto marker lines is fine as long as the outlines remain visible.
- Fill in the flower designs using yellow, pink, red, and green paints as planned.
- Seal with UV sealant if desired.
- Give the entire pumpkin a solid background color.
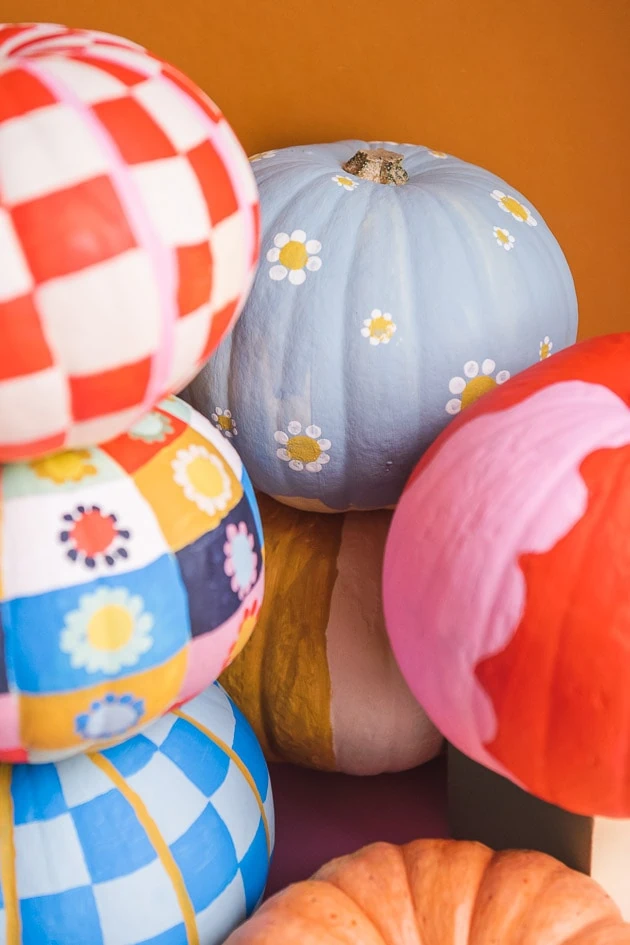
- Using an accent color, paint a wavy or squiggly outline down one side of the pumpkin.
- Fill in the wavy outline completely with the same accent color.
- Apply UV sealant if desired.
- Optionally paint the entire pumpkin with a solid background; you can leave it natural white if preferred.
- Use green paint to create curved stems and wavy leaves, placing them randomly around the pumpkin.
- At the top of each stem, paint a white or light pink flower with a red center.
- Add abstract yellow flowers in various spots on the pumpkin.
- Fill any remaining bare areas with tiny periwinkle, pink, red, and orange flowers using small brushstrokes. You can add a tiny green stem below or a white dot in the center for variety.
- Seal with UV sealant if desired.
More photos
Photos hosted by thehousethatlarsbuilt.com.





