Porch & PatioNo. 6657 · The 2026 edition
Pumpkin Topiary
Transform your outdoor space with a glowing, multi-colored pumpkin display that captures the essence of autumn without the mess of carving real gourds.
Our own summary of the original — the full post and photos live at diycandy.com.
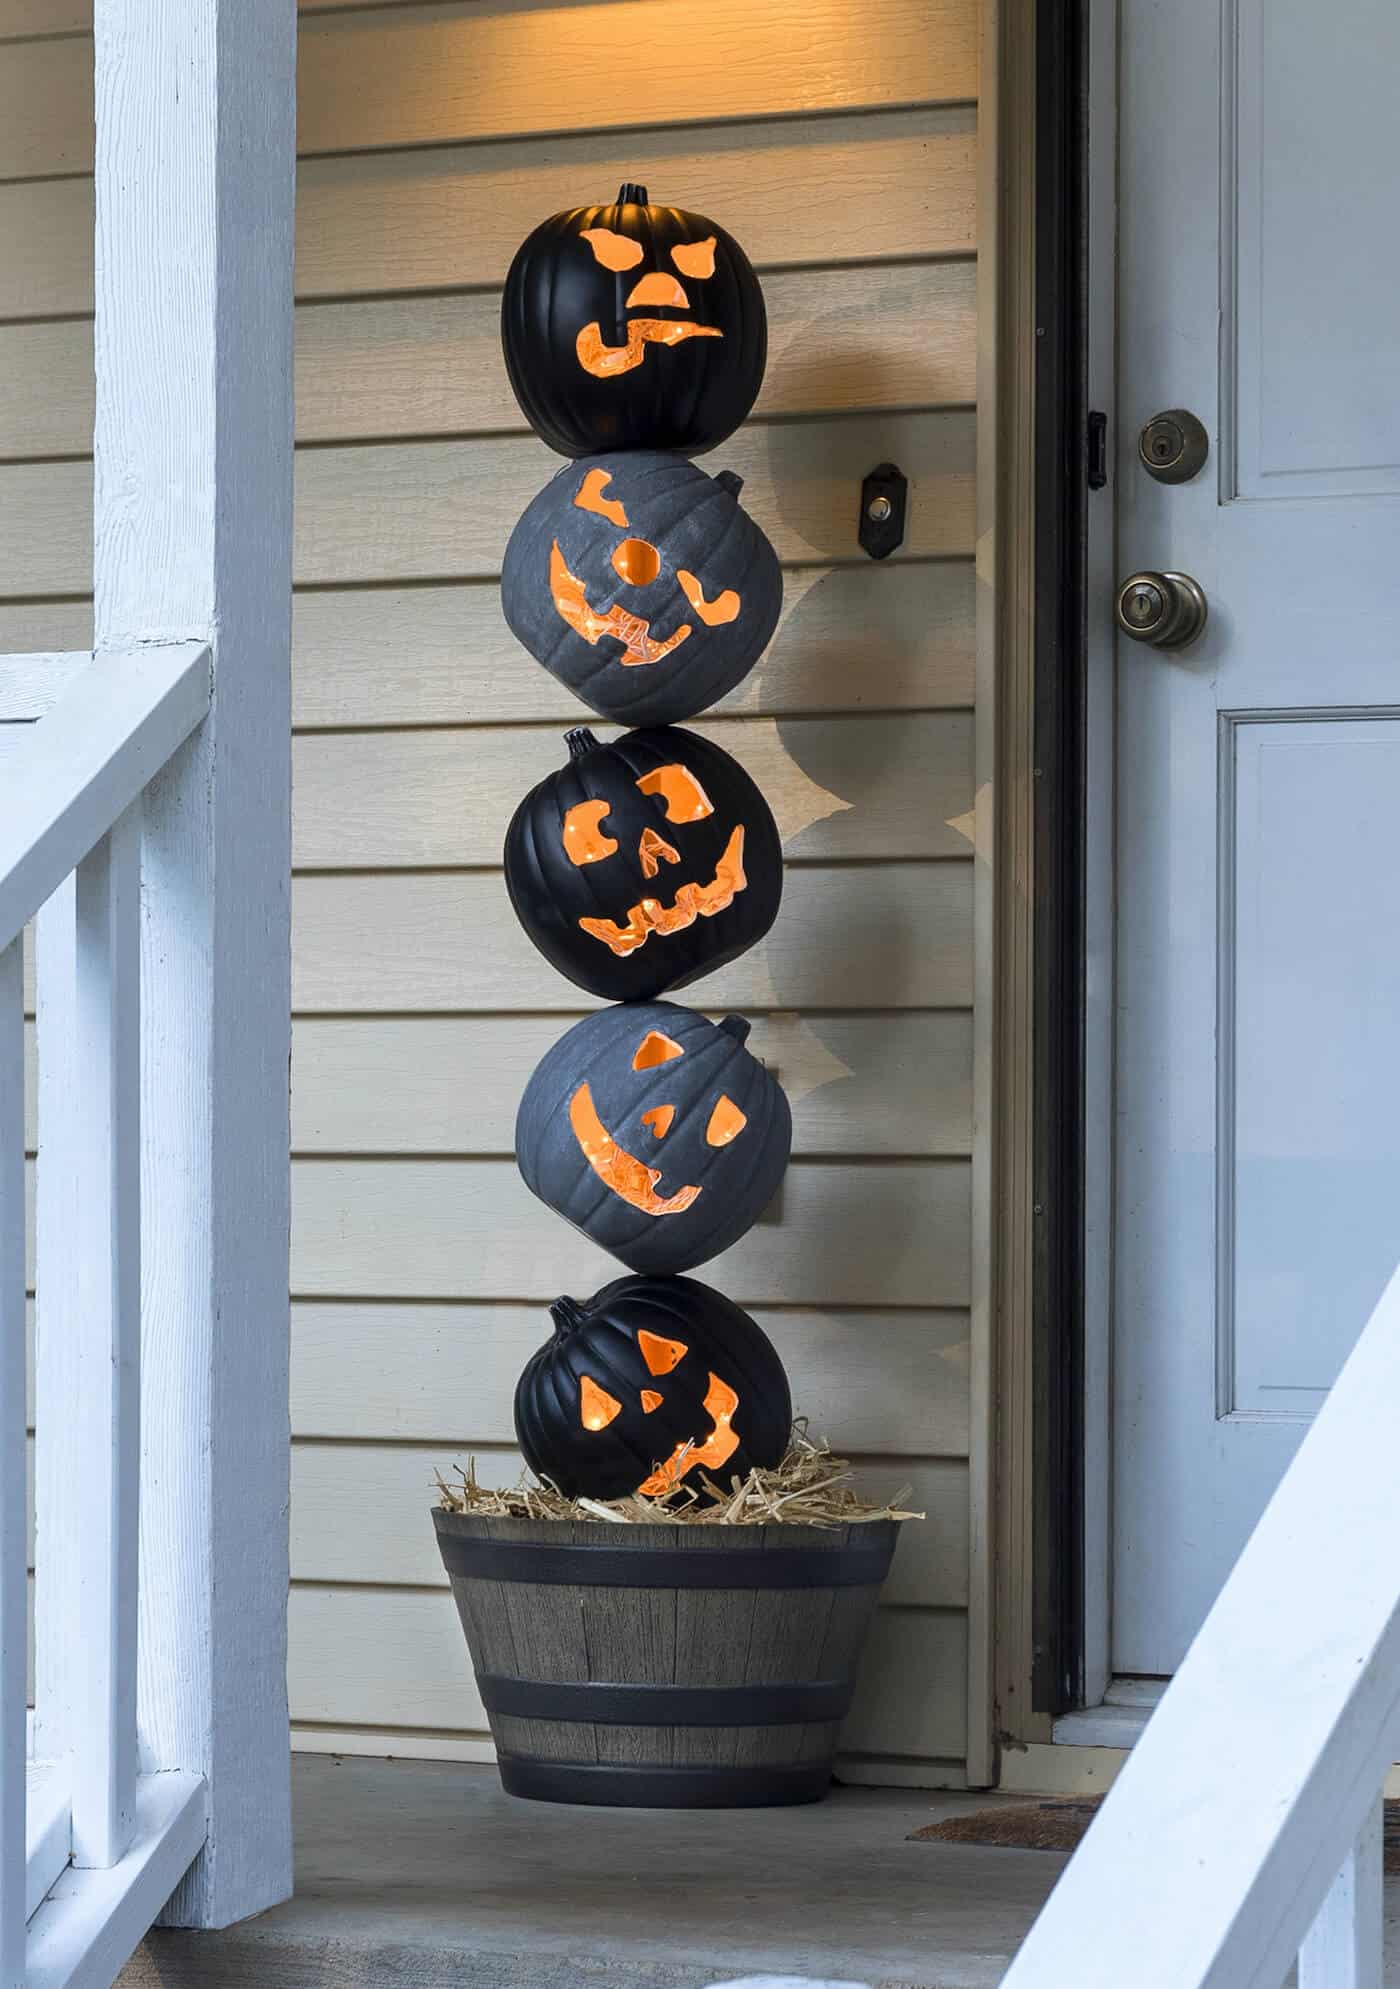
This project guides you through building a sturdy, illuminated pumpkin topiary using faux gourds, a wooden dowel, and outdoor Christmas lights. By stacking scrap lumber in a planter and securing a central rod with soil, you create a stable base for threading tilted pumpkins. The final result is a festive, long-lasting decoration that lights up your yard or patio.
You'll need
Directions
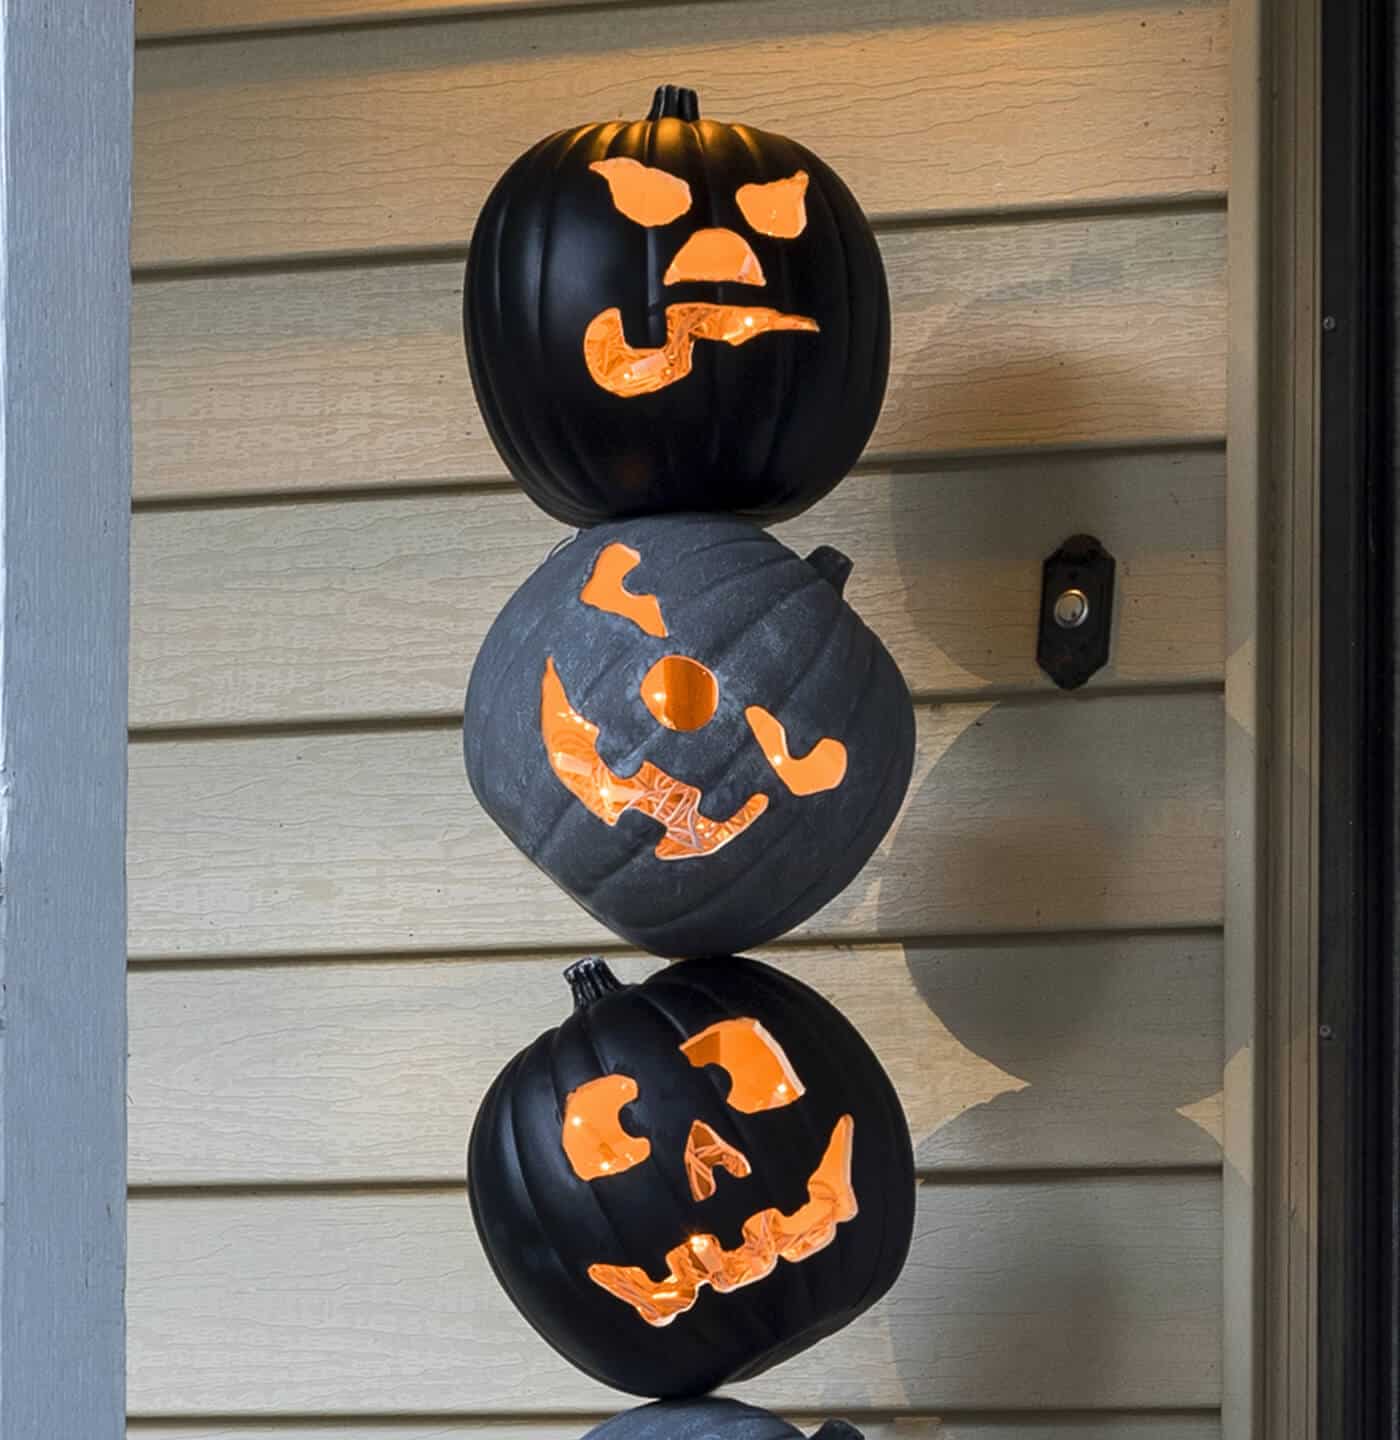
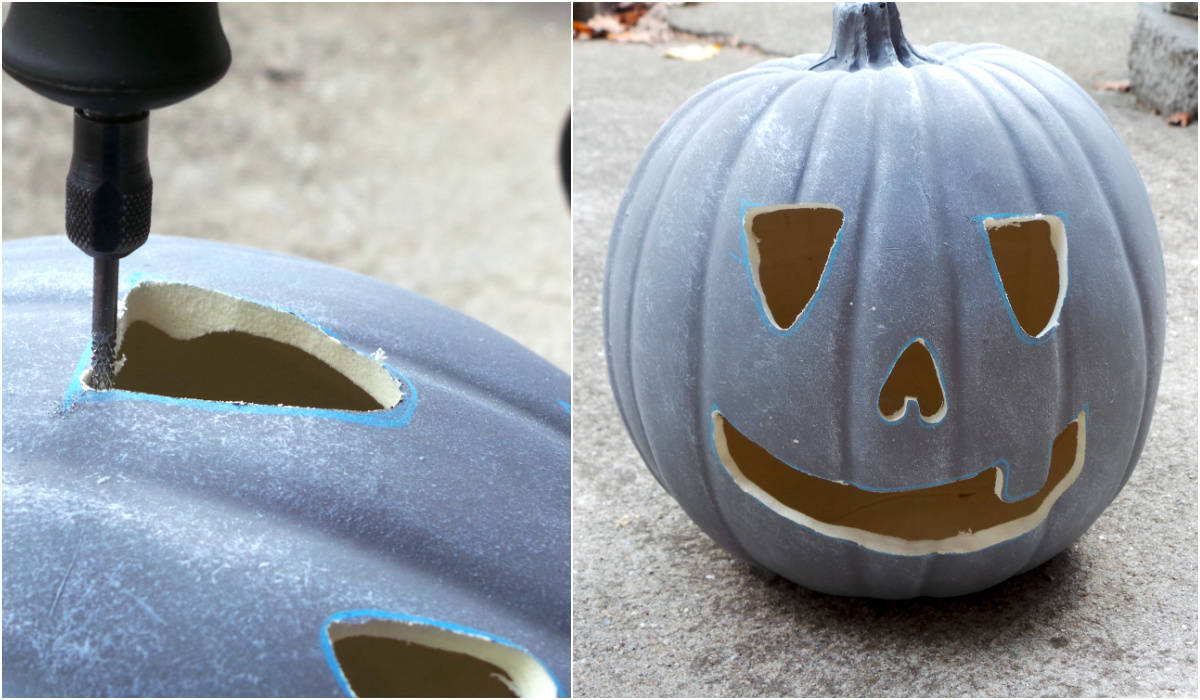
- Sketch a design on the surface of every faux pumpkin using a pencil. Then, carefully carve out those shapes with a rotary tool.
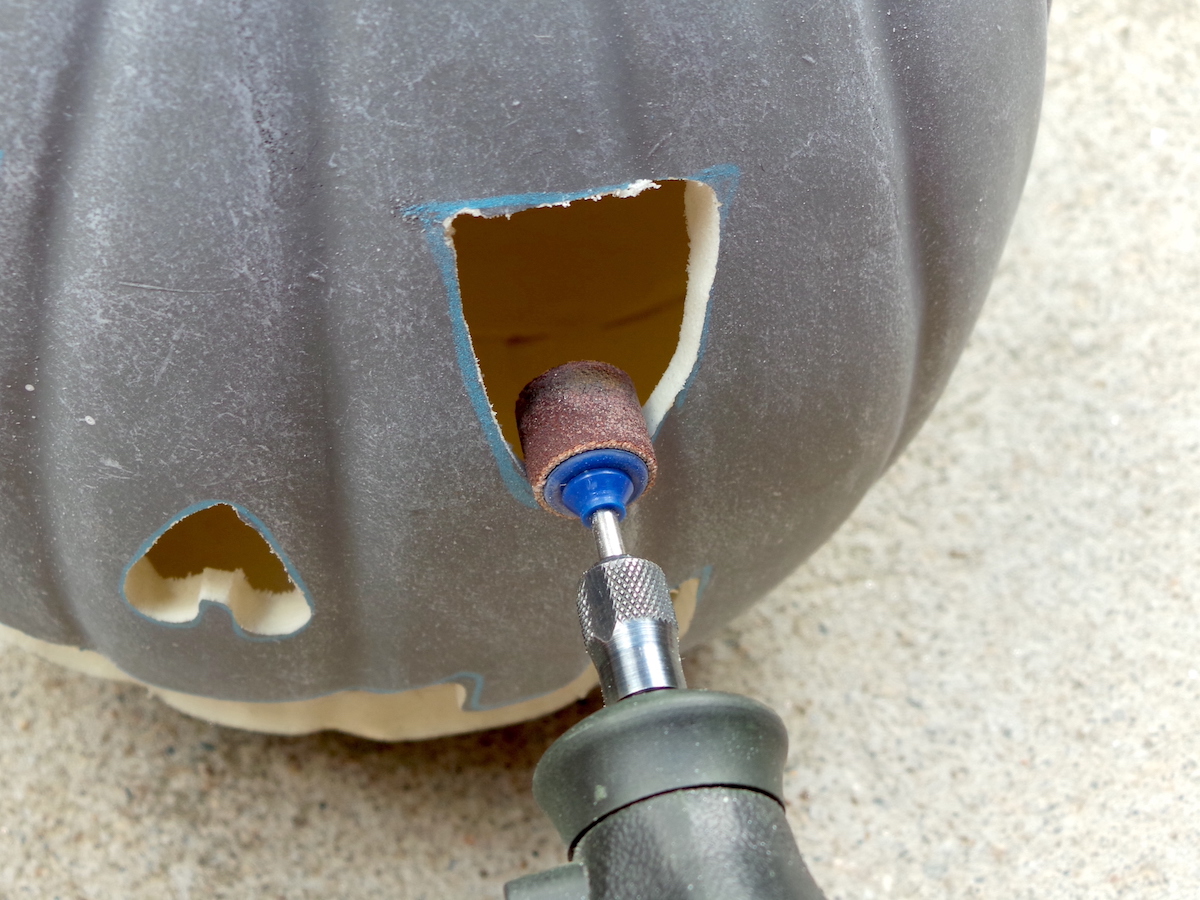
- Attach a sanding drum to your tool and smooth the interior edges of the carved features. Wipe away any leftover pencil marks.
- Arrange two offcuts of 2x4 lumber at the base of the brown plastic planter so they cross each other in an X shape.
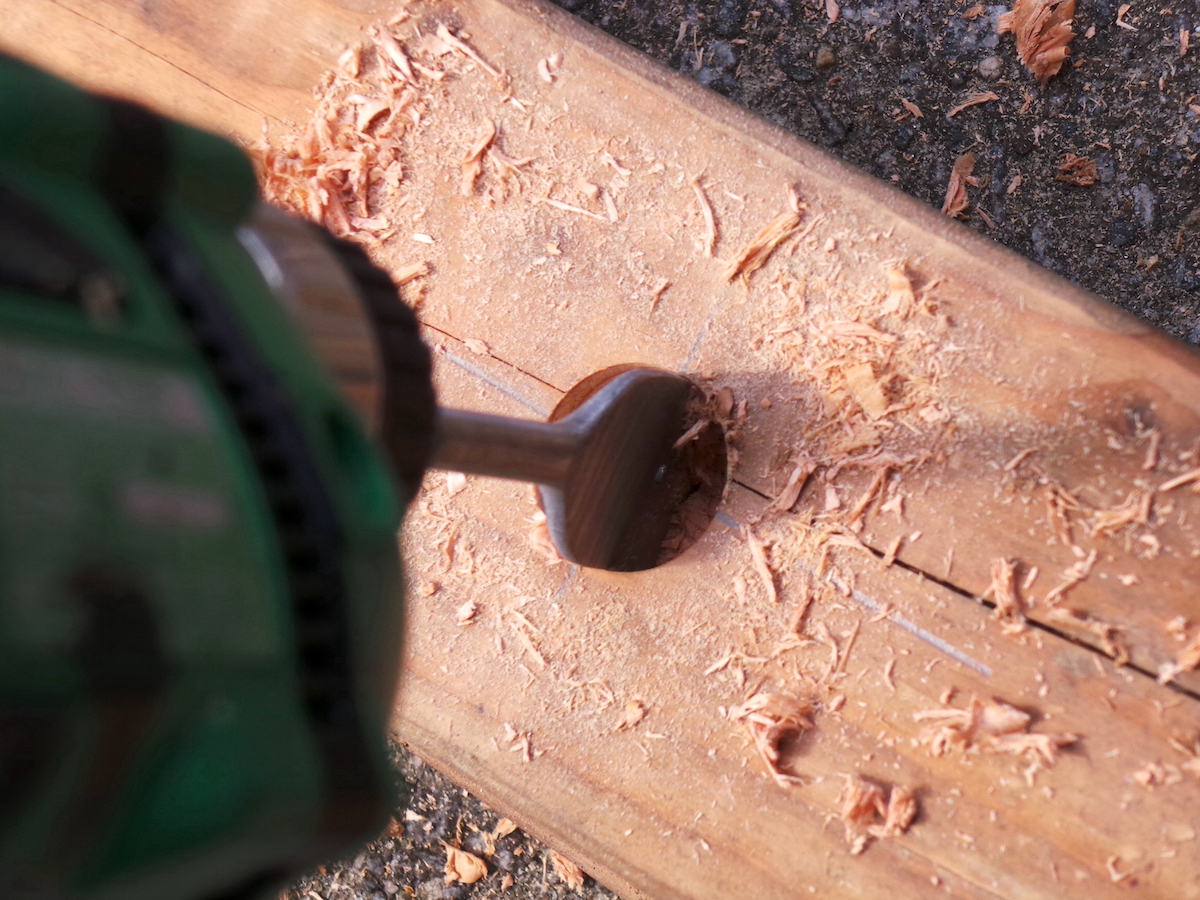
- Drill a single hole through both stacked lumber pieces using a 1-inch spade bit. Thread the 60-inch long, 1-inch diameter dowel rod through this opening and into the planter.
- Fill the planter with potting soil, pressing it down firmly to bury the wood and secure the vertical rod.
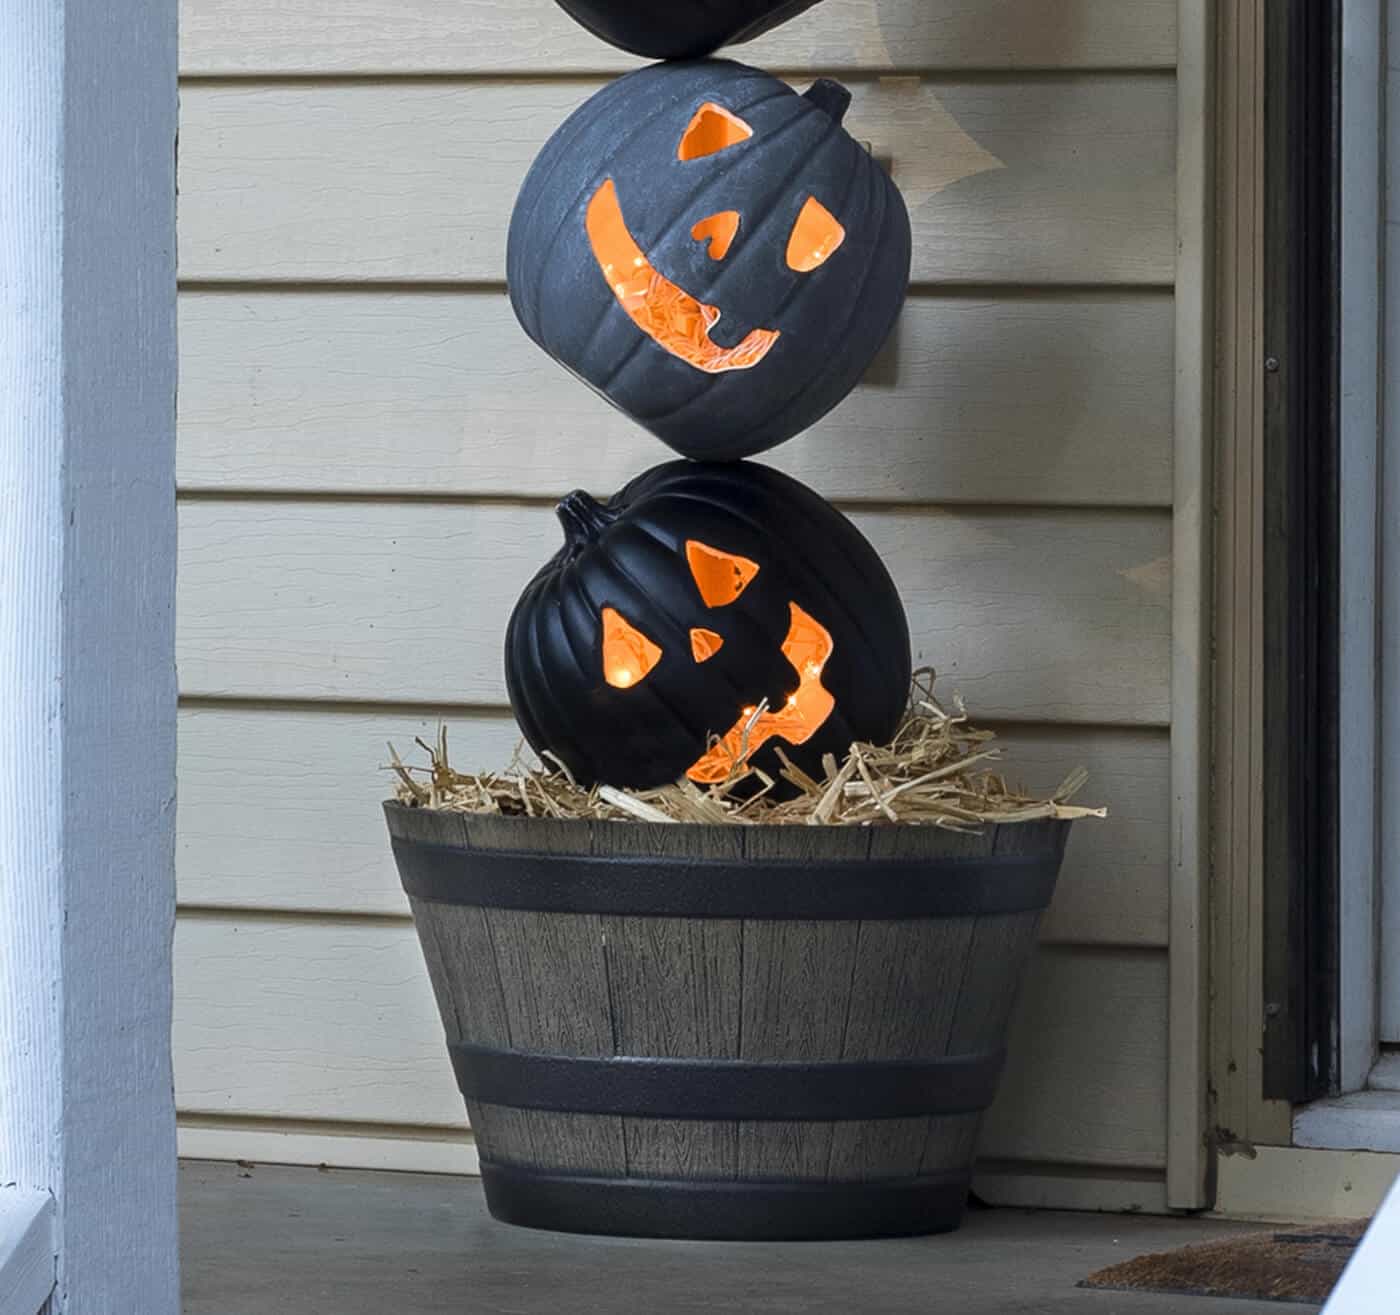
- Layer hay around the bottom of the structure inside the planter to create an autumnal base.
- Drill three 1-inch holes into each pumpkin: one near the top, one near the bottom, and one on the rear side. Angle the top and bottom holes to match the desired tilt of the pumpkins.
- Thread each carved pumpkin onto the vertical dowel rod.
- Tuck a strand of outdoor-rated Christmas lights behind each pumpkin, ensuring both wire ends remain accessible.
- Cut a round piece of black duct tape with a small slit in the center. Press it over the rear hole to cover the exposed light wires.
- Position the finished topiary next to an electrical outlet and plug it in to illuminate the display.
More photos

Photos hosted by diycandy.com.


:max_bytes(150000):strip_icc()/GettyImages-1432736508-43d6a0df230e4778a248ada4fa634e9c.jpg)