Painted PumpkinsNo. 6032 · The 2026 edition
Pumpkins Drip Painting Tutorial (No Carve DIY)
Transform plain white pumpkins into colorful masterpieces with this easy no-carve drip painting technique.
Our own summary of the original — the full post and photos live at momdot.com.
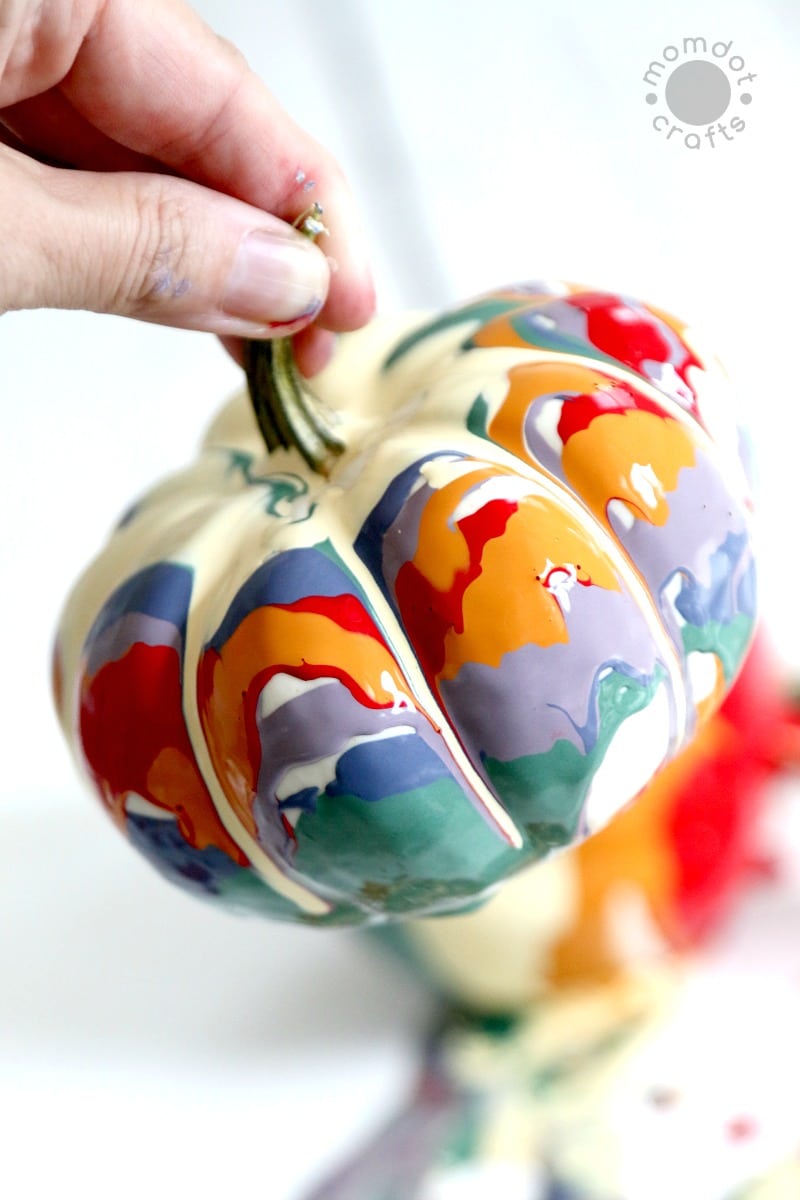
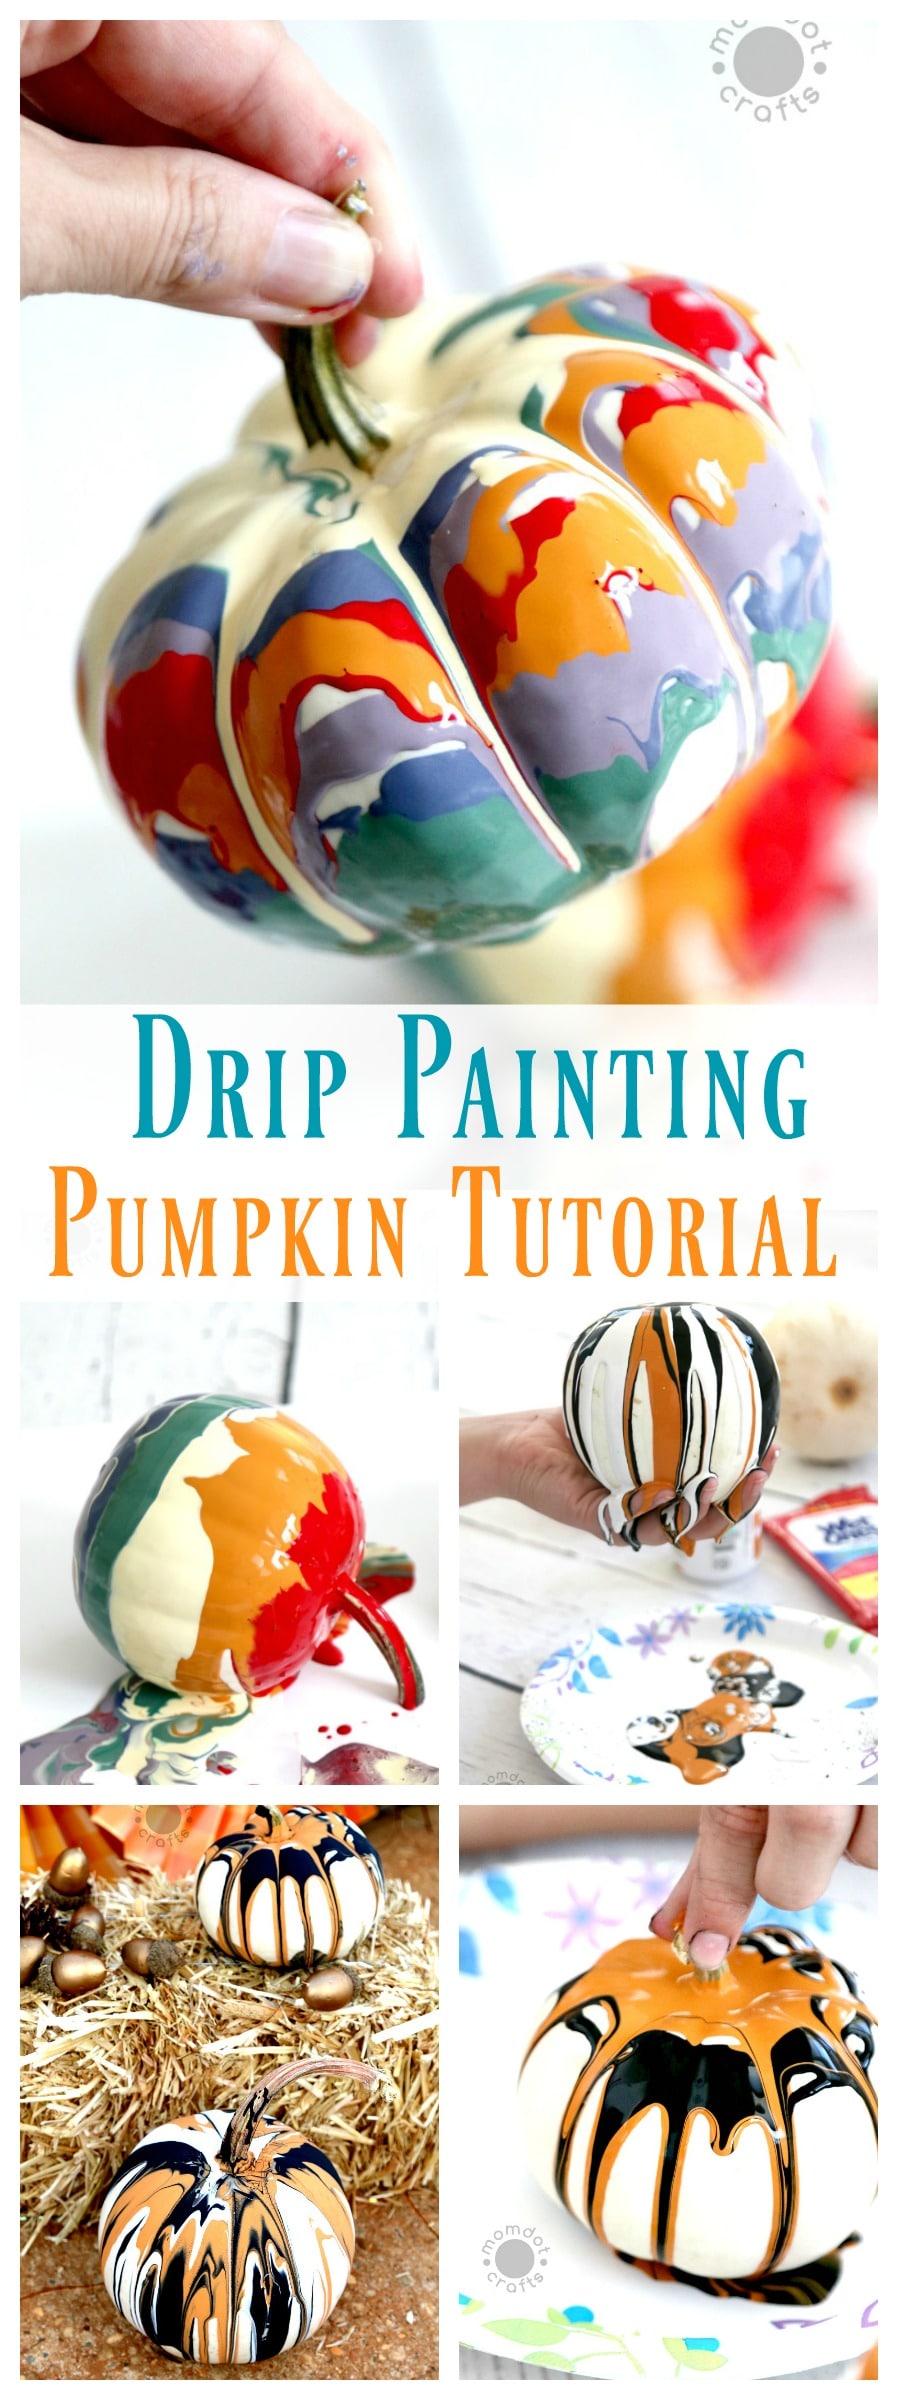
This tutorial shows how to create stunning drip-painted pumpkins without carving. Using milk paint and white pumpkins, you can achieve unique patterns by controlling the flow of paint. The process is messy but easy to clean up with Wet Ones, and results in a modern Halloween decoration.
You'll need
Directions
- Set up your work area by covering it with newspaper, paper plates, poster board, or card stock to catch drips.
- Using a small container or brush, drizzle milk paint onto the pumpkin in different ways—try stripes moving upward from the base, around an upright mini pumpkin, or in alternating colored circles.
- Guide the direction of drips by tilting the pumpkin or setting it down flat to pause dripping.
- For extra effect, swirl the paint gently or place the pumpkin on a jar so gravity pulls paint downward.
- Wipe your hands and any spills with Wet Ones hand wipes.
- Allow the pumpkin to dry completely before moving it or touching the painted surface.
More photos

Photos hosted by momdot.com.





