Wood ProjectsNo. 5832 · The 2026 edition
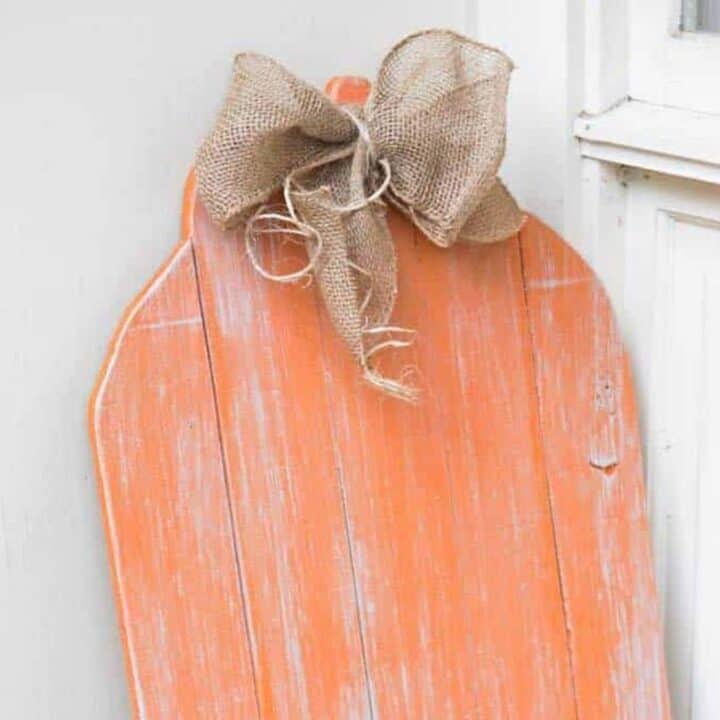
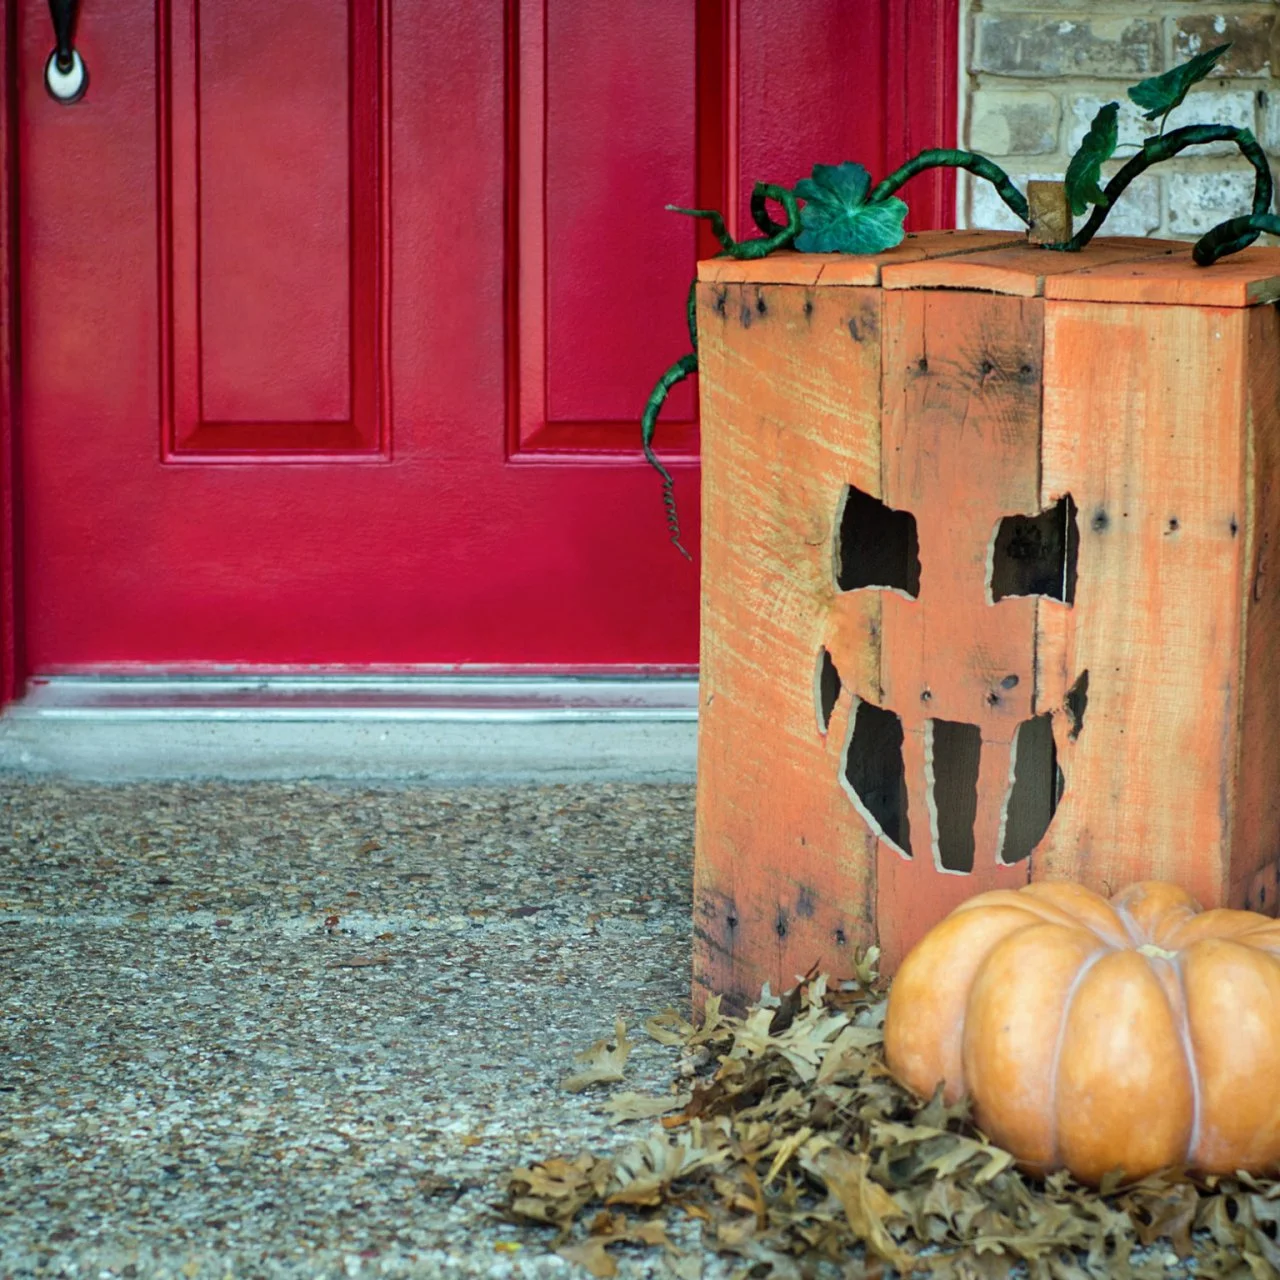
Rustic Pallet Pumpkins DIY
Transform leftover pallet wood into charming autumn decor with this easy DIY project. Learn how to assemble a rustic pumpkin display that adds cozy farmhouse style to your home.
Our own summary of the original — the full post and photos live at kippiathome.com.

This guide walks you through building a decorative pumpkin from reclaimed pallet wood. You will cut and arrange lumber, trace and cut the pumpkin shape, add internal support strips, and attach a custom stand made from scrap wood. The result is a sturdy, painted rustic pumpkin perfect for seasonal display.
You'll need
Directions
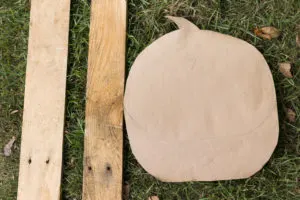
- Measure and slice your lumber so each piece extends slightly beyond the dimensions of your pumpkin template.
- Arrange the cut boards side-by-side until their combined width matches the template.
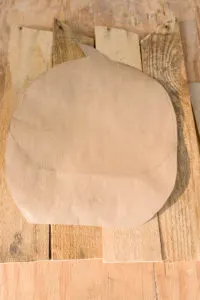
- Flip the template over and trace the pumpkin outline onto the reverse side of the wood. Positioning the template along the edge can help you avoid cutting through the pattern itself.
- Cut support slats from leftover pallet wood, aiming for dimensions of roughly 1 inch by 1/4 inch and the full width of your pumpkin. You will need three slats for a large pumpkin, but only two will suffice for medium or small versions.
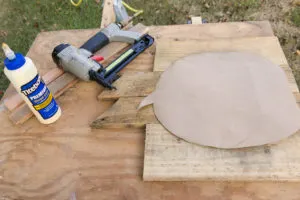
- Apply wood glue to the first slat and position it about 4 inches up from the bottom edge. Glue the second slat approximately 3 inches above the first one. Paint stir sticks work well as an alternative material for these supports.
- Secure the glued slats using a staple gun. Drive 9 to 12 staples along each strip, ensuring they land strictly within the traced pumpkin outline.
- Begin cutting along the traced lines starting from the bottom edge on the back side of the assembled boards.
- Flip the piece over if necessary to carefully cut around the stem area.
- Repurpose the leftover pumpkin scrap to create a base. Mark the required length for this stand as shown in the reference image.
- Angle the bottom edge of the support stand by cutting it at a 5-degree tilt.
- Set up a Kreg jig and clamp, then drill a single pocket hole on each side of the stand.
- Position the stand in the center, directly beneath the lowest support slat, and attach it.
- Fasten the stand securely using screws.
- Smooth any rough edges with sandpaper if necessary.
More photos


Photos hosted by kippiathome.com.