Wood ProjectsNo. 8654 · The 2026 edition
Rustic Wood Pumpkins
Transform ordinary lumber into charming autumn decor with this simple DIY project that blends natural textures with hand-painted details.
Our own summary of the original — the full post and photos live at honeybearlane.com.
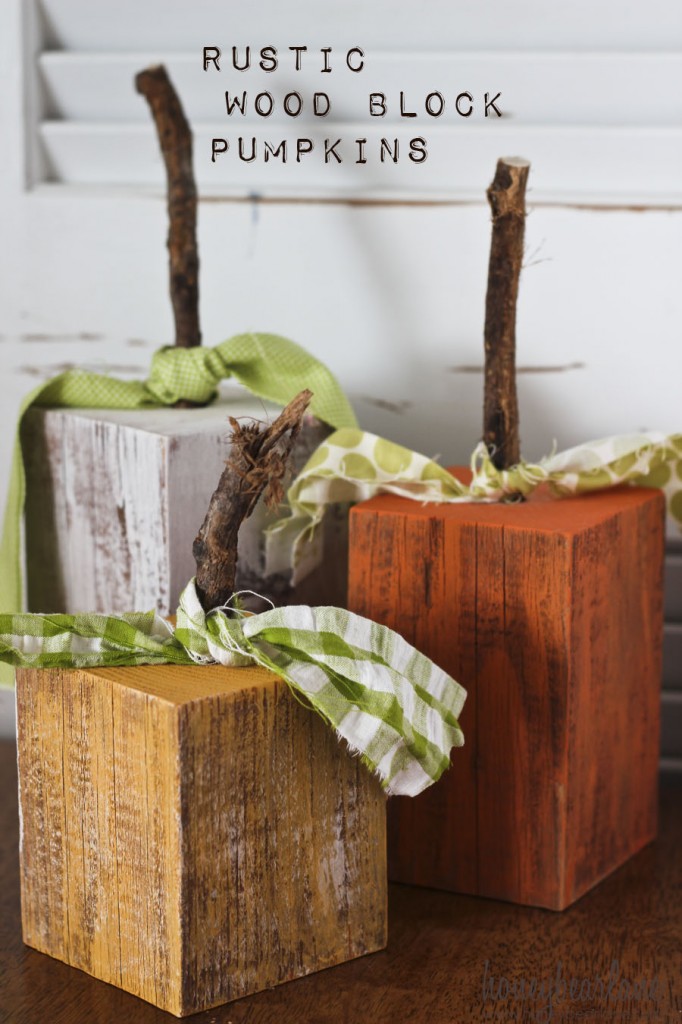
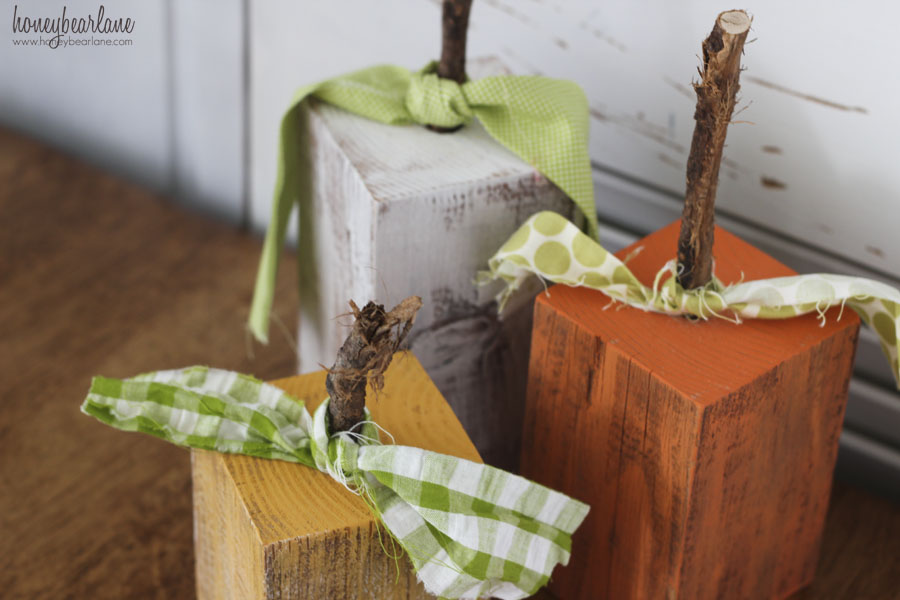
This project guides you through cutting and sanding 4×4 wood blocks into graduated sizes, applying a dry-brushed chalky finish to reveal the wood grain, and assembling the pieces with a branch stem and fabric wrap for a rustic pumpkin display.
You'll need
Directions
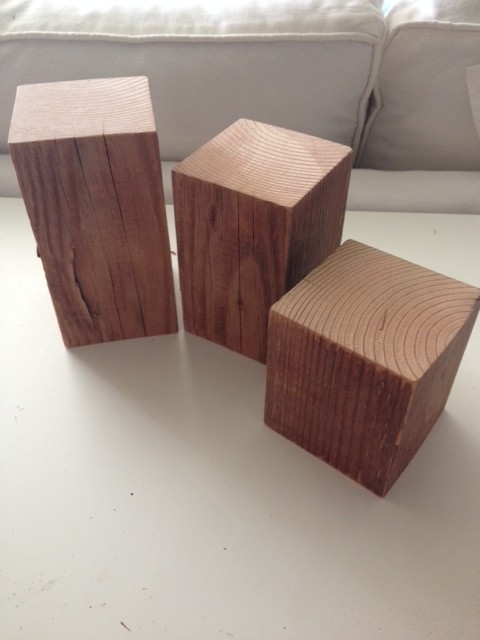
- Measure and saw your 4×4 lumber into four separate blocks. Start with a base block measuring roughly 4 inches on each side, then cut the remaining pieces so they are approximately 1.5 inches taller than the one before it. Smooth out any splinters or rough spots with sandpaper.
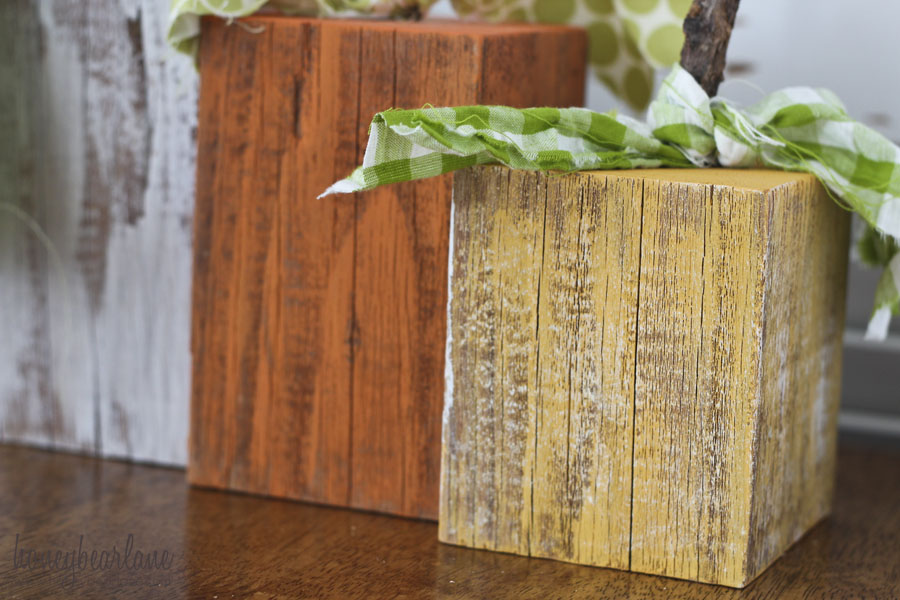
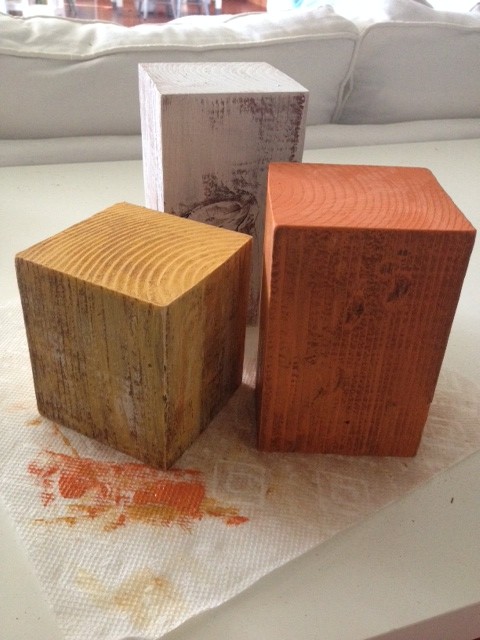
- Load your brush with Decoart Chalky finish paint in Everlasting or Inheritance, then wipe away the excess on a paper towel until the bristles are nearly dry. Lightly sweep the brush across the wood surfaces to achieve a faded, whitewashed look that still reveals the natural wood grain. If you need a deeper orange tone for one of your pumpkins, mix in a touch of bright orange Americana paint with the Inheritance shade.
- Position your drill at the center of the top face of each wooden block. Using a large 1/2″ bit or a spade bit, bore a hole about 1 inch deep into the wood.
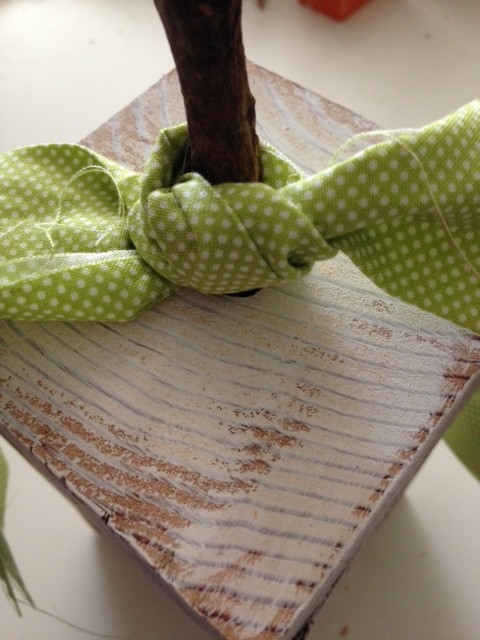
- Take a small branch and fit it into the drilled opening to serve as the pumpkin stem. Secure it firmly with hot glue if the fit feels loose.
- Wrap a strip of green fabric around the base of the branch stem and tie it securely to complete the rustic look.
More photos
Photos hosted by honeybearlane.com.