Painted PumpkinsNo. 3583 · The 2026 edition
Toy Story Pumpkin Painting DIY Craft for Halloween
Transform foam pumpkins into Toy Story favorites Woody, Buzz, Bo Peep, and Forky with this fun DIY painting craft.
Our own summary of the original — the full post and photos live at mommyofaprincess.com.

This craft turns plain foam pumpkins into beloved Toy Story characters using paint and simple embellishments. Four different designs are covered: Woody, Buzz Lightyear, Bo Peep, and Forky. Each pumpkin requires 4-5 coats of paint and character-specific details like burlap, pipe cleaners, or glitter.
You'll need
Directions
- Choose which Toy Story characters you'd like to create and outline your design before starting.
- Paint two pumpkins completely white (for Buzz Lightyear and Forky). For Woody, paint the top half yellow and the bottom half blue. For Bo Peep, paint the top half white and the bottom half sky blue. Use 4-5 coats of paint, allowing each layer to dry fully.
- For the Woody pumpkin: on the yellow top half, paint red lines in a cross pattern. Color the stem brown. Glue a thin strip of brown burlap around the center. Optionally add a pretend sheriff badge.
- For the Bo Peep pumpkin: attach pink lacy trim around the middle. Paint the stem yellow and top it with a pink sparkly bow. Use a q-tip to apply pink polka dots.
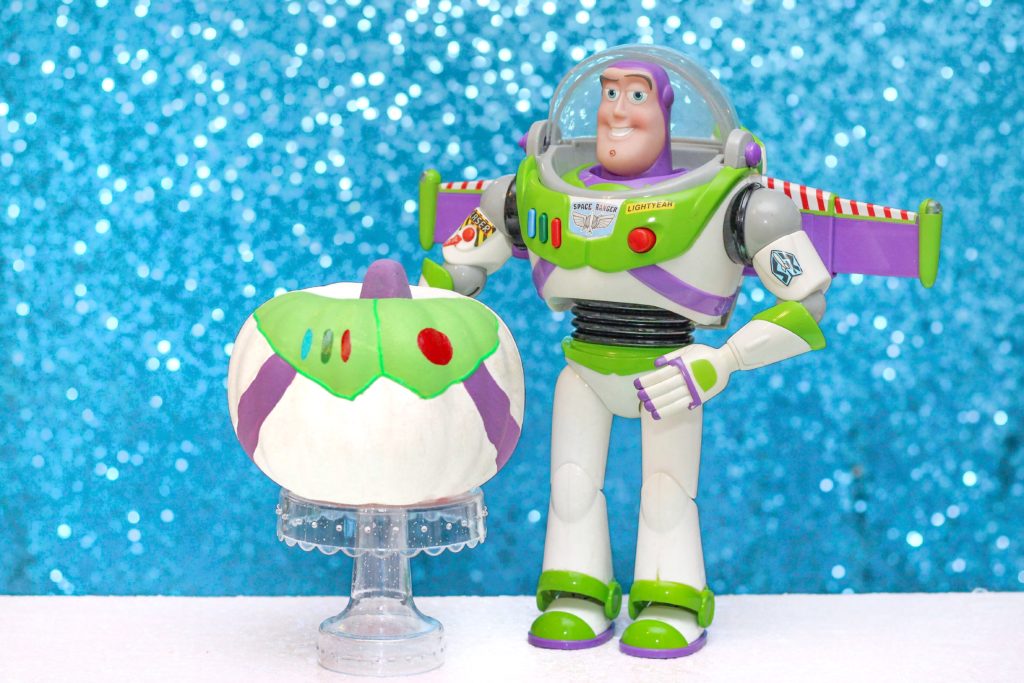
- For the Buzz Lightyear pumpkin: lightly sketch a chest plate design with pencil, then paint purple stripes and colorful buttons. Color the stem purple. Add glitter sparkles.
- For the Forky pumpkin: use teal and red puffy paint to create a bubbly texture. Insert red pipe cleaners into the sides for arms. Dab pale pink paint with a cotton ball to make blush marks.
More photos
Photos hosted by mommyofaprincess.com.





