Tools & TechniquesNo. 4157 · The 2026 edition
A Step-by-Step Guide to the Right Way to Carve a Pumpkin (With Zero Mess)
Learn the clean, easy method for carving a pumpkin that keeps mess to a minimum and yields a spooky display.
Our own summary of the original — the full post and photos live at thespruce.com.
:max_bytes(150000):strip_icc()/carvedpumpkinporch-404ee825f2b14ecc80119c9f4dadb4b1.jpg)
This guide walks you through picking the perfect pumpkin, preparing your area, cutting a lid, cleaning out the insides, transferring a design, carving precisely, and lighting it up. Follow these seven steps for a mess-free Jack-o'-lantern that impresses every time.
You'll need
Directions
- Choose a pumpkin weighing 10 to 20 pounds that feels firm all around.
- Cover your carving area with newspaper or a plastic tablecloth to catch debris.
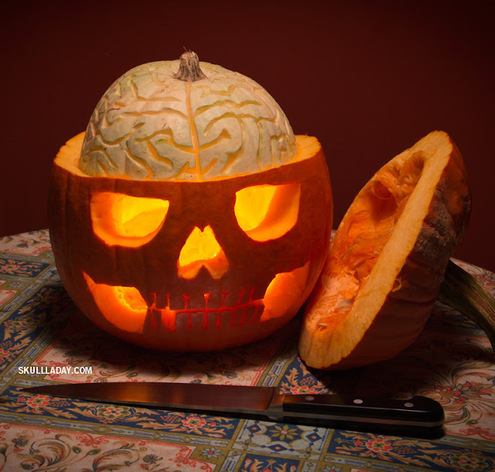
- Cut a zigzag pattern around the stem or on the back using a long kitchen knife or carving tool, then pop the top off and set it aside.
- Remove the orange pulp and seeds by scraping with your hands, a wooden spoon, or a spork, and toss the innards into a bowl.
- Wipe the pumpkin interior dry, place your printed design on it, and prick holes along the outline using a toothpick or gouge tool.
- Carve along the pricked lines with a small paring knife for intricate details and a larger knife for larger sections, pushing the pieces out or inward.
- Light your pumpkin with a real candle, battery-operated candle, or string lights.


:max_bytes(150000):strip_icc()/2377901_pumpk-17187-0f84c59d00204ebf8ae7e102120d6ebf-d64ae9eedd9045b2a3004dfc82fab1d5.jpeg)

