Decoupage & GlitterNo. 5598 · The 2026 edition
Decoupage Pumpkins Tutorial Using Art Deco Style
Give your Halloween décor a glamorous upgrade with this art deco decoupage pumpkin tutorial using tissue paper and gold accents.
Our own summary of the original — the full post and photos live at ehow.com.
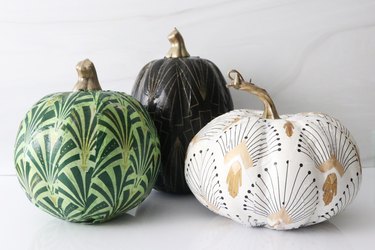
This tutorial shows how to decoupage foam pumpkins with art deco tissue paper for a vintage look. You'll cut paper into strips, glue them around the pumpkin, and finish with a gold painted stem. Let the glue dry halfway through for best results.
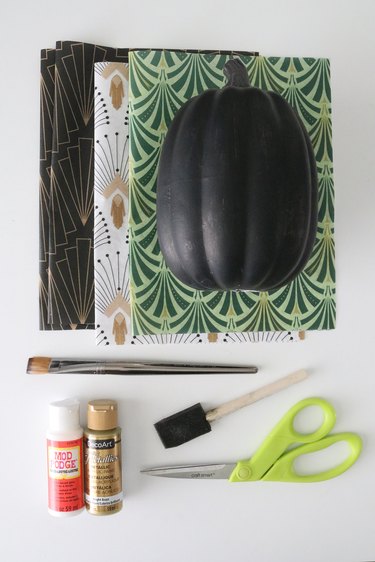
You'll need
Directions
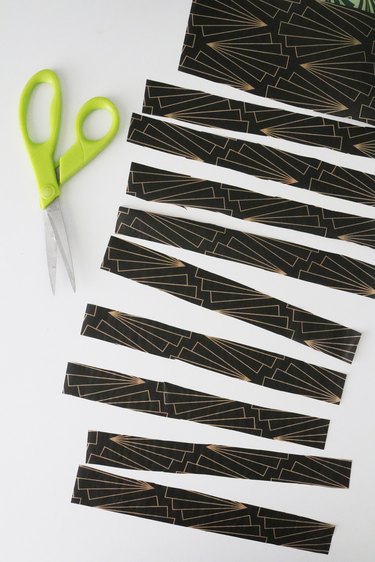
- Cut your art deco tissue paper into strips that are between 1 and 1.5 inches wide.
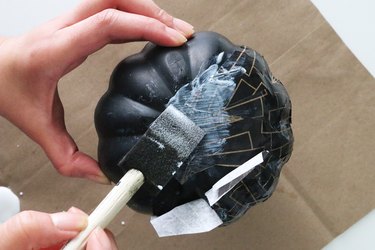
- Using a foam brush, apply a vertical stripe of decoupage glue down the pumpkin from top to bottom.
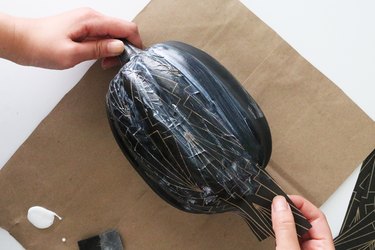
- Place a tissue paper strip onto the glued area, smoothing it gently with your finger. Brush a layer of Mod Podge over the top, ensuring edges are adhered. Use your finger or the foam brush's handle to flatten any wrinkles.
- Continue adding strips around the pumpkin, trying to align the pattern, especially on the widest, most visible parts. Don't worry if it doesn't match perfectly at the top due to the curve.
- About halfway through, trim any excess paper at the bottom and glue the ends down. Let it dry for 30 minutes before proceeding.
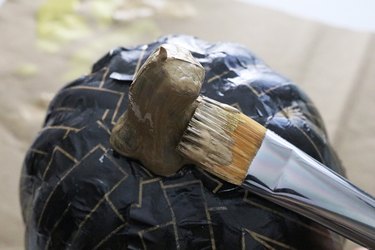
- Once the entire pumpkin is covered and dry, paint the stem with gold acrylic paint. Apply additional coats if needed, letting each dry in between.
More photos
Photos hosted by ehow.com.