Fabric & SewingNo. 1529 · The 2026 edition
DIY-Halloween-Treat-Bags
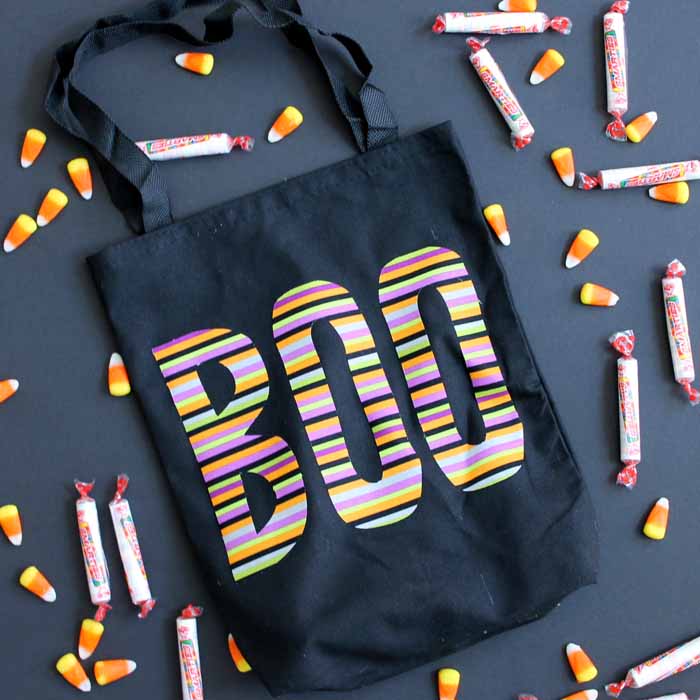
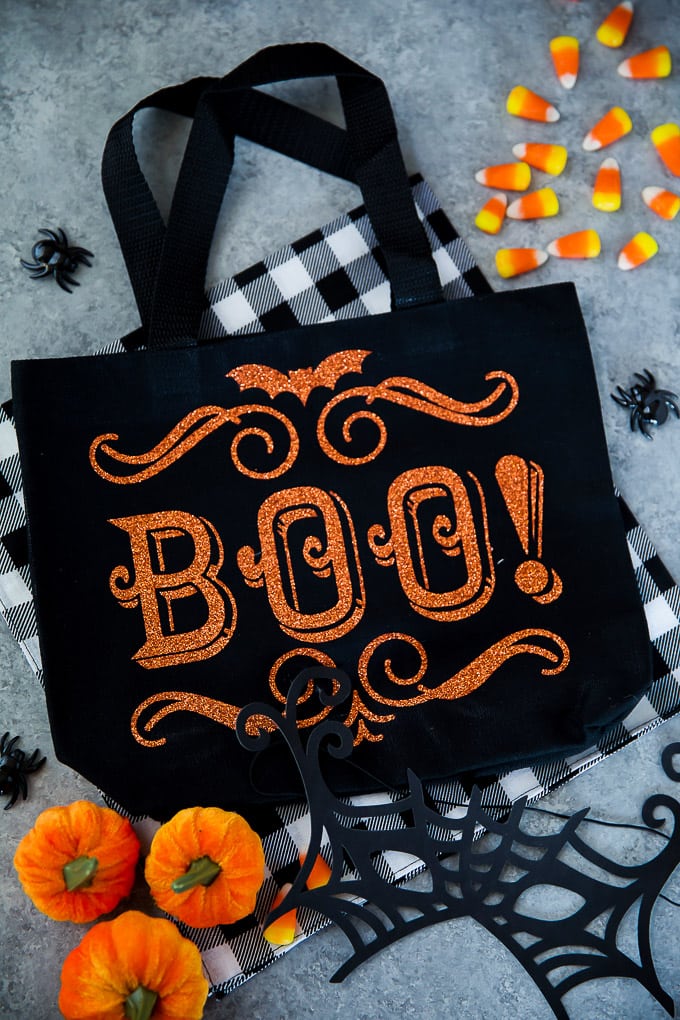
Transform a plain canvas tote into a sparkling Halloween accessory with this simple glitter iron-on project.
Our own summary of the original — the full post and photos live at apumpkinandaprincess.com.

This guide walks you through resizing and cutting glitter iron-on designs, then applying them to a canvas tote using an EasyPress 2. You will learn how to prepare the fabric, center the artwork, press for the correct duration, and finish with a clean peel for a durable, festive result.
You'll need
Directions
- Resize your artwork to match the dimensions of your canvas tote. Position the glitter iron-on material with the glossy side facing down onto your cutting mat. Enable the mirror function on your software, select the glitter iron-on material setting, and run the cut. Once finished, carefully remove any unwanted vinyl from the design.
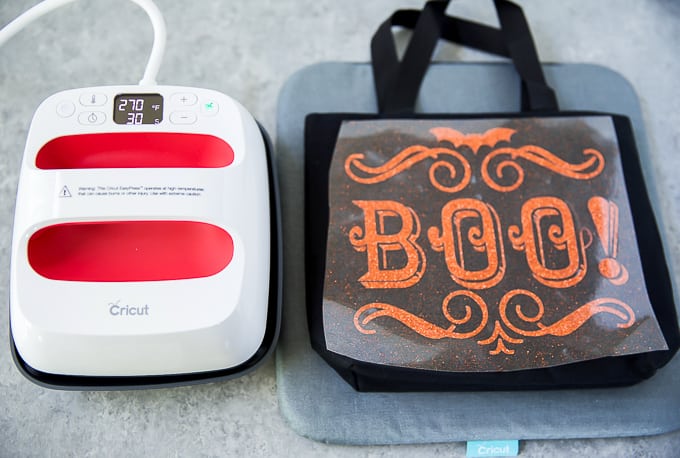
- Preheat your EasyPress 2 to the temperature recommended for canvas fabric. Lay the EasyPress mat flat on your workspace to shield the surface from heat damage.
- Set the EasyPress onto the tote bag for five seconds to smooth out creases and prepare the fabric for application.
- Center your vinyl design on the front of the bag and press the EasyPress firmly down for thirty seconds.
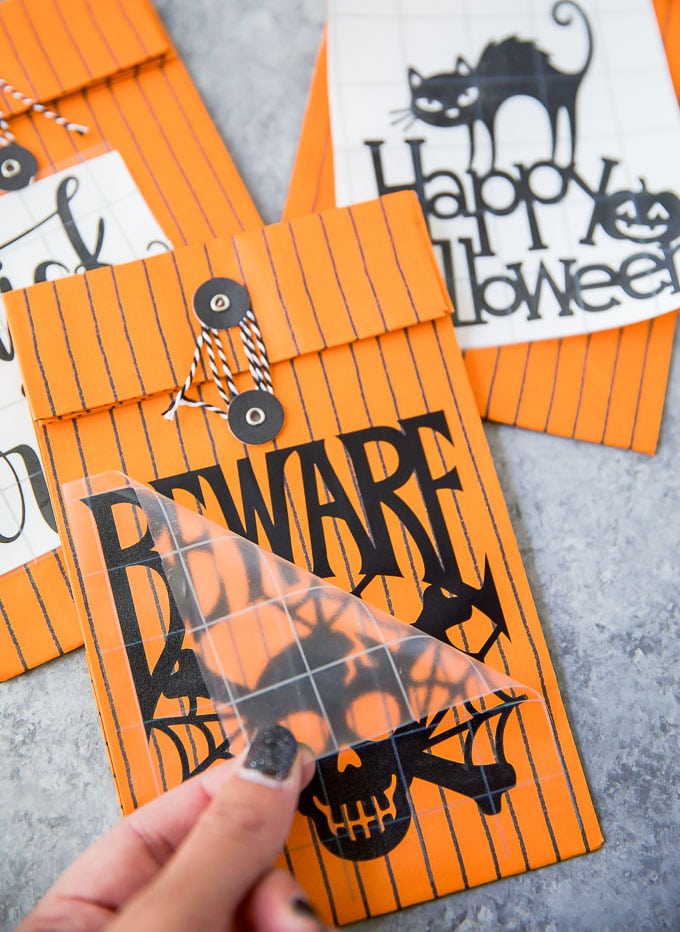
- Return the EasyPress to its stand and peel away the clear carrier sheet starting from one corner. If any areas feel loose, apply brief heat again to secure them.
- Flip the tote over and apply the second design to the back using the same pressing method.
More photos
Photos hosted by apumpkinandaprincess.com.