Fabric & SewingNo. 9410 · The 2026 edition
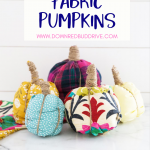
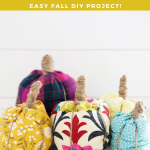
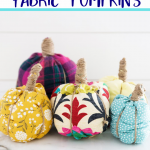
DIY No-Sew Fabric Pumpkins
Turn an old shirt into charming fabric pumpkins with zero sewing—just twine, stuffing, and rubber bands!
Our own summary of the original — the full post and photos live at downredbuddrive.com.
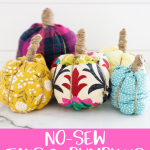
This no-sew pumpkin craft uses a shirt sleeve or fabric tube, poly-fill stuffing, twine, and rubber bands. You'll create a pumpkin shape by gathering the fabric and tying twine strands to form segments and a stem. Perfect for quick, reusable Halloween decor.
You'll need
Directions
- Choose your fabric. An easy option is a long-sleeved shirt: cut a straight line just below the armpit and another cut somewhere before the wrist to get a tube. If using plain fabric, sew the edges together inside out to form a tube.
- Prepare the twine. Cut six strips of twine, each about 6 inches longer than your fabric tube. Tie all six strips together in a knot at one end; do not trim the tails.
- Attach the twine. Turn the fabric tube inside out. Insert the knotted end of the twine through the tube and push the knot out the opposite end. Secure a rubber band tightly around the fabric just below the knot to gather everything.
- Stuff the pumpkin. Flip the fabric right side out so the twine knot is inside. Fill the tube firmly with poly-fill stuffing, packing it in tightly. Leave enough room at the top to later secure with a rubber band.
- Arrange the twine and secure the top. Spread the twine strands evenly around the fabric. Gather the fabric together above the stuffing and fasten with a rubber band, like making a ponytail.
- Shape the pumpkin and create the stem. Pull the twine strands a bit tighter to create indented segments. Take two strands and crisscross them around the bunched fabric, then tie them when they shorten; trim the ends. Repeat with all strands or just 2–4 for a simpler look.
More photos



Photos hosted by downredbuddrive.com.