Mason Jar CraftsNo. 3234 · The 2026 edition
DIY Witch Potion Bottles for Halloween
Transform ordinary glass jars into enchanting witch bottles with this simple DIY project. Learn how to age paper labels and apply a custom finish for a spooky Halloween decoration.
Our own summary of the original — the full post and photos live at thecraftyblogstalker.com.
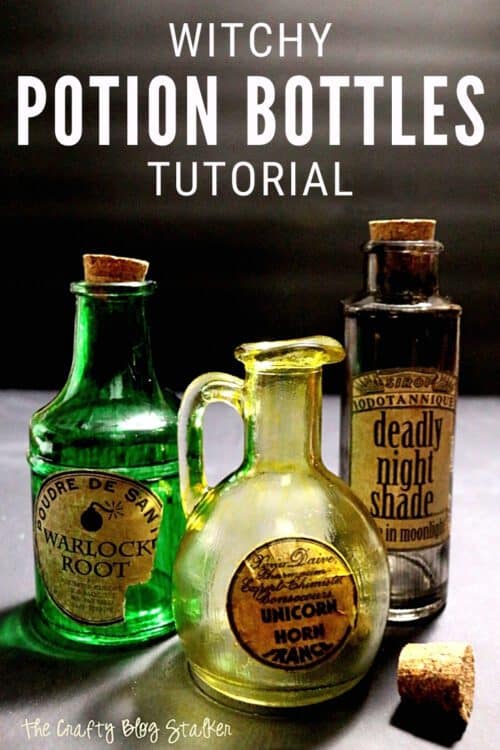
This guide walks you through creating DIY witch potion bottles using glass jars, printed labels, ink, and Mod Podge. You will learn to age the labels with an ink spritz, prepare colored Mod Podge mixtures, and apply a sealed finish to achieve a vintage, magical look.
You'll need
Directions
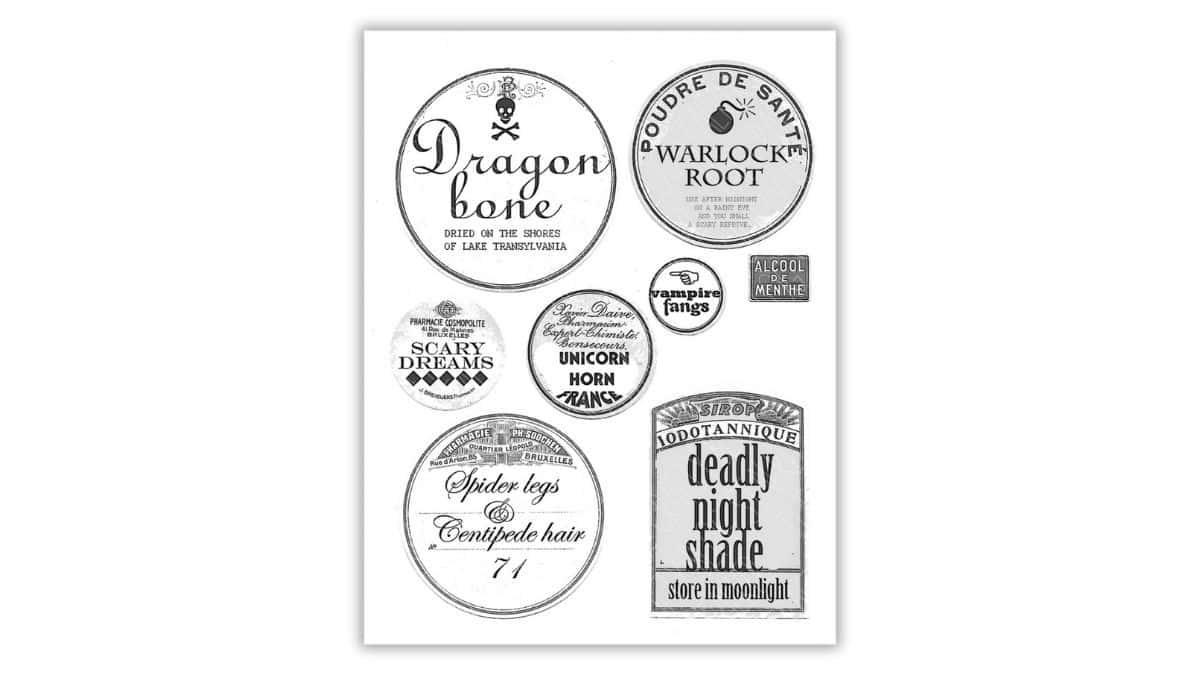
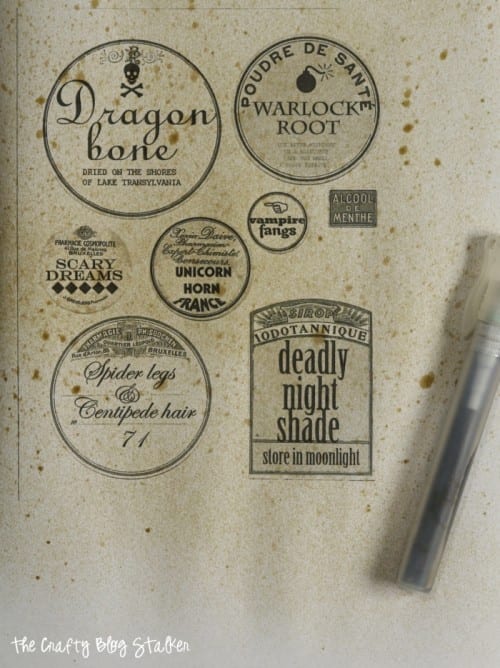
- Begin by printing the PDF file containing the potion bottle labels.
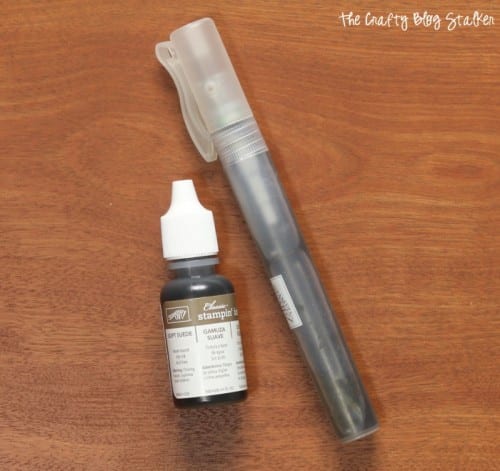
- Prepare a small spritzer bottle by adding approximately 10 drops of ink and filling it halfway with water.
- Mist the printed labels thoroughly with the ink solution to give them an aged, vintage appearance rather than a fresh, printed look.
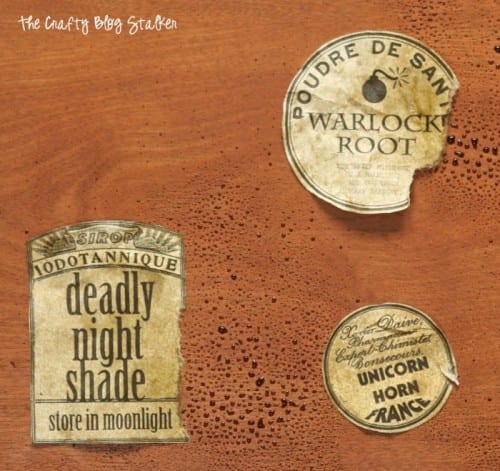
- Carefully cut out the individual labels, then gently crumple them and tear a few edges to enhance the weathered effect.
- Give the crumpled labels another light spritz of the ink mixture and allow them to dry completely.
- In a separate bowl, combine a few drops of food coloring with a scoop of Mod Podge.
- For a dark finish, mix black ink into a scoop of Mod Podge instead.
- Using a foam brush, apply a single layer of the colored Mod Podge mixture to each glass jar and let it dry.
- Spread a generous layer of Mod Podge on the back of each dried label before adhering it to a jar.
- Position the label on the jar and seal it by painting a top coat of Mod Podge over the entire surface.
More photos
Photos hosted by thecraftyblogstalker.com.