Tools & TechniquesNo. 5934 · The 2026 edition
How to Carve a Pumpkin Like a Pro Using Our Tried-and-True Method
Master pumpkin carving with our pro method: from hollowing to lighting, create a flawless Jack-o'-lantern that lasts.
Our own summary of the original — the full post and photos live at marthastewart.com.
:max_bytes(150000):strip_icc()/pumpkin-how-to-4-308-d111431_vert-2000-6963533e965643e38f89256f982c5ce5.jpg)
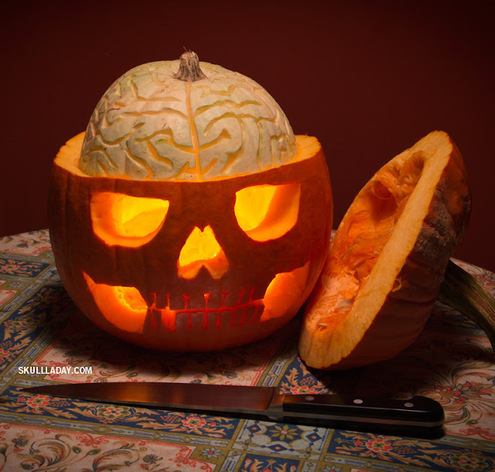
This guide walks you through six essential steps to carve a pumpkin like a pro. You'll learn how to prepare the pumpkin, transfer a design, carve with precision tools, and illuminate safely. Finally, tips for extending the carving's life ensure your creation stays fresh longer.
You'll need
Directions
- Lay your pumpkin on its side on a flat, sturdy surface. Using a keyhole saw, cut a circular opening in either the base or the top. Choose the top if you'll use a candle for light; opt for the bottom or side if you prefer electric lights, so you can conceal the cord. Save the cutout piece for later.
- Hollow out the pumpkin by removing seeds, stringy pulp, and a thin layer of interior flesh with a fleshing tool. Thin the walls to about 1/2 to 3/4 inch thick. A sculpting tool with a serrated loop makes quick work of scraping away flesh, and a smooth interior reflects light best.
- Decide on your design, considering how it will fit and repeat on the pumpkin. Photocopy or print a template (enlarge if needed) or draw your own. Tape the template to the pumpkin, then use an awl, T pin, or needle tool to poke holes every 1/8 to 1/4 inch along the design outlines. Remove the template but keep it nearby for reference.
- Carve along the dotted pattern using a miniature saw or linoleum carving tool. For eyes or other circular features, drill holes with a 1/2-inch or 3/4-inch spade bit. Use the miniature saw for cutting all the way through and linoleum cutters for scraping the skin. Begin with the outer outline and move inward. For fine details, use a No. 1 or No. 2 blade; for larger areas, switch to No. 3 or No. 5. Scrape in a consistent direction within each section to keep lines uniform. Apply petroleum jelly to any exposed flesh to prevent browning.
- For illumination, string lights are preferable to candles in most cases. Wrap about 20 lights around a glass jar and secure the wires with tape. Cut a hole in the hollowed pumpkin for the cord, place the jar inside, and fasten the base cutout with T pins. If using a candle, set it in a glass or votive holder and cut a ventilation hole in the back of the pumpkin. Always include ventilation when using a candle to avoid heat buildup and fire risk.
- To prolong your carving's life, pick a blemish-free pumpkin and carve it as soon as possible. Prepare a spray with 1 tablespoon of Dr. Bronner's peppermint soap, 6 drops of peppermint oil, and 8 ounces of water; mist it on the inside and outside. Alternatively, spray the pumpkin with white vinegar, then coat exposed areas with petroleum jelly or vegetable oil to keep it clean and protected.


:max_bytes(150000):strip_icc()/2377901_pumpk-17187-0f84c59d00204ebf8ae7e102120d6ebf-d64ae9eedd9045b2a3004dfc82fab1d5.jpeg)

