Decoupage & GlitterNo. 4715 · The 2026 edition
How to Make a Patchwork Decoupage Pumpkin
Transform a foam pumpkin into a patchwork masterpiece with decoupage and scrapbook paper.
Our own summary of the original — the full post and photos live at semiglossdesign.com.
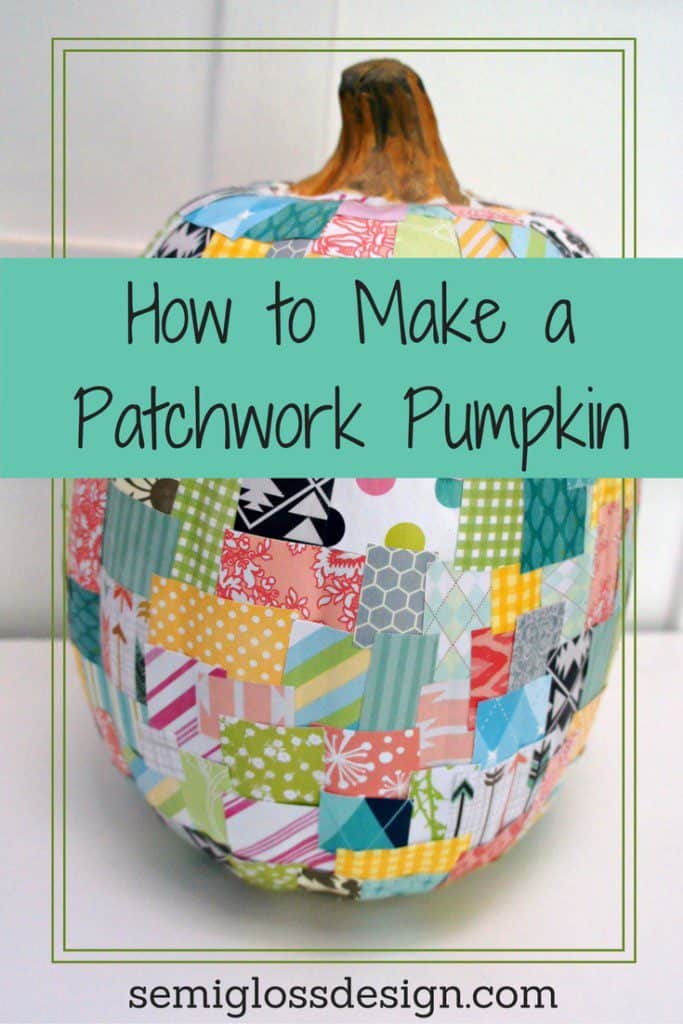
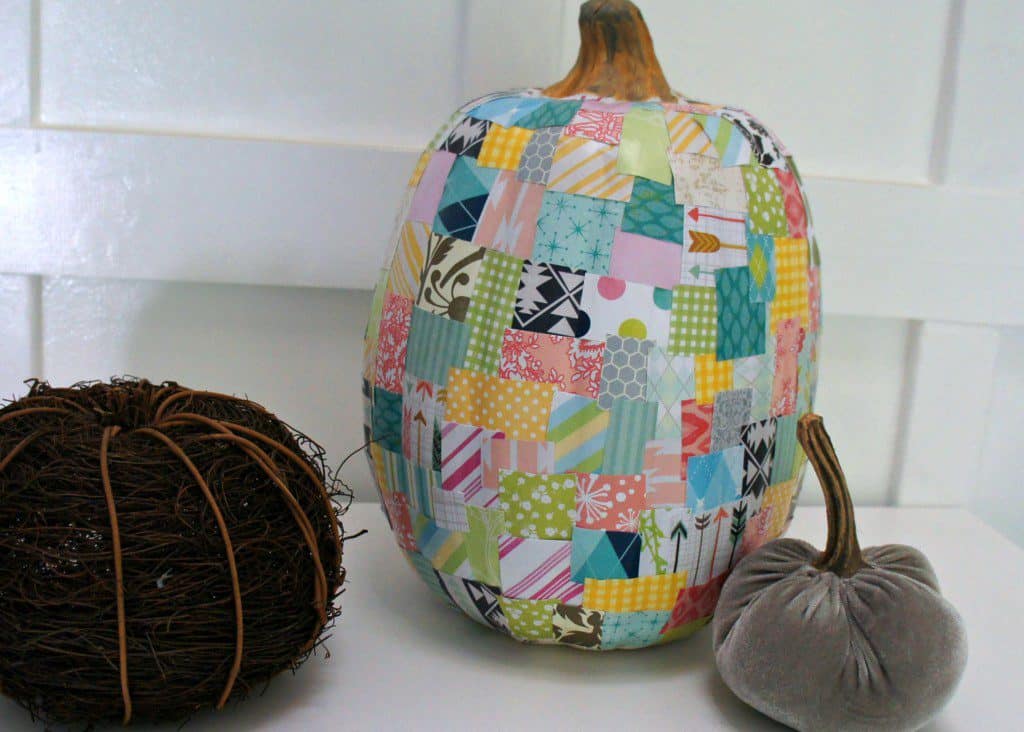
This DIY project turns a plain foam pumpkin into a colorful patchwork decoration using decoupage glue and scrapbook paper. You'll cut paper into varied shapes, layer them with glue, and smooth them onto the pumpkin, overlapping pieces for a quilted look. Finish by painting the stem for a polished craft.
You'll need
Directions
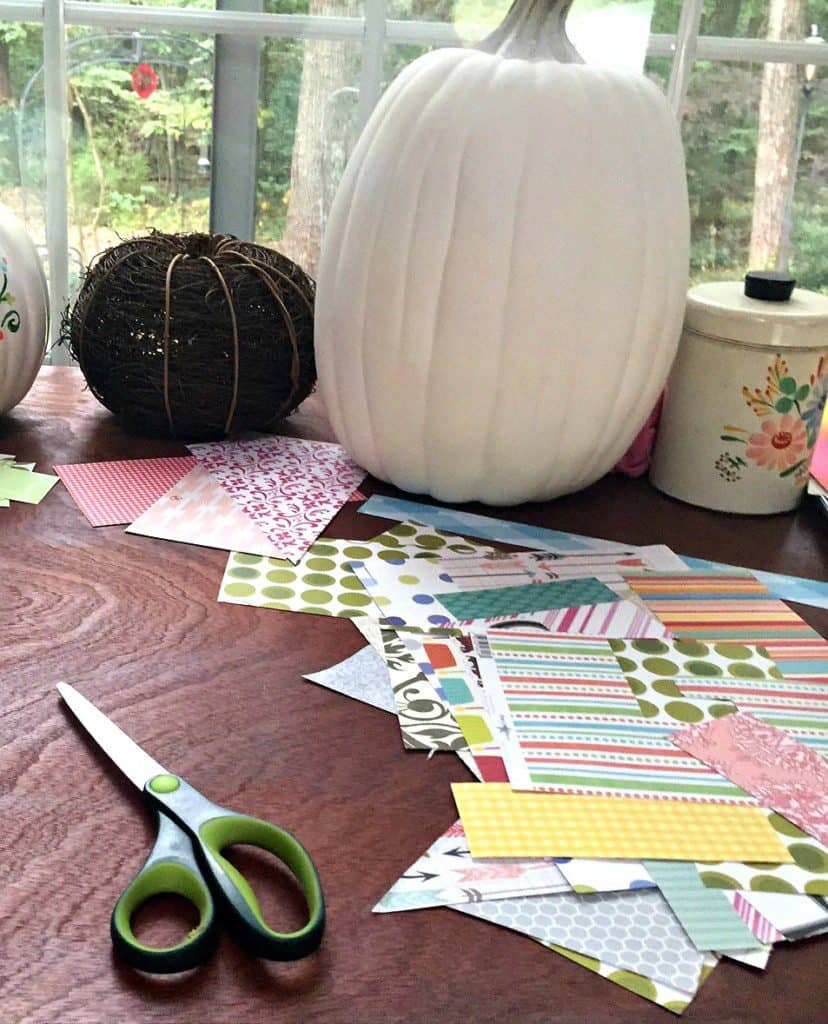
- Start with a foam pumpkin. I picked a tall one because it offered more flat surfaces to work with.
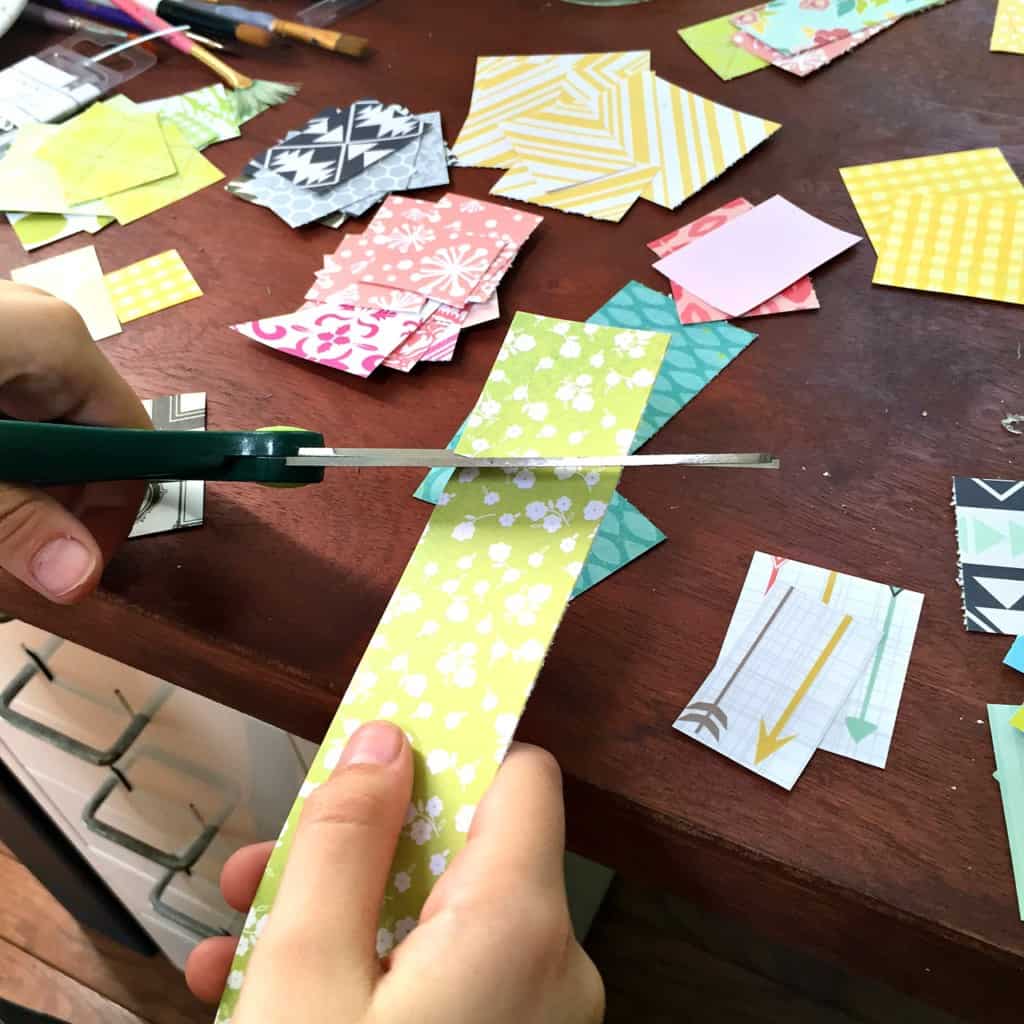
- Slice your scrapbook paper into squares and rectangles. Sort them by color so you can grab pieces quickly. Don't stress about perfect shapes—since a pumpkin is rounded, identical pieces won't fit well.
- If you can, ask a friend to cut smaller pieces as needed. This step is optional but handy because your hands will get sticky with glue, plus they can keep you company.
- Use a foam brush to apply decoupage glue onto the pumpkin. For thicker paper, also spread glue on the back of the paper.
- Lay the paper piece on the glue, then brush another layer of glue on top. The moisture softens the paper, helping it mold better to the pumpkin's curves.
- Smooth the paper flat against the pumpkin with your fingers. You'll get wrinkles on rounder parts or if the patches are too big.
- Keep repeating the process many times, slightly overlapping each piece and mixing colors so no one area has too many of the same shade.
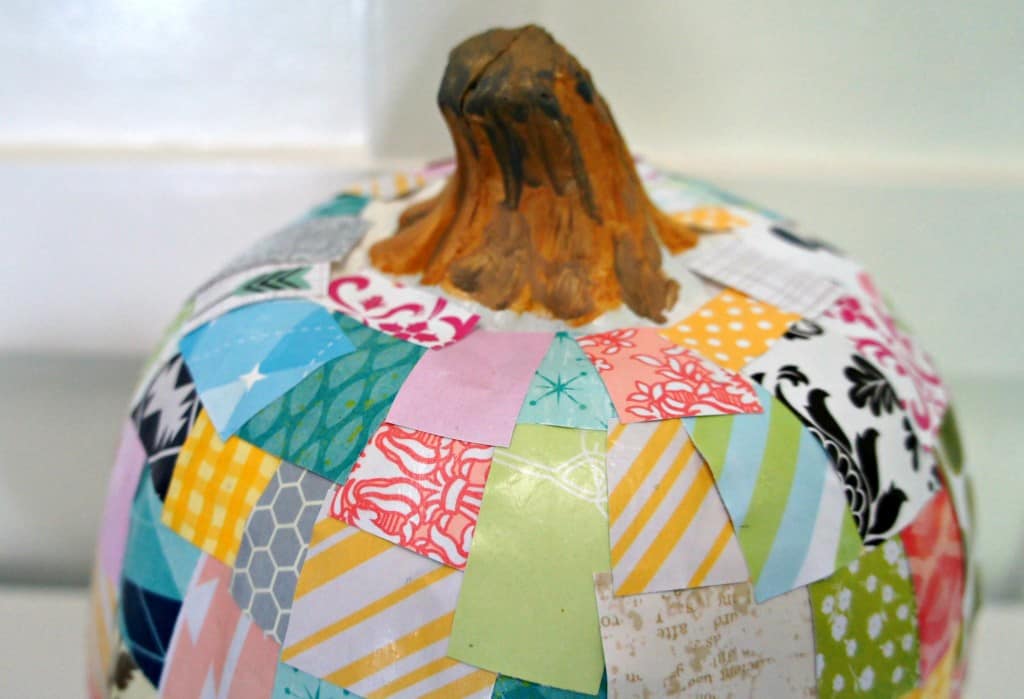
- Near the top, use smaller paper pieces, cutting them at an angle if needed to fit around the stem.
- If you like, paint the stem with craft paint to finish it off.
More photos
Photos hosted by semiglossdesign.com.