Fabric & SewingNo. 7093 · The 2026 edition
How to Make Fabric Pumpkins
Craft adorable fabric pumpkins with just a few supplies and a sewing machine—perfect for fall décor!
Our own summary of the original — the full post and photos live at marthastewart.com.
:max_bytes(150000):strip_icc():focal(519x0:521x2):format(webp)/applique-pumpkin-1b6e18b3885447a09455f1cc3c3047ab.jpg)
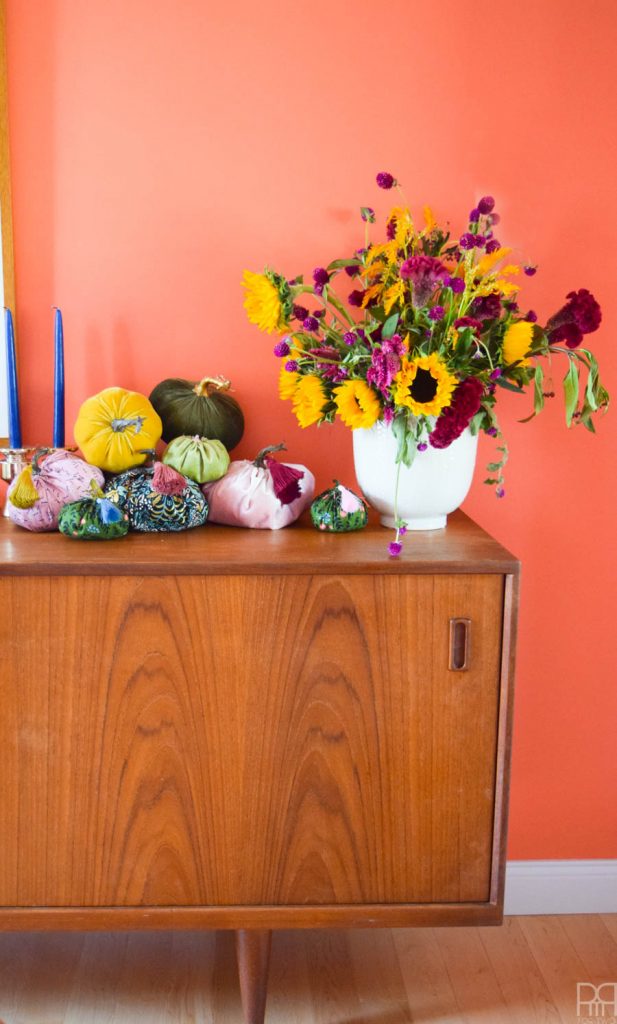
Learn to sew charming fabric pumpkins in three sizes using bias-cut rectangles, batting, and floss. This step-by-step guide shows you how to create pouches, stuff them, add ridges, and finish with a cute fabric stem. These no-carve pumpkins make lasting seasonal decorations.
You'll need
Directions
- Prepare fabric rectangles cut on the bias with a length twice the width. For three pumpkin sizes, use dimensions 5x10 inches, 8x16 inches, and 11x22 inches.
- Fold each rectangle with right sides together so the short edges align. Stitch this seam using a 1/4-inch seam allowance. Use a doubled thread and a running stitch to sew along one end, then pull the thread to gather the fabric closed and fasten with a few stitches.
- Turn the pouch right side out and fill it with batting. Again using doubled thread and a running stitch, stitch around the open end, then pull the thread to gather it closed and secure with stitches.
- Load a long needle with floss. Pass the needle through the pumpkin's center and wrap the floss around the outside several times to create ridges, pulling the floss through the core each time.
- For the stem, cut two small fabric pieces of stem size. Sew them together with right sides facing, leaving the bottom edge open. Turn the stem right side out and stuff with batting. Attach the stem's open end to the pumpkin using slip stitches.
More photos
:max_bytes(150000):strip_icc():focal(1074x1018:1076x1020):format(webp)/oct-cover-white-pumpkin-leaves-teal-bkgrd-no-text-237-v2-d112200r_vert-cd921bf49e414d3b856189bec7e420be-horiz-26f1c65f28034c30a8850463f1d4b095.jpg)
:max_bytes(150000):strip_icc():format(webp)/md104738_1109_pumkin1_hd-1119ea7f7d6e40bfa0a6d30c10b97ddc.jpg)
:max_bytes(150000):strip_icc():format(webp)/md104738_1109_pumkin2_hd-12d64cc1a3b44f5d9cc9b54d172b2fc5.jpg)
Photos hosted by marthastewart.com.