Fabric & SewingNo. 8197 · The 2026 edition
How to Make Iron On Transfer Halloween Goodie Bags
Create spooky custom goodie bags with iron-on transfers for Halloween treats.
Our own summary of the original by Kim -Today's Creative Life — the full post and photos live at todayscreativelife.com.

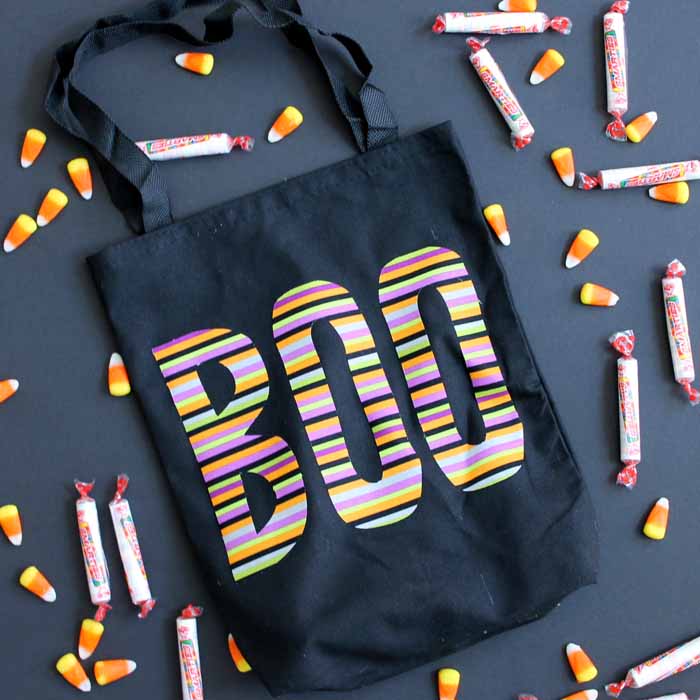
This project uses iron-on transfer paper to apply Halloween silhouette images onto cotton canvas bags. Print, cut, and iron the designs onto the bags for a quick, festive DIY. The result is reusable goodie bags perfect for trick-or-treating or party favors.
You'll need
Directions
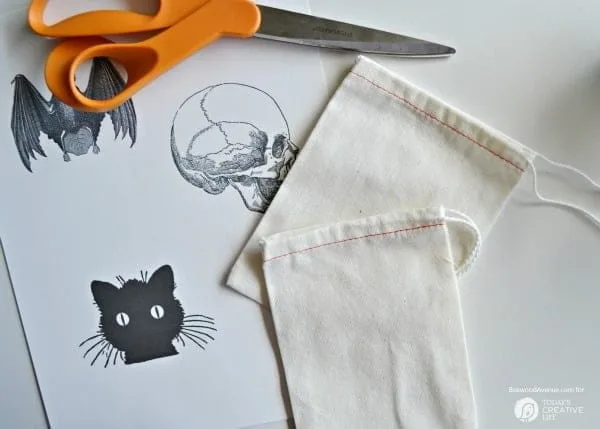
- Print your chosen spooky silhouette images onto iron-on transfer paper. Refer to the transfer paper's instructions for printer settings.
- Cut out each silhouette, removing as much of the surrounding white paper as possible.
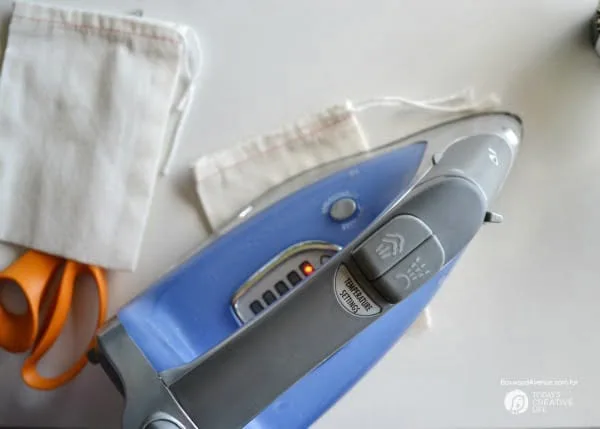
- Set your iron to the heat level recommended for your transfer paper. Place one silhouette face down on the center of a cotton canvas goodie bag.
- Press the iron firmly onto the paper, moving in small circles. After 30 seconds (or the time specified by the paper's instructions), lift the iron. While the paper is still hot, carefully peel it back to reveal the transferred image.
More photos
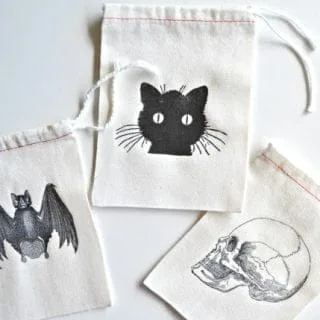
Photos hosted by todayscreativelife.com.