Drilled & LitNo. 4905 · The 2026 edition
I Tried Making A Drilled Pumpkin Light Out Of A Real Pumpkin For Halloween
Learn how to turn a real pumpkin into a glowing drilled pumpkin light for Halloween with just a drill and a candle.
Our own summary of the original — the full post and photos live at littlethings.com.
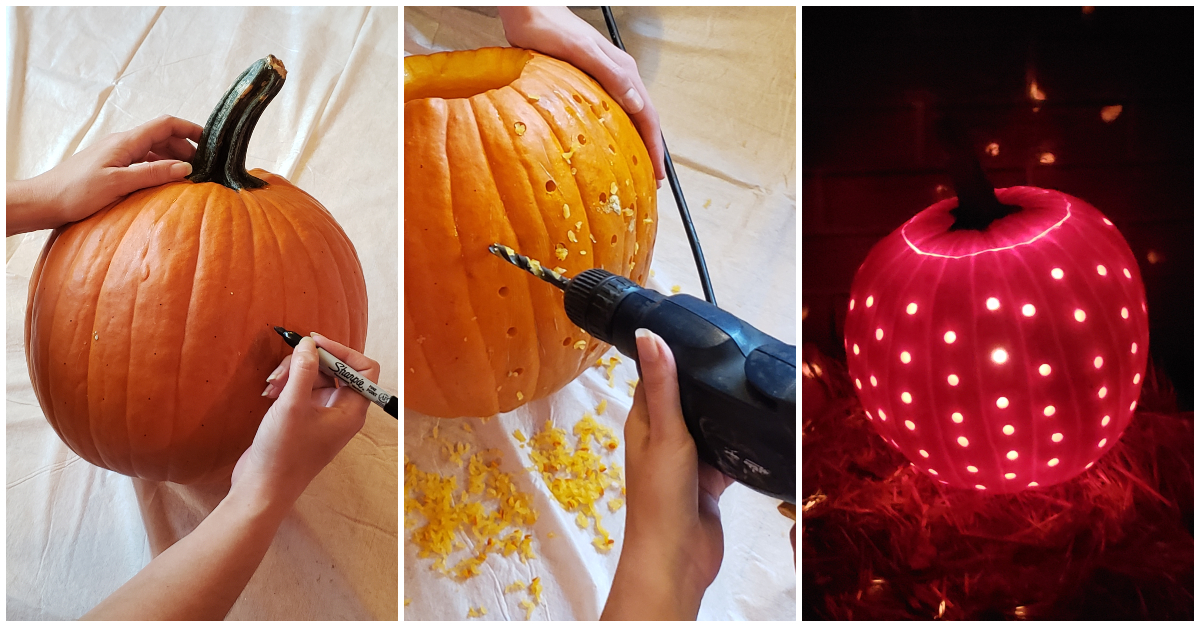
This tutorial walks you through 11 steps to create a drilled pumpkin light from a real pumpkin. You'll need a pumpkin, drill with a 5/16-inch bit, knife, spoon, and a candle or low-wattage lamp. From washing and marking to drilling and lighting, each step is explained to achieve a unique Halloween decoration.
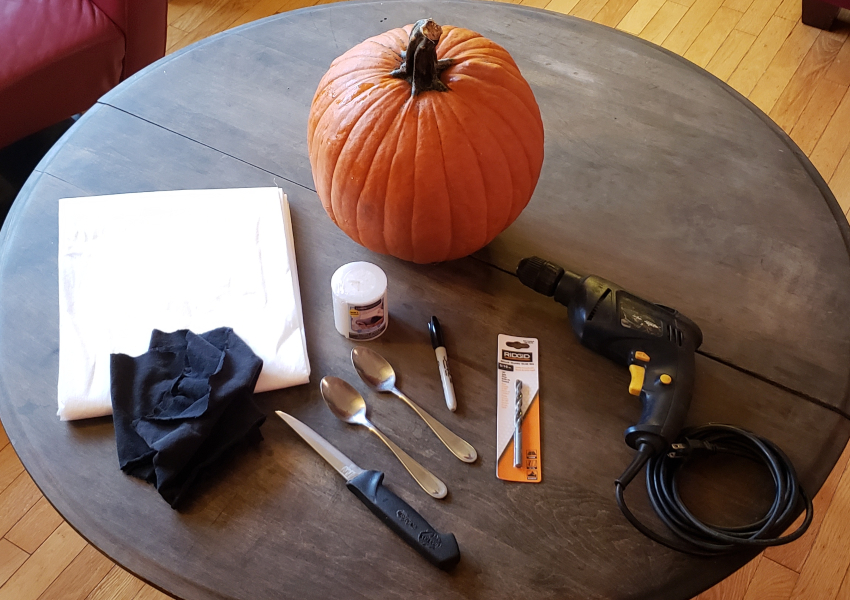
You'll need
Directions
- Select either a real pumpkin or a plastic one for this project.
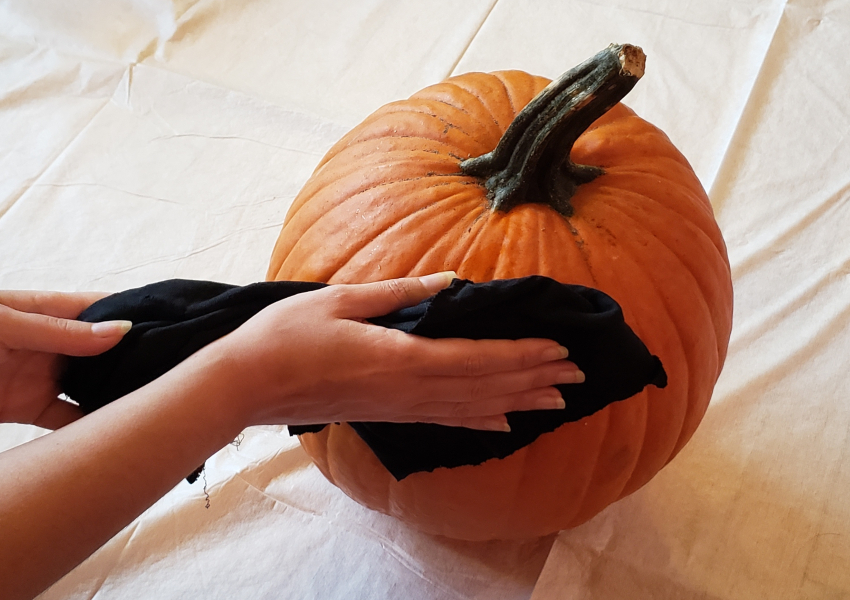
- If your pumpkin is dirty, wipe the outside clean with a rag.
- Choose a drill bit; I used a 5/16-inch size.
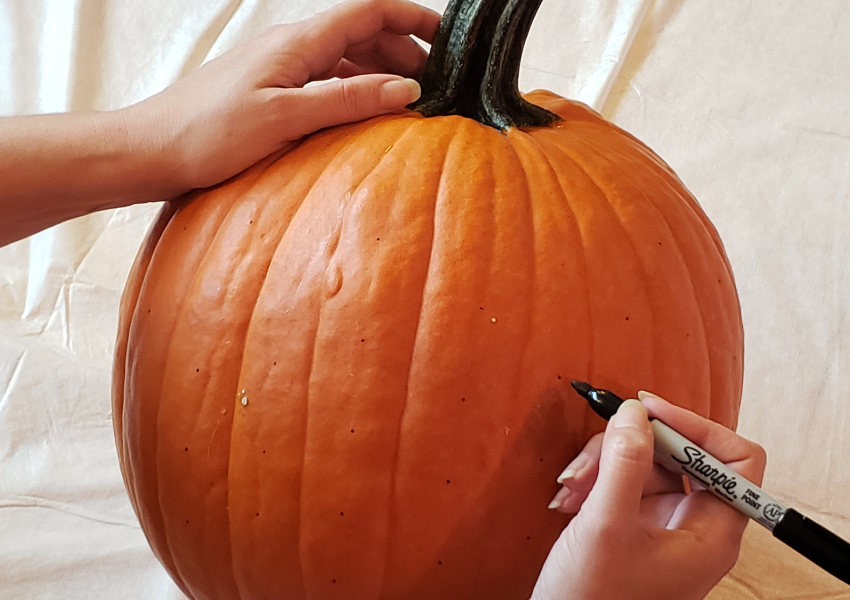
- Decide on a pattern or just random dots; I used a washable marker to mark where the holes will go.
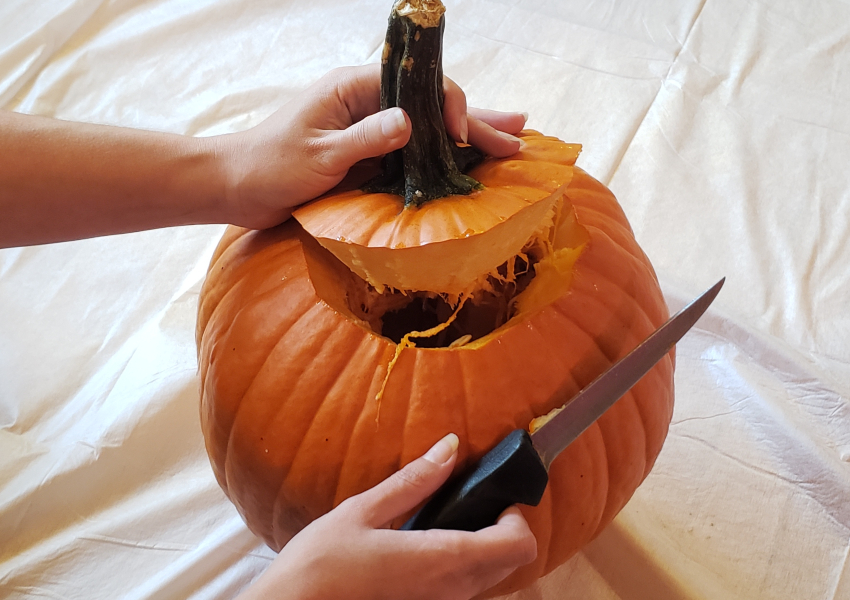
- Slice off the top of the pumpkin just like you would for a standard jack-o'-lantern.
- Gut the pumpkin, scraping the insides as clean as possible and smoothing the inner walls.
- Drill holes at each marker dot using your drill and bit.
- Take a rag and wipe off all the goo from the pumpkin's exterior.
- Use a spoon to scrape out the inside again, ensuring it's very clean.
- Add your light source: either a candle or a lamp kit with a low-wattage bulb. I used a candle, lit it, and put the lid back on.
- Set your pumpkin outside at nighttime when it's dark enough to show off the glow.
More photos

Photos hosted by littlethings.com.