Tools & TechniquesNo. 7294 · The 2026 edition
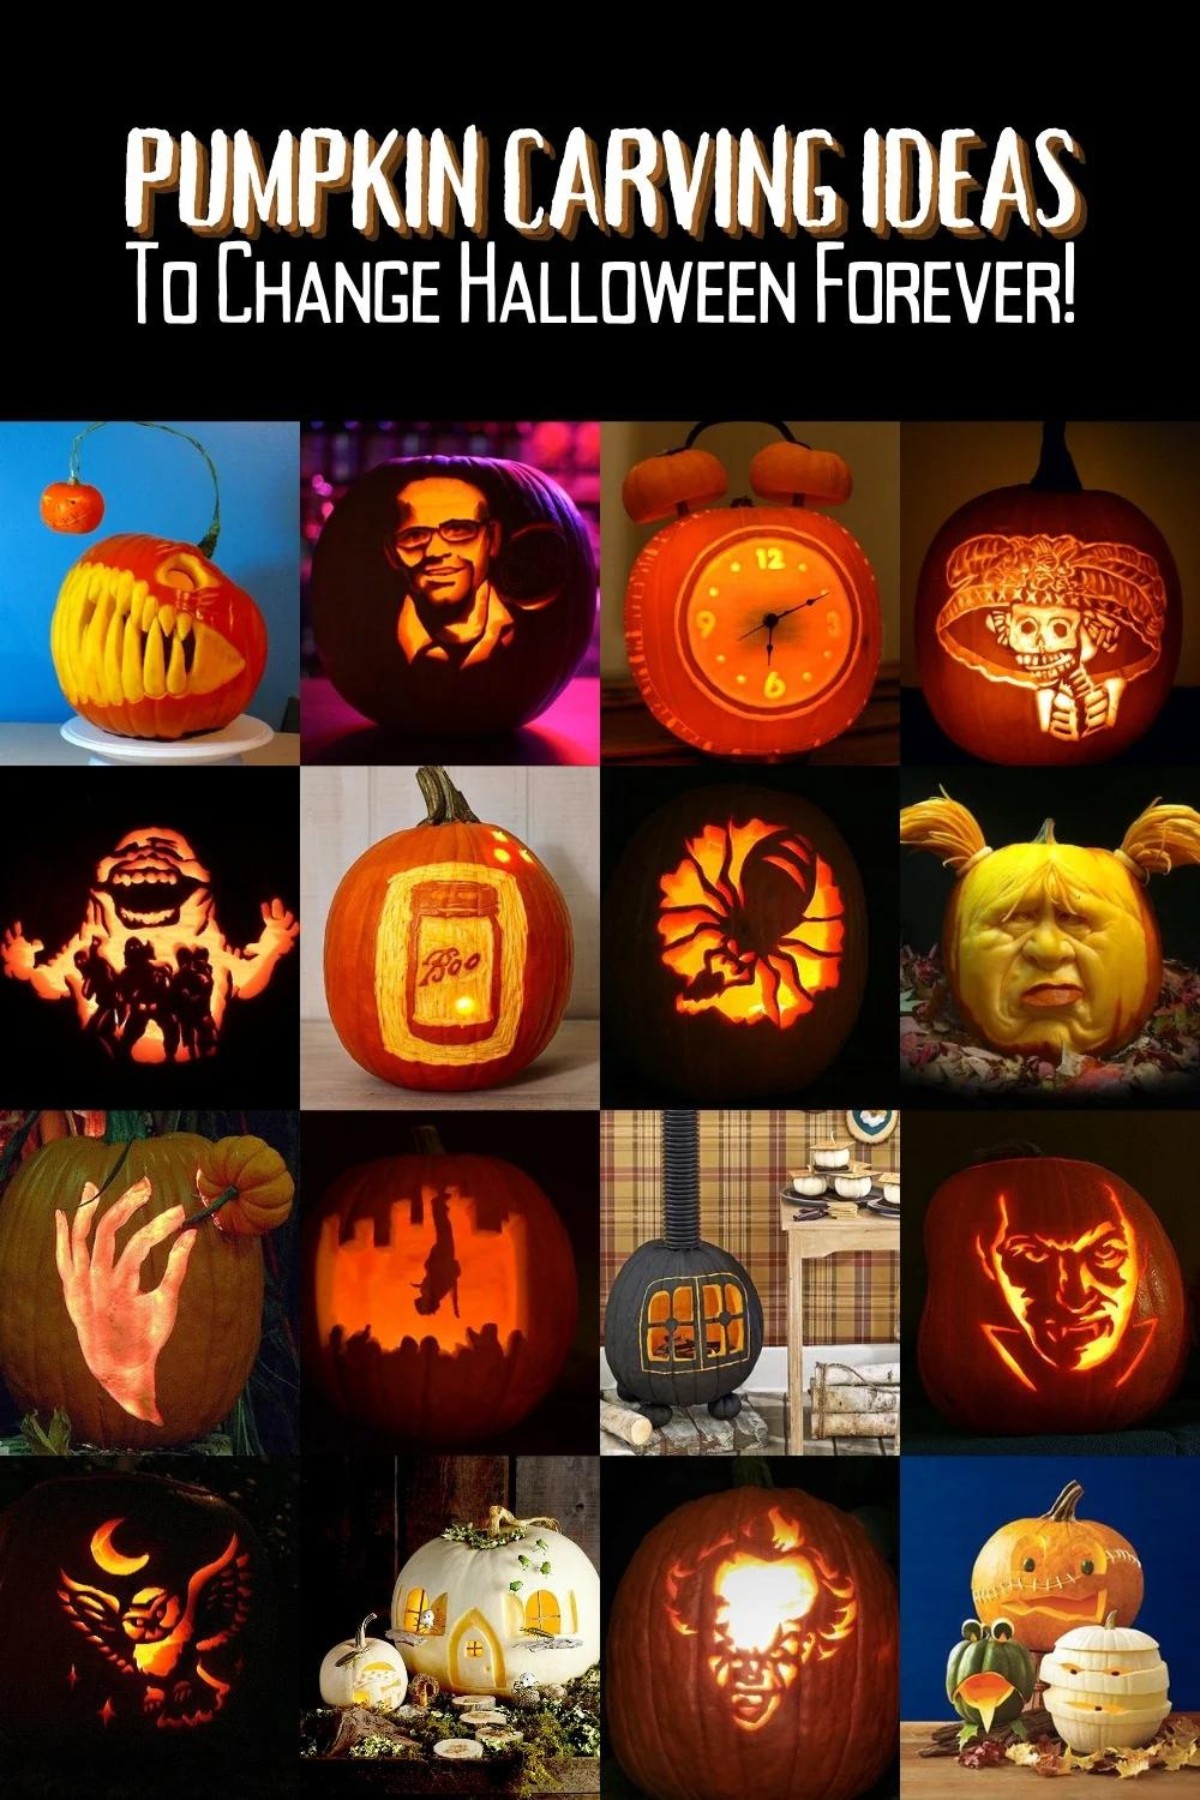
Pumpkin Carving Ideas to Change Halloween Forever
Tired of basic jack-o-lanterns? These eight pumpkin carving tips will transform your Halloween – from perfect pumpkin selection to 3-D effects.
Our own summary of the original — the full post and photos live at diycandy.com.

Learn how to choose the ideal pumpkin, use specialized carving tools, and keep your masterpiece fresh longer. Follow these eight steps to create intricate, long-lasting pumpkin art that will wow your neighbors this Halloween.
You'll need
Directions
- Select a pumpkin with a level base, no soft spots, and a firm handle.
- For better stability, cut your lid on a slant or slice through the back instead.
- Empty out the insides thoroughly with a pumpkin scoop.
- Achieve intricate designs by employing specialized tools such as sculpting tools, loop tools, scrapers, and an assortment of saws.
- Start with beginner-friendly patterns downloaded for free from online stencils or from a stencil book.
- Once carving begins, work quickly and spray the pumpkin with water now and then to maintain its freshness.
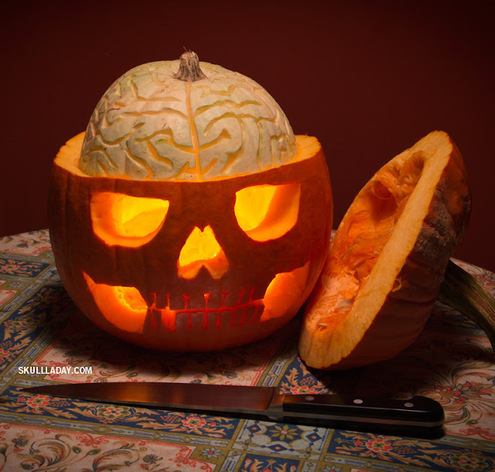
- Don't discard the leftover pumpkin bits; use them as 3‑D accents on the outside of your jack‑o‑lantern.
- Keep your creation cool with LED lights and place it in a chilly area each night.
More photos

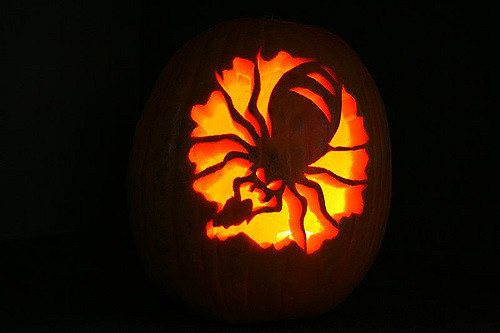

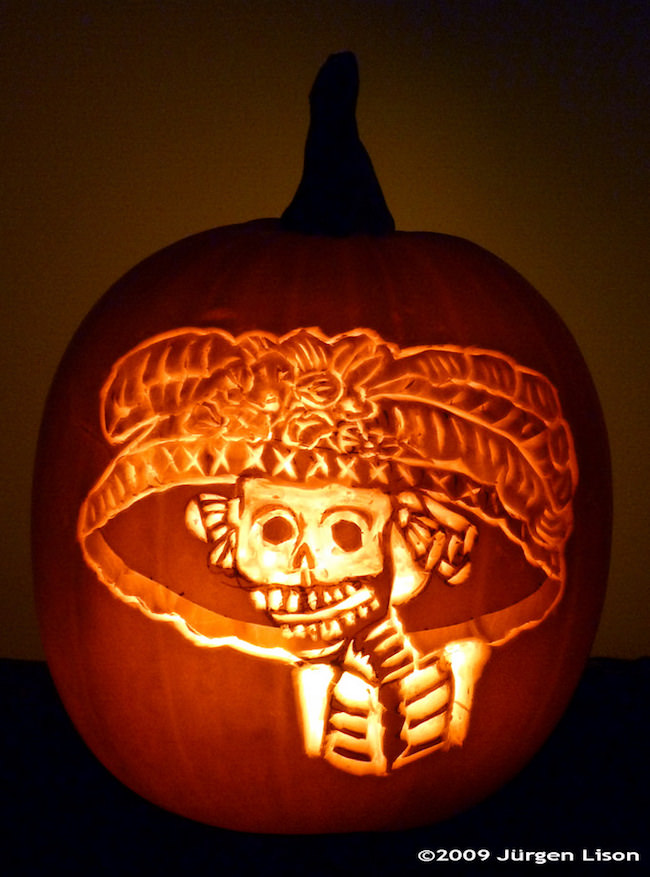
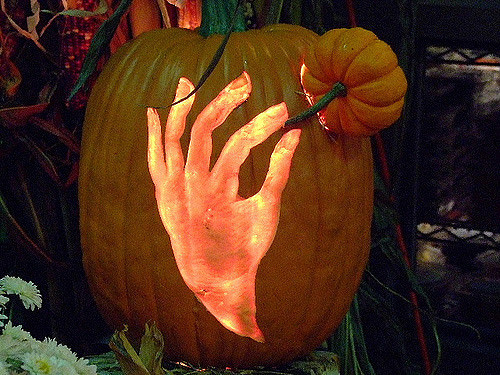
Photos hosted by diycandy.com.


:max_bytes(150000):strip_icc()/2377901_pumpk-17187-0f84c59d00204ebf8ae7e102120d6ebf-d64ae9eedd9045b2a3004dfc82fab1d5.jpeg)

