Fabric & SewingNo. 5834 · The 2026 edition
Silhouette Trick or Treat Bags
Transform a simple photo into a spooky, personalized Halloween accessory with this easy DIY project.
Our own summary of the original — the full post and photos live at uncommondesignsonline.com.
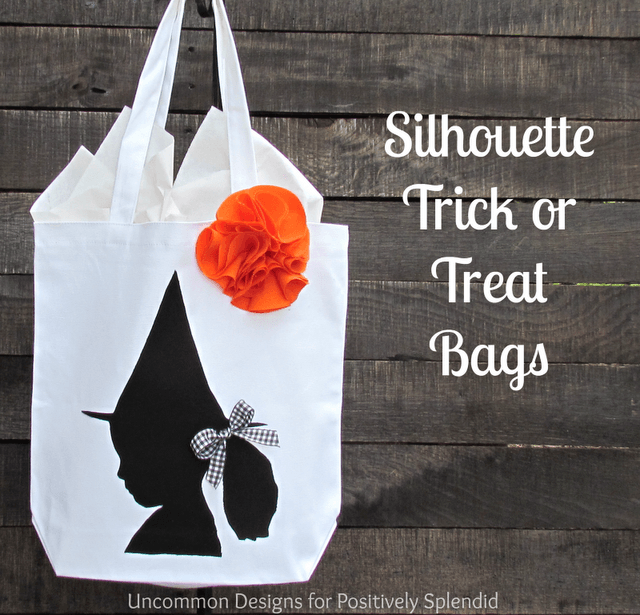
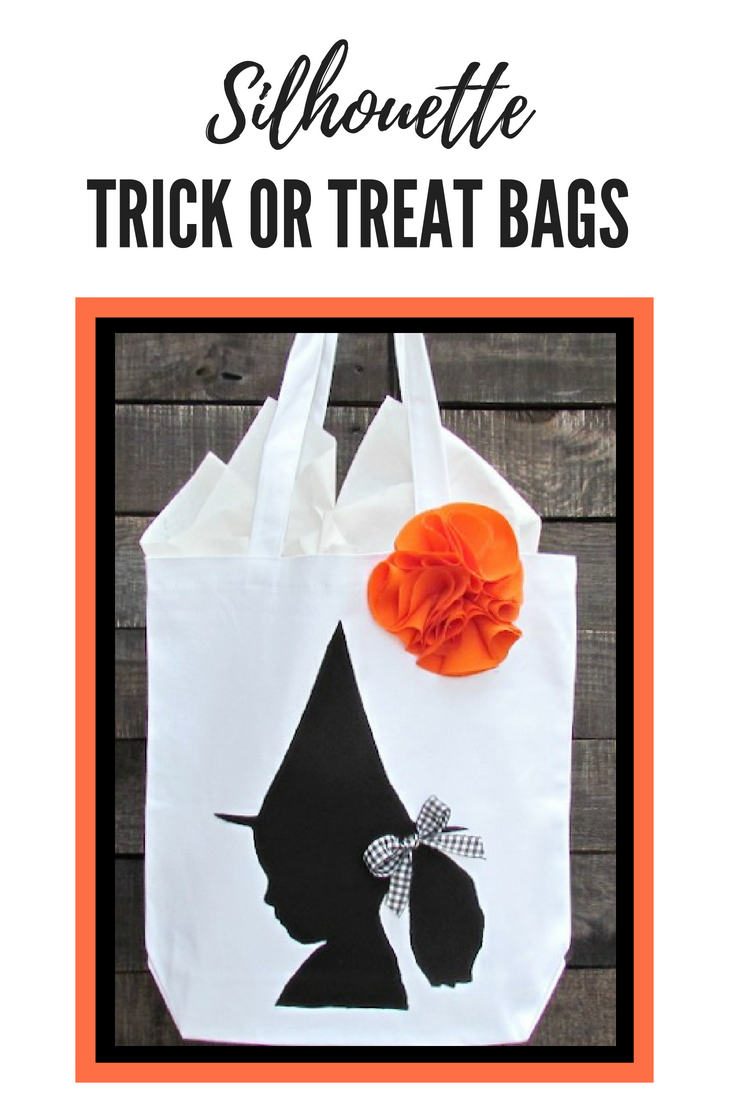
Create a custom silhouette trick-or-treat bag by ironing a mirrored child's portrait onto black fabric, attaching it to a canvas tote, and decorating with embellishments.
You'll need
Directions
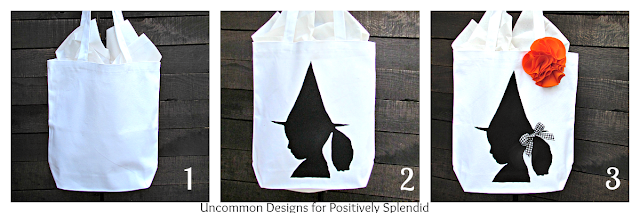
- Start by pressing the Heat n’ Bond Ultra Hold onto the black fabric, following the manufacturer's instructions. Next, apply a glue stick to the back of your child's portrait and press it firmly onto the adhesive side of the fabric. Allow the bond to set completely before carefully trimming around the outline of the image.
- Once the adhesive has cooled, gently peel away the backing paper to reveal the fabric with the clear adhesive layer exposed. Flip the cutout over so the adhesive side faces down. Remember that the final design will appear as a mirror image of the original photo, so if your child was facing right, they will face left on the finished bag.
- Position the prepared silhouette on the front of your white canvas tote and press it in place using an iron, adhering to the Heat n’ Bond guidelines. Finally, decorate the design with your choice of accessories like ribbons, flowers, or rhinestones. For example, you can secure a flower and a ponytail ribbon using a hot glue gun for a personalized touch.
More photos


Photos hosted by uncommondesignsonline.com.