Tools & TechniquesNo. 8899 · The 2026 edition
The Easiest Method for Carving a Pumpkin for Halloween
Master pumpkin carving with this simple step-by-step guide that yields a perfect jack-o'-lantern every time.
Our own summary of the original — the full post and photos live at thekitchn.com.
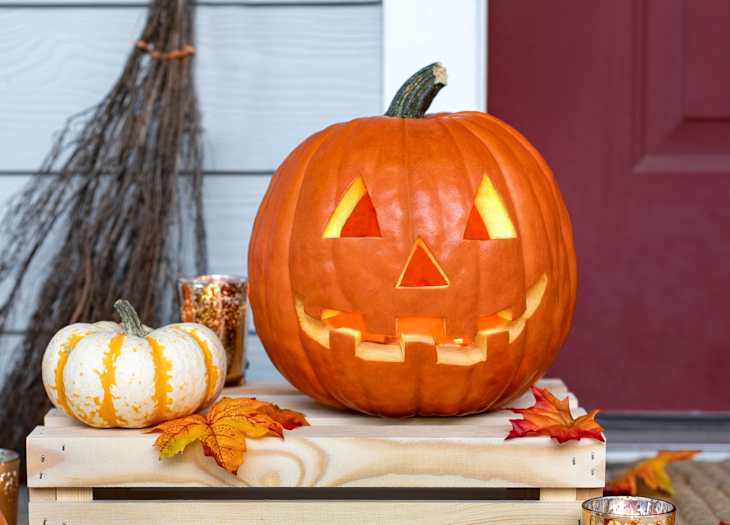
This tutorial walks you through preparing your workspace, sketching a design, cutting a lid, hollowing out the pumpkin, carving details, and lighting it safely. It also includes tips for roasting the seeds for a tasty treat.
You'll need
Directions
- Set up your carving area by covering a sturdy table with flattened brown paper grocery bags, newsprint, or butcher paper. Keep your permanent marker, carving tools, and two medium bowls within easy reach.
- Once you've picked the best side of the pumpkin for a face, use the permanent marker to sketch eyes, a nose, and a toothy grin.
- Draw a circular lid around the stem, about 5 to 6 inches across. If you like, add a notch at the back to help align the lid later.
- Using a slim pumpkin carving knife with a toothed blade (or a serrated knife), cut along the lid outline at a 45-degree inward angle so the lid won't fall into the pumpkin.
- Grab the large clusters of seeds with your hands and pull them free, placing the seeds into one bowl for later cleaning.
- With a ladle, the scraper from your kit, or a metal spoon, scoop out all the stringy insides from the pumpkin until it's clean. Put the discarded guts into the second bowl.
- Wipe the outside of the pumpkin with a kitchen towel; this makes carving easier and safer.
- Make straight cuts along your design lines, removing the carved pieces and tossing them into the refuse bowl.
- Use an X-ACTO knife or the wire tool from your carving kit to remove any remaining stringy bits or jagged edges. You can also scrape off the marker lines, though they won't show in the dark.
- Place a tea light candle inside the pumpkin at the bottom. Use a long match or a lighter with an extended nozzle to light it, then put the lid on. Tip: if lighting through the top is tricky, poke the flame through the mouth instead.
- Clean and dry the saved pumpkin seeds, then toss with oil, salt, and any other seasonings you like. Roast in a low oven until golden brown. For detailed instructions, see our tutorial on roasting pumpkin and squash seeds.



:max_bytes(150000):strip_icc()/2377901_pumpk-17187-0f84c59d00204ebf8ae7e102120d6ebf-d64ae9eedd9045b2a3004dfc82fab1d5.jpeg)

