Tools & TechniquesNo. 7363 · The 2026 edition
The Easiest Method for Carving a Pumpkin for Halloween
Master pumpkin carving with this foolproof method—from lid cutting to lighting, plus seed roasting!
Our own summary of the original — the full post and photos live at thekitchn.com.
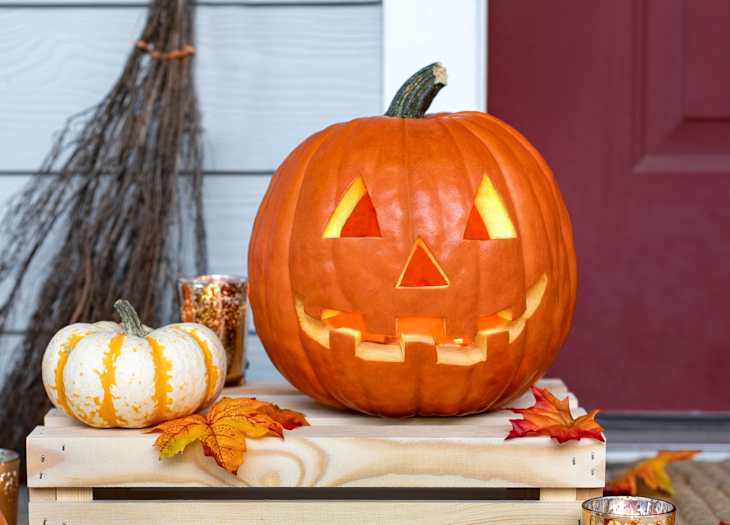
This guide walks you through the entire pumpkin carving process, from setting up your workspace to lighting your jack-o'-lantern. You'll learn how to draw and cut a lid, scoop out the insides, carve a face design, and even roast the seeds for a tasty snack. Each step includes practical tips to make carving easier and safer.
You'll need
Directions
- Prepare your carving area: cover a sturdy table with flattened brown paper grocery bags, newsprint, or butcher paper. Keep your permanent marker, carving tools, and two medium bowls nearby—one for seeds, one for pumpkin guts.
- Using a permanent marker, sketch the face design directly onto the pumpkin. Choose the best side for your jack-o'-lantern and draw eyes, a nose, and a toothy grin.
- Draw the lid outline around the stem, making a circle about 5 to 6 inches in diameter. Optionally add a notch at the back—this helps you line up the lid later.
- Cut along the lid outline using a slim pumpkin carving knife (the toothed blade that works like a mini-saw) or a serrated knife. Cut at a 45-degree inward angle so the lid sits on top without falling in.
- Pull out the seeds by hand: grab the big bunches attached by thin strings and place them into the bowl designated for seeds. You'll clean these later.
- Scoop out the pumpkin's interior using a ladle, the scraper from your kit, or a metal spoon. Remove all stringy bits and discard the pumpkin guts in the second bowl.
- Wipe down the outside of the pumpkin with a kitchen towel to make carving easier and safer.
- Make straight cuts along your drawn design lines, removing the pieces and discarding them in the refuse bowl.
- Refine the carving: use an X-ACTO knife or the wire tool from your carving kit to scrape off any remaining stringy pieces or jagged edges. Also scrape away any visible marker lines; they won't show in the dark anyway.
- Place a tea light candle inside the pumpkin at the bottom. Light it using a long match or lighter with an extended nozzle, then put the lid back on. Tip: if it's hard to light through the top, reach through the mouth instead.
- To make roasted pumpkin seeds: clean and dry the seeds, then toss with oil, salt, and any desired seasonings. Roast in a low oven until golden brown. For detailed instructions, see our How To Roast Pumpkin and Squash Seeds tutorial.


:max_bytes(150000):strip_icc()/2377901_pumpk-17187-0f84c59d00204ebf8ae7e102120d6ebf-d64ae9eedd9045b2a3004dfc82fab1d5.jpeg)

