Decoupage & GlitterNo. 3347 · The 2026 edition
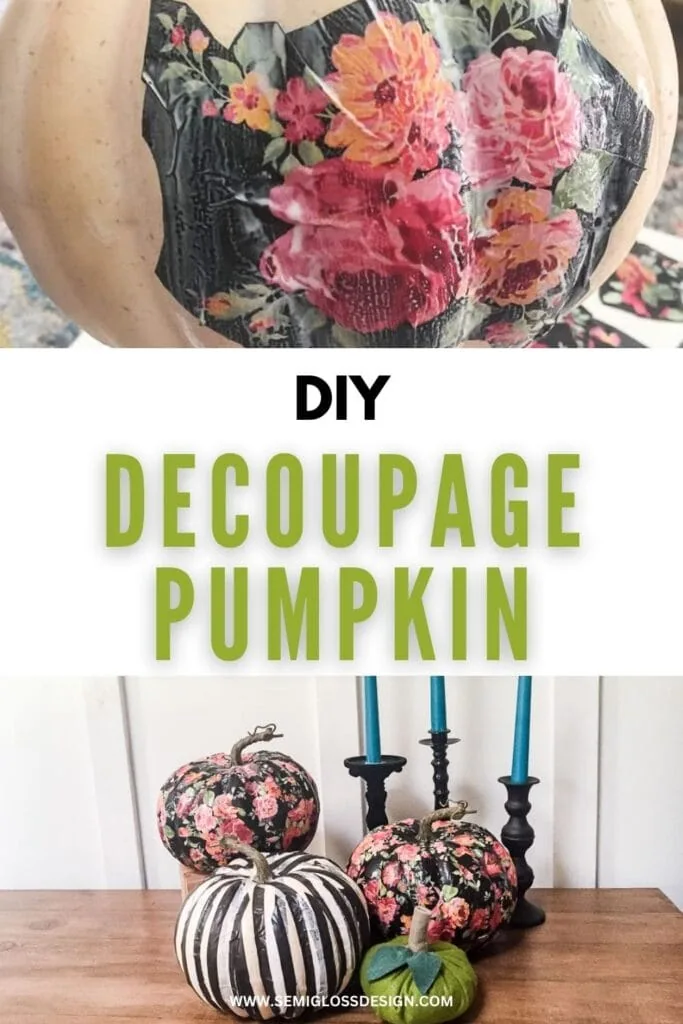
Tissue Paper Decoupage Pumpkins: Easy No Carve Pumpkin Decorating
Transform plain fake pumpkins into vibrant decor with this easy tissue paper decoupage technique.
Our own summary of the original — the full post and photos live at semiglossdesign.com.
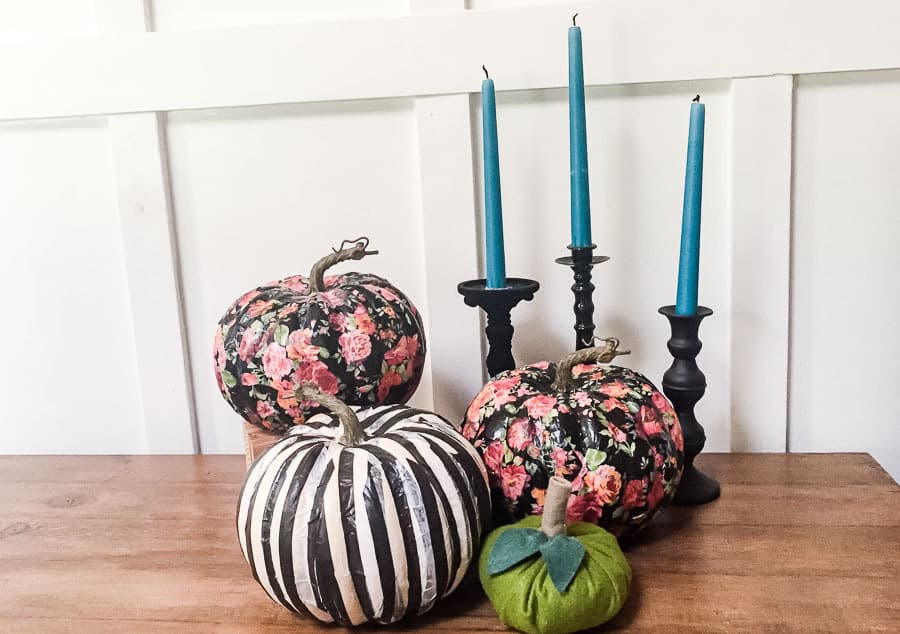
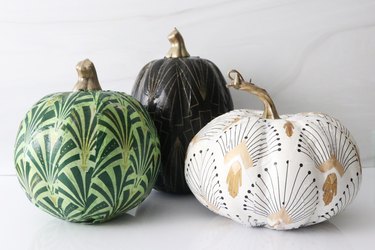
This no-carve decorating method uses patterned tissue paper and decoupage glue to create colorful pumpkins. Cut strips, apply them in stages, and let dry. A galvanized bucket keeps the pumpkin from sticking while drying.
You'll need
Directions
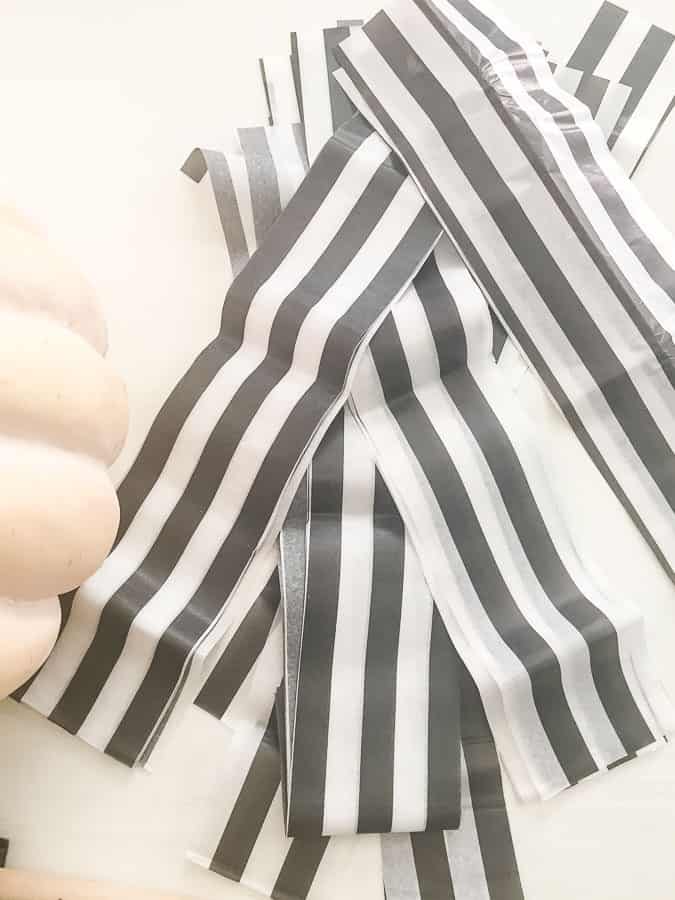
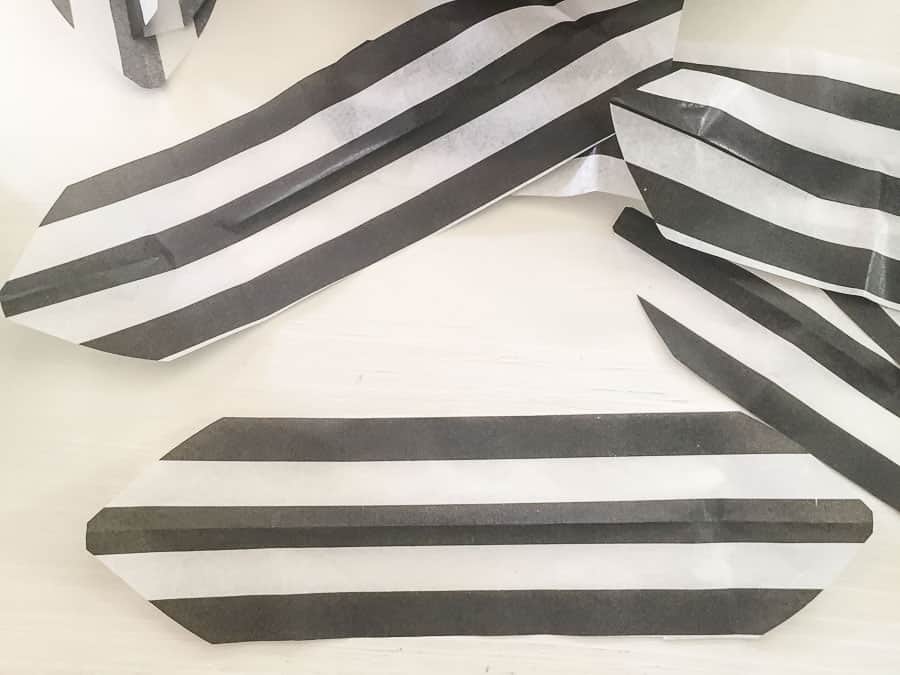
- Use scissors to cut your patterned tissue papers into strips.
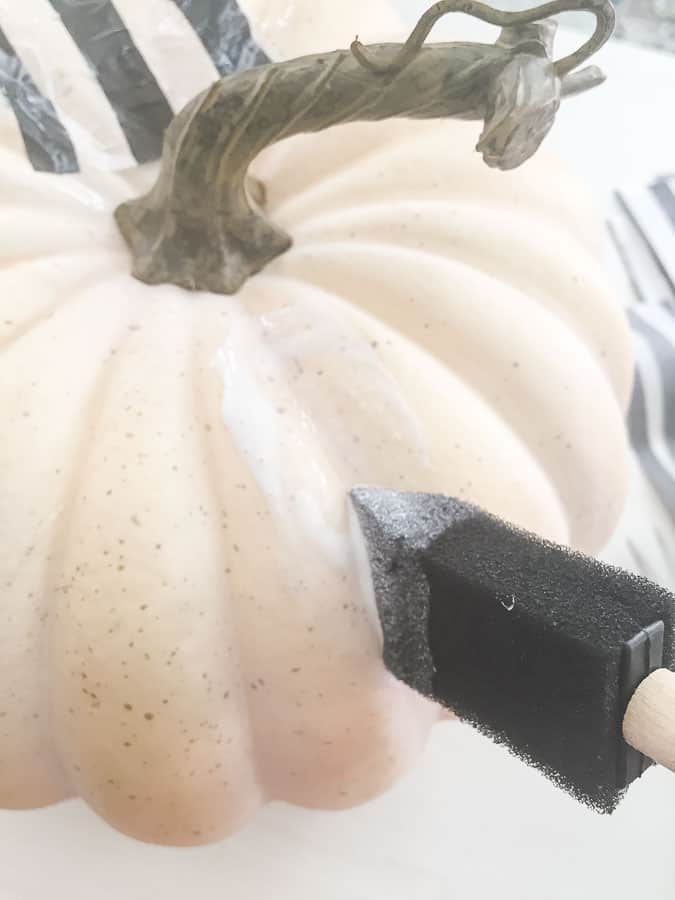
- Spread decoupage glue over the surface of the fake pumpkin using a foam brush.
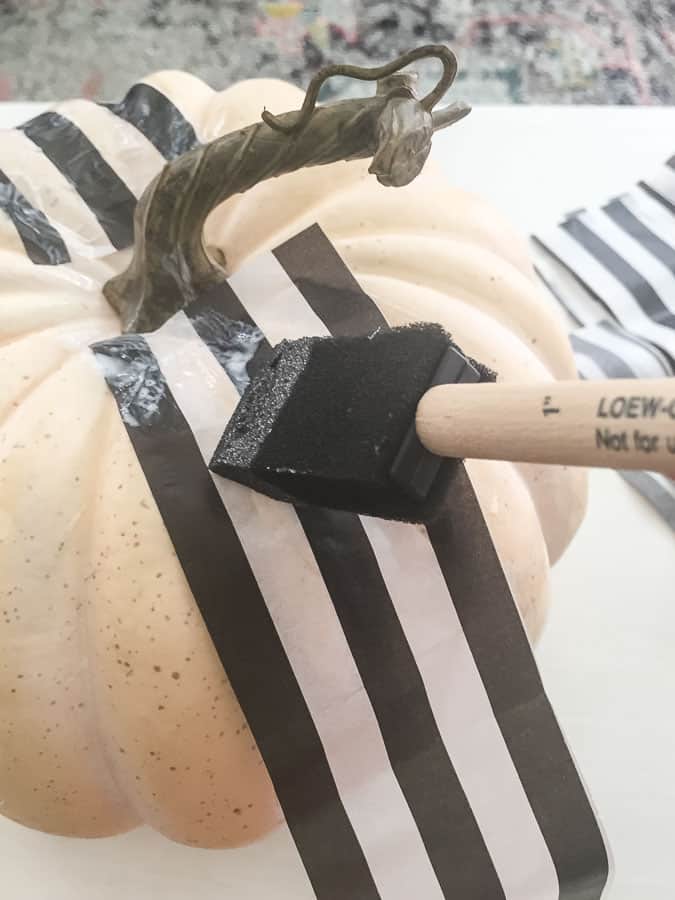
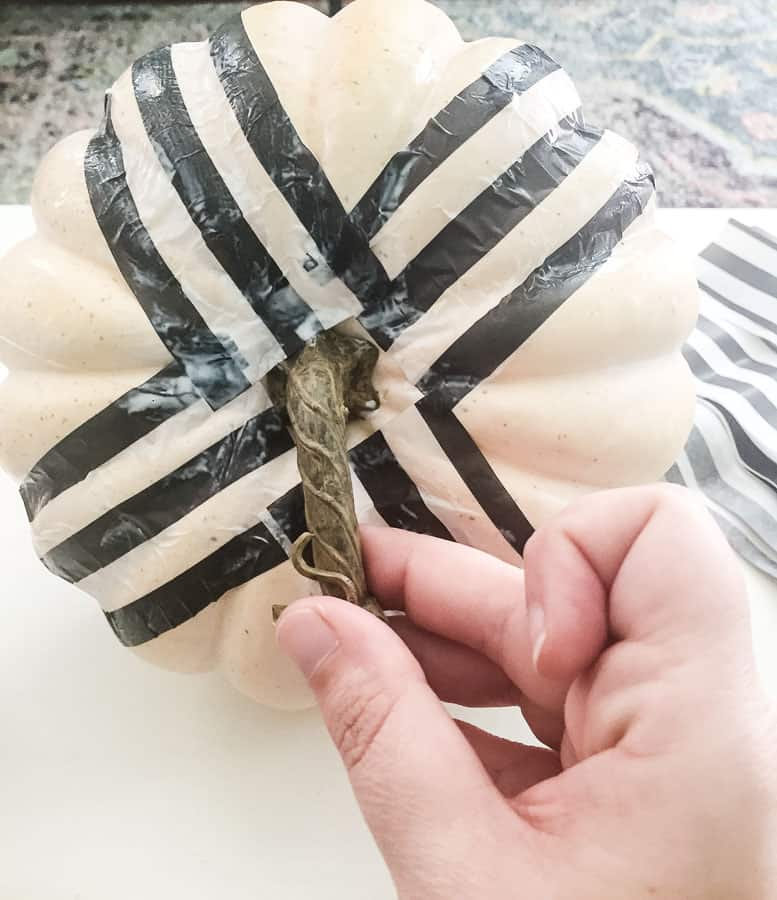
- Lay a tissue paper strip onto the glue, then smooth out any wrinkles or bubbles with the foam brush.
- If needed, apply extra glue over the top of the tissue paper to ensure adhesion and create a protective top coat.
- Initially, place strips in four spots around the pumpkin, then allow those sections to dry completely.
- Return to the pumpkin and add more strips to fill in the gaps. For tight spaces, taper the ends of the strips to reduce overlapping.
- Cover any remaining bare areas with matching striped tissue paper.
- Let the entire pumpkin dry. To prevent it from sticking to your work surface, set it on a galvanized bucket.
More photos
Photos hosted by semiglossdesign.com.