Stencils & PatternsNo. 3215 · The 2026 edition
99 Halloween Pumpkin Carving Ideas
Master Halloween pumpkin carving with these six essential tips that keep your creation fresh and glowing all season long.
Our own summary of the original — the full post and photos live at ladydecluttered.com.
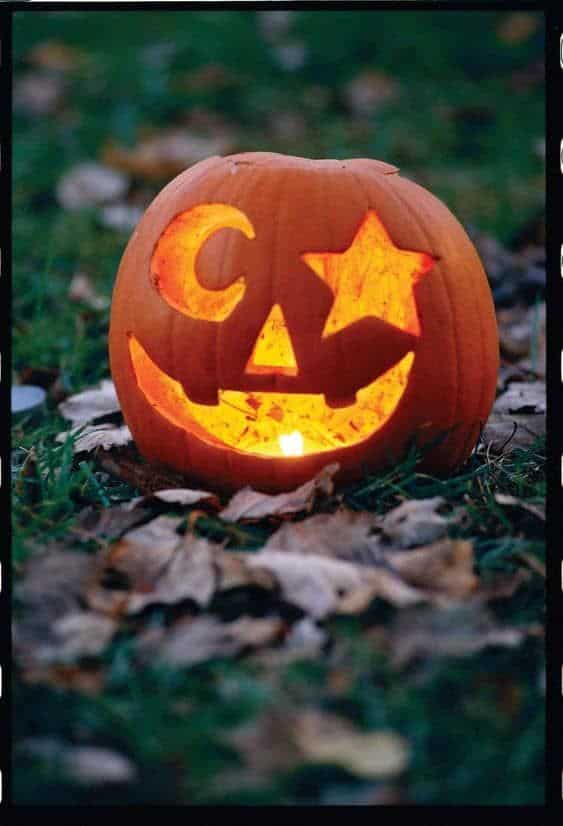
This guide walks you through the entire pumpkin carving process, from picking the right design to preserving your masterpiece. You'll learn to sketch easily, prevent decay, and light safely—ensuring your pumpkin looks great from carving day through Halloween night.
You'll need
Directions
- Select your carving pattern before buying a pumpkin, since some designs work better on tall pumpkins or may require multiple pumpkins.
- Sketch your design with a dry erase marker on the pumpkin surface, which lets you wipe off mistakes until you're satisfied.
- After carving, submerge the pumpkin overnight in cold water mixed with a small cup of bleach to inhibit mold and bacteria growth.
- Coat the cut edges of the pumpkin with vegetable oil or petroleum jelly to slow down drying and shriveling.
- Keep your finished pumpkin in a shady spot to extend its lifespan as much as possible.
- Use battery-operated tea lights rather than real candles to prevent the pumpkin from getting ruined by heat.
More photos
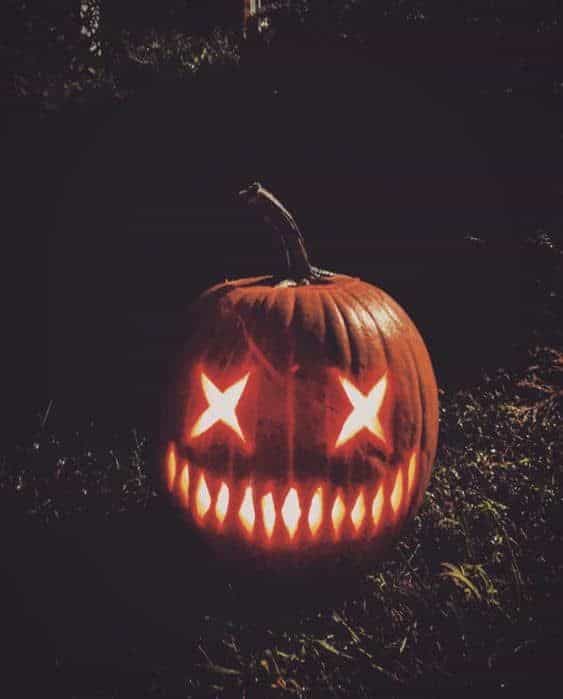
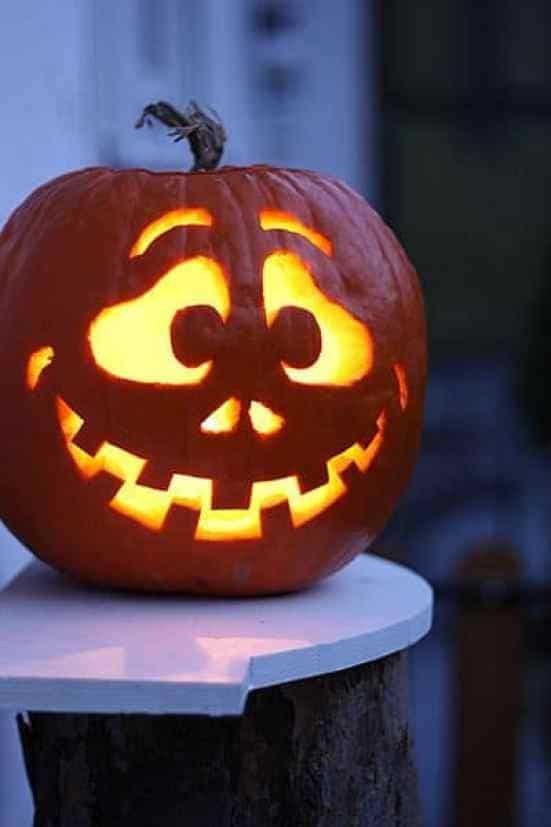
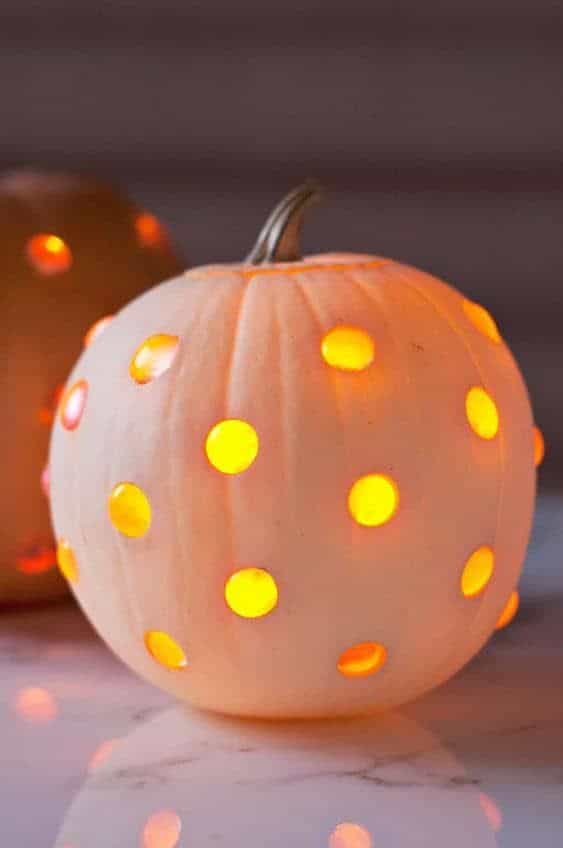

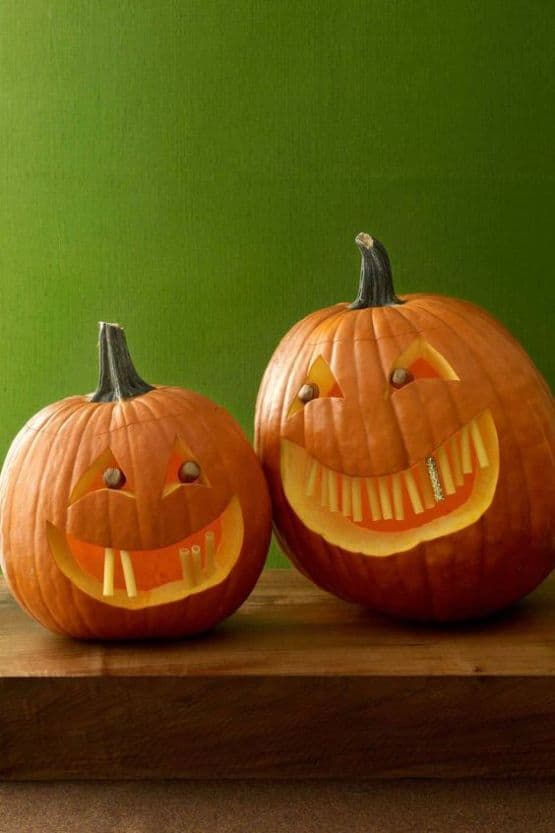
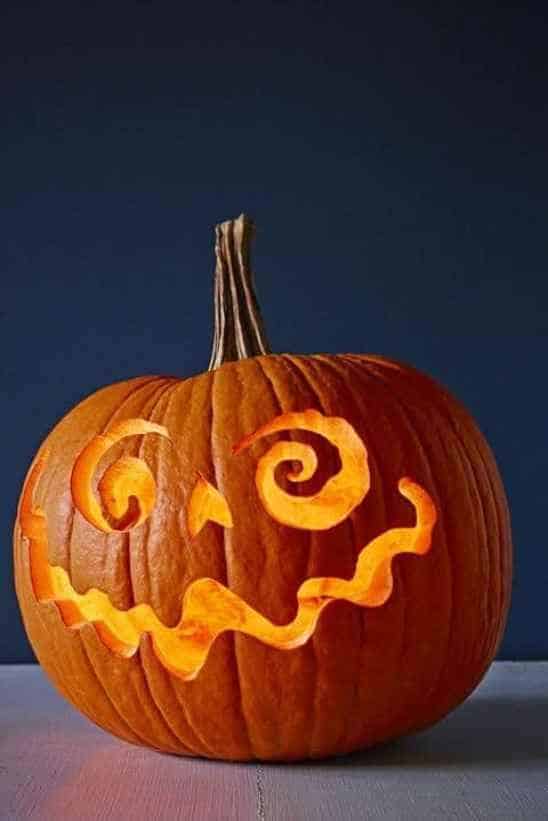
Photos hosted by ladydecluttered.com.


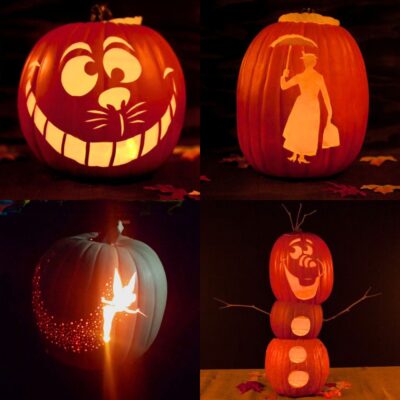
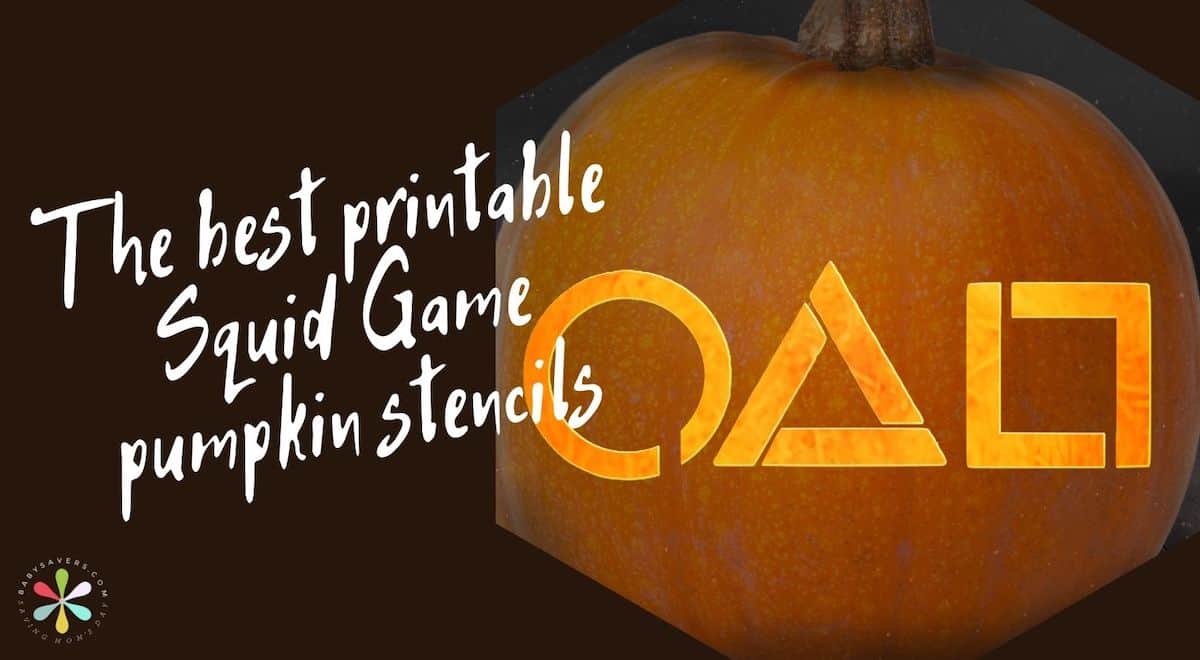

:max_bytes(150000):strip_icc()/free-pumpkin-carving-stencils-composite-0923-4154b539134a4b789f68a64a78a10460.jpg)