Fabric & SewingNo. 7051 · The 2026 edition
DIY No-Sew Ornaments for Halloween Trees
Create spooky no-sew Halloween ornaments with felt, stencils, and pom-pom fringe in just a few easy steps.
Our own summary of the original — the full post and photos live at hgtv.com.
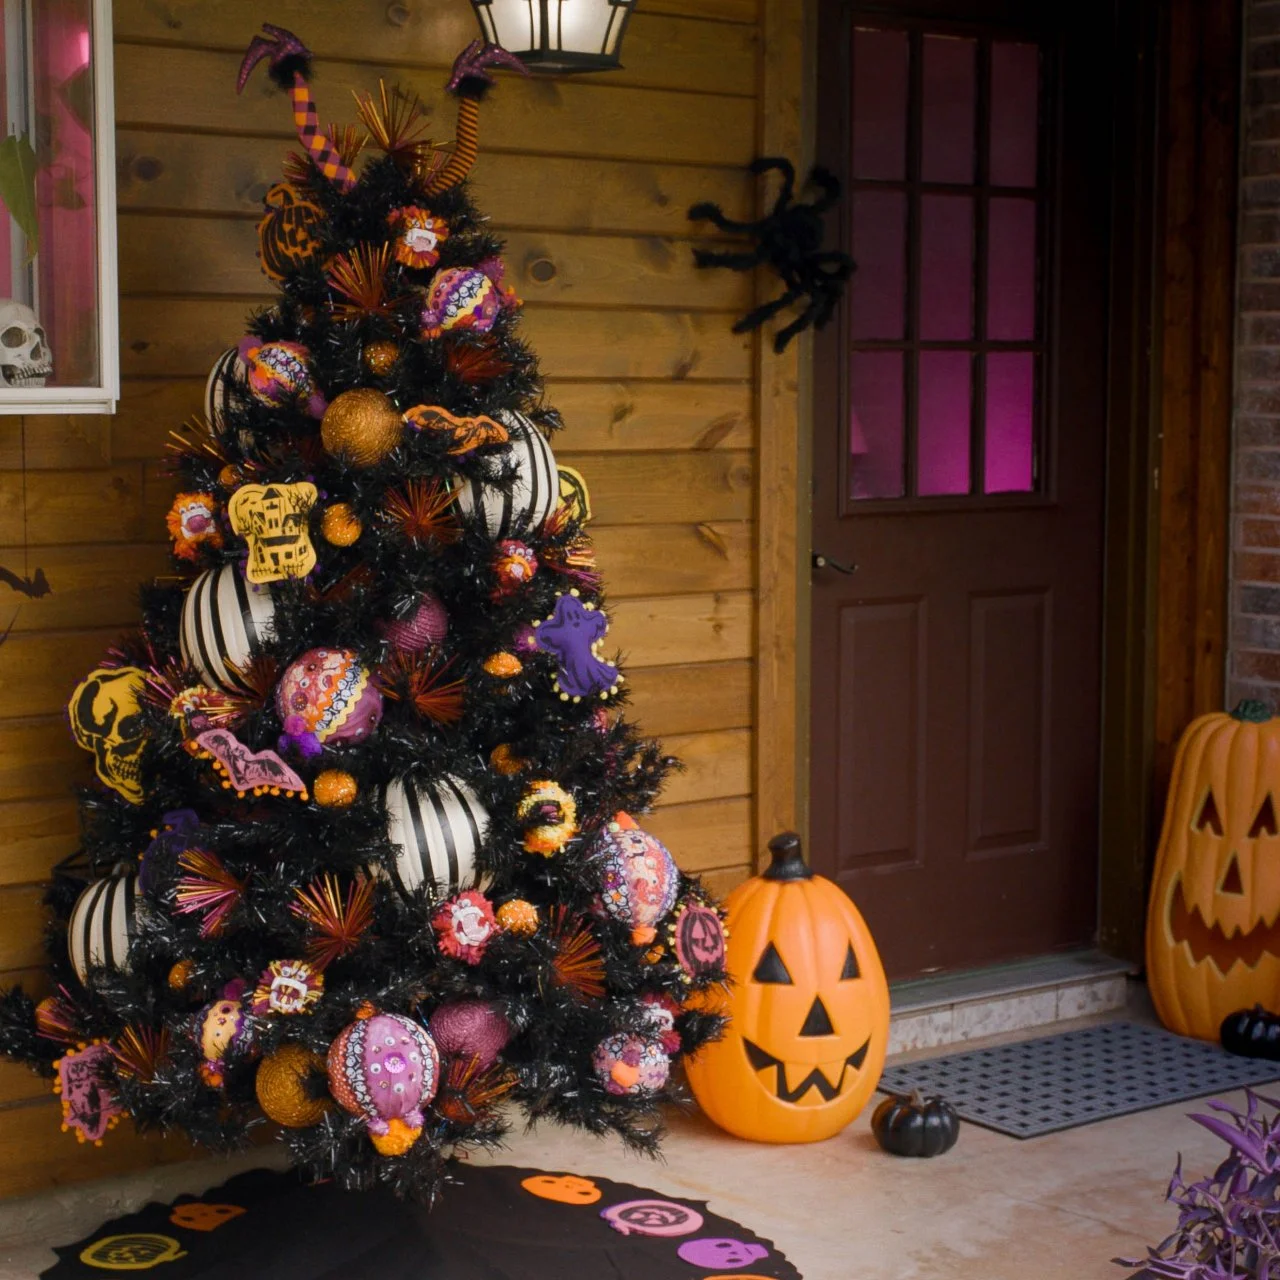
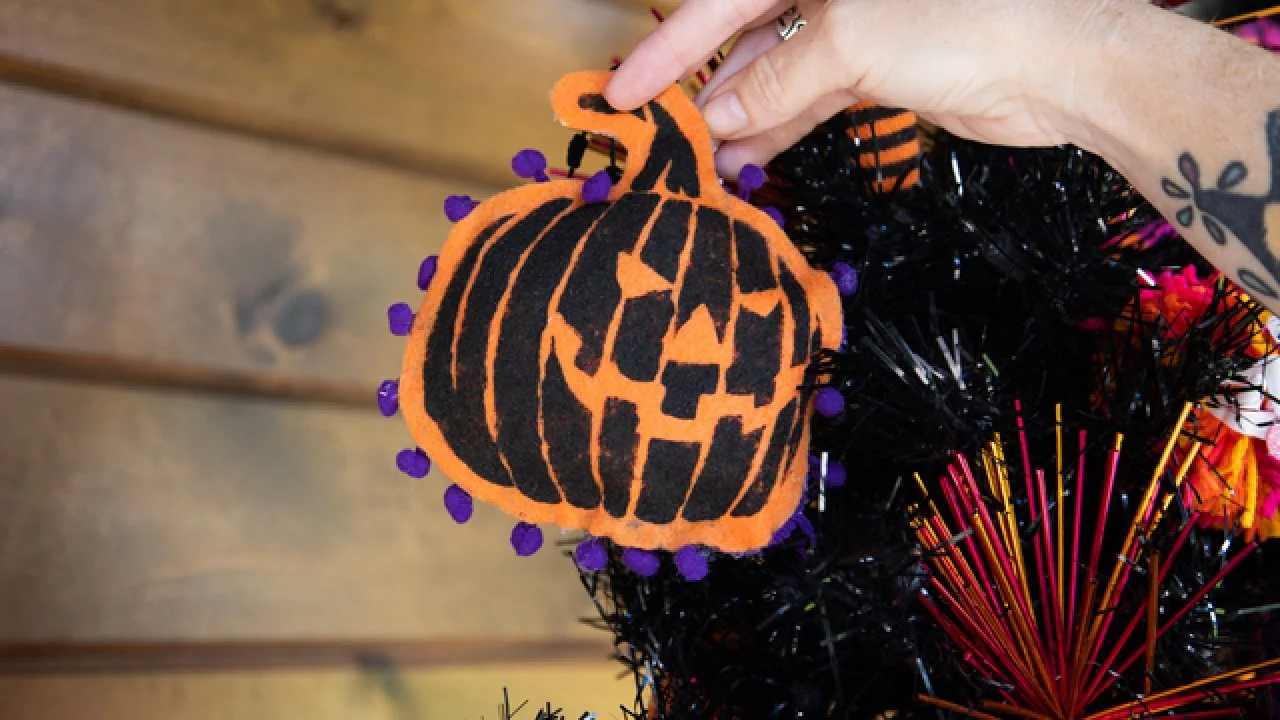
These DIY Halloween ornaments require no sewing—just felt, fabric, paint, and hot glue. Use stencils to decorate felt shapes, then assemble with pom-pom fringe and batting for a plush look. Add a yarn loop to hang them on your Halloween tree.
You'll need
Directions
- Select your favorite Halloween stencil and lay it on felt in a matching color (like orange for pumpkins or purple for a monster). Using a dry brush technique—dip your brush in black craft paint and wipe off excess—fill in the stencil pattern. Remove the stencil carefully and allow the paint to dry completely.
- Once the paint is dry, cut around the stenciled shape with scissors, leaving about an inch of extra felt around the design.
- Place the cut felt shape onto the wrong side of a piece of Halloween fabric. Trace around it with a pen, then cut out the fabric shape with scissors.
- Run a bead of hot glue along the edge of the fabric's back side. Press pom-pom fringe into the glue as you go around. Trim any extra fringe when you reach the start.
- At the top of the ornament, glue a small loop of yarn for hanging.
- Apply another line of hot glue around the edge of the felt piece, on top of the fringe, and press it onto the fabric to seal. Leave about 2 inches open for stuffing.
- Fill the ornament with batting, making sure to push it into small details like a pumpkin stem. Once full, glue the remaining gap closed with hot glue.
More photos


Photos hosted by hgtv.com.