Tools & TechniquesNo. 9331 · The 2026 edition
How to Use Pumpkin Carving Patterns: A Master Pumpkin Carver's Tips!
Our own summary of the original — the full post and photos live at babysavers.com.
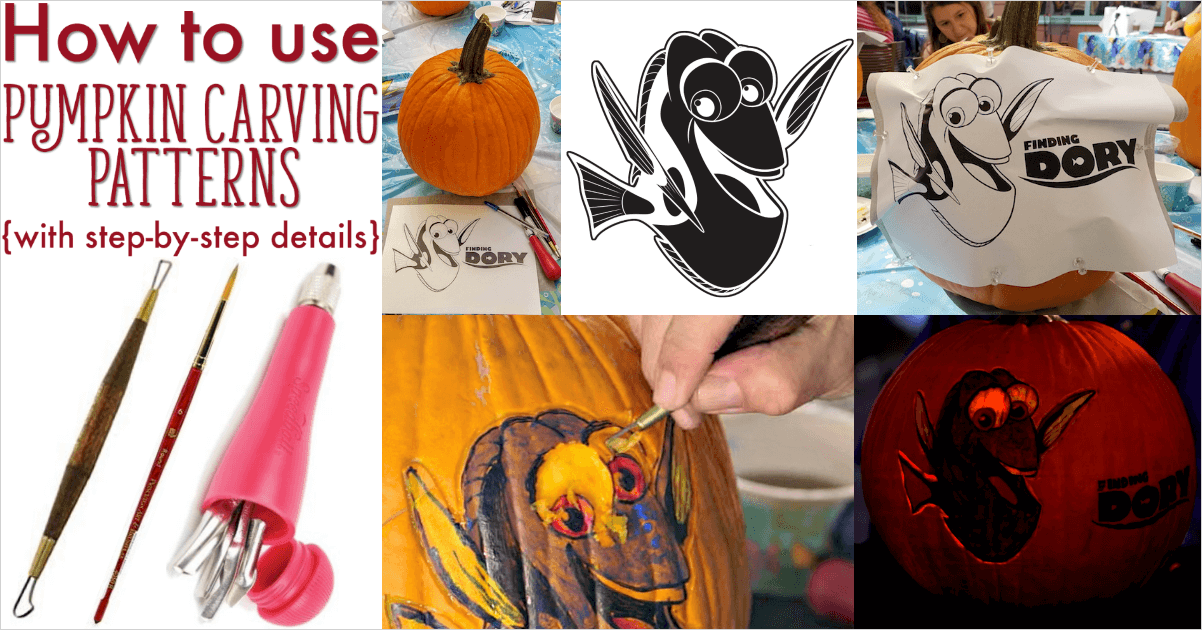
You'll need
Directions
- Wipe down the pumpkin with an antibacterial wipe to protect from rot-inducing bacteria.
- Cut a rectangular 'door' in the back of the pumpkin (do not cut around the stem to avoid killing the pumpkin).
- Scoop out the inside of the pumpkin using an old CD.
- Place your pumpkin carving pattern on top of your graphite transfer paper and pin it onto your pumpkin.
- Draw over the pattern with the ballpoint pen, making sure to get all the lines.
- Remove the pattern and transfer paper.
- Go over all the lines with the Sharpie.
- Fill in all the black areas with your sharpie.
- Use your acrylic paint and paintbrush to paint the areas that you want painted.
- Use the linoleum cutter to go around the outside of the image, plus any other areas you want defined, to let light shine through.
- Scoop out bigger areas of the pumpkin skin using the ribbon tool for areas that should appear bright or white without cutting a hole.
- Use your serrated knife to carve out the pieces of the pumpkin where you want holes.
More photos
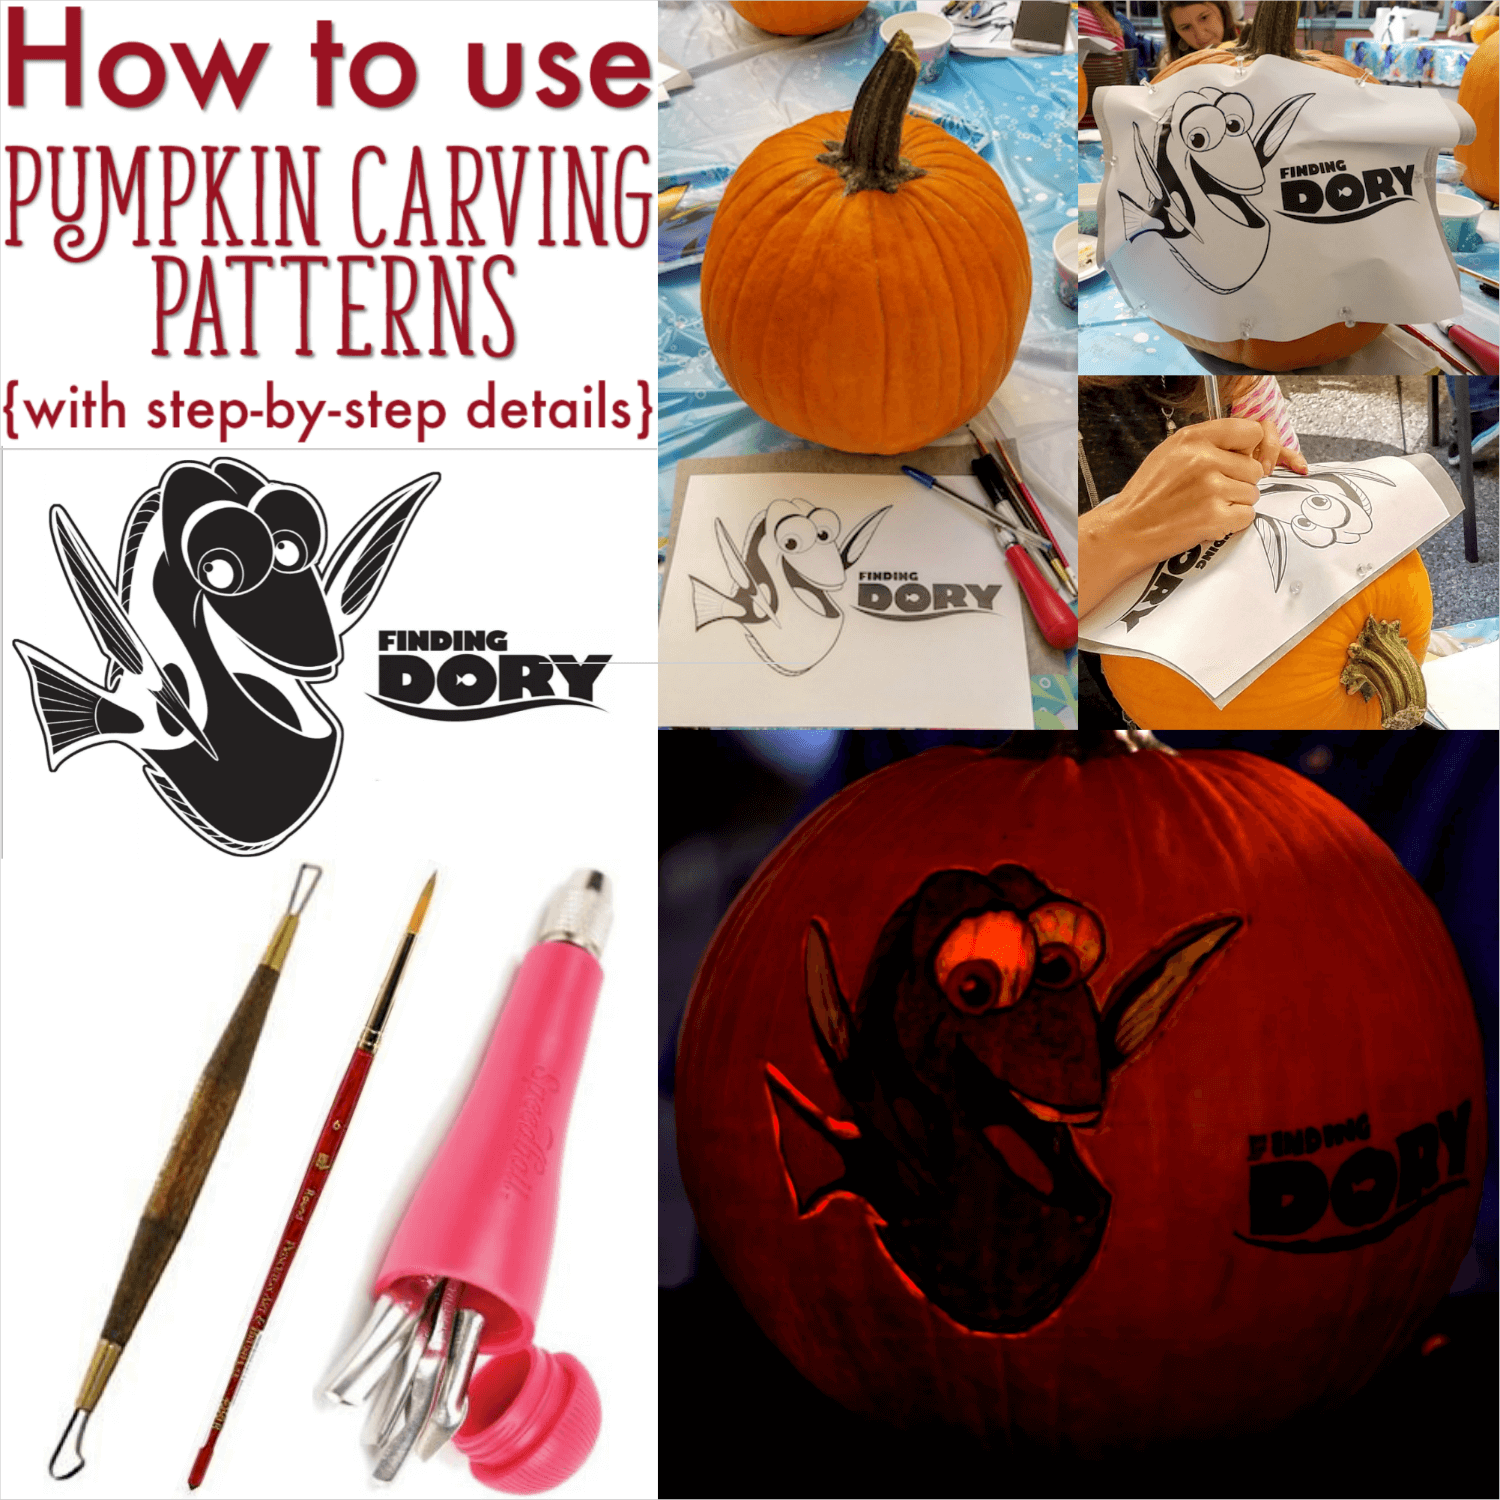

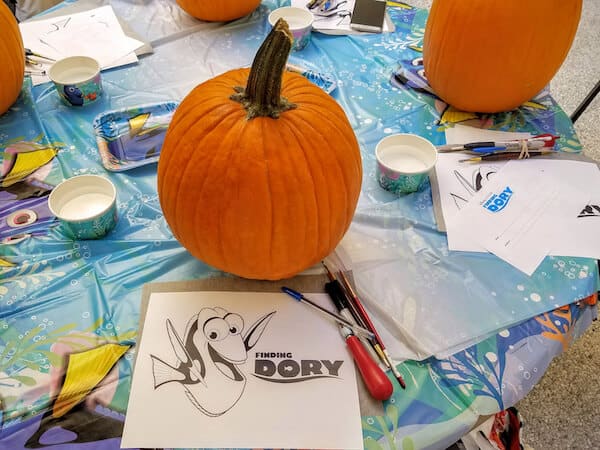
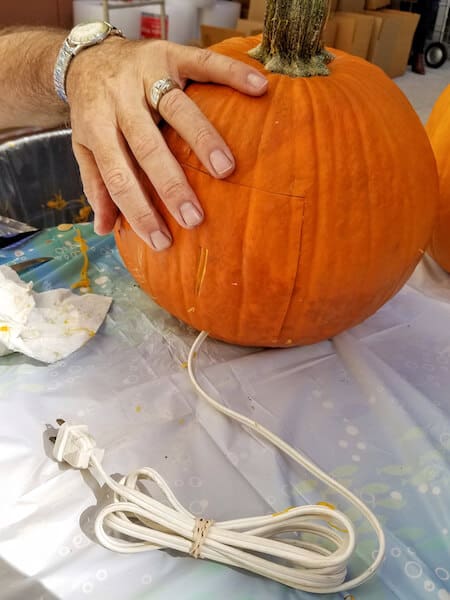
Photos hosted by babysavers.com.
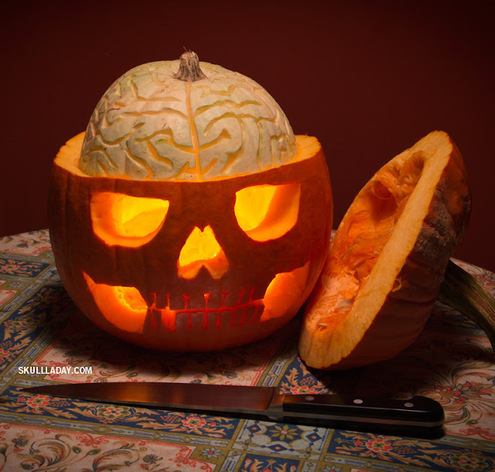


:max_bytes(150000):strip_icc()/2377901_pumpk-17187-0f84c59d00204ebf8ae7e102120d6ebf-d64ae9eedd9045b2a3004dfc82fab1d5.jpeg)

