Decoupage & GlitterNo. 8299 · The 2026 edition
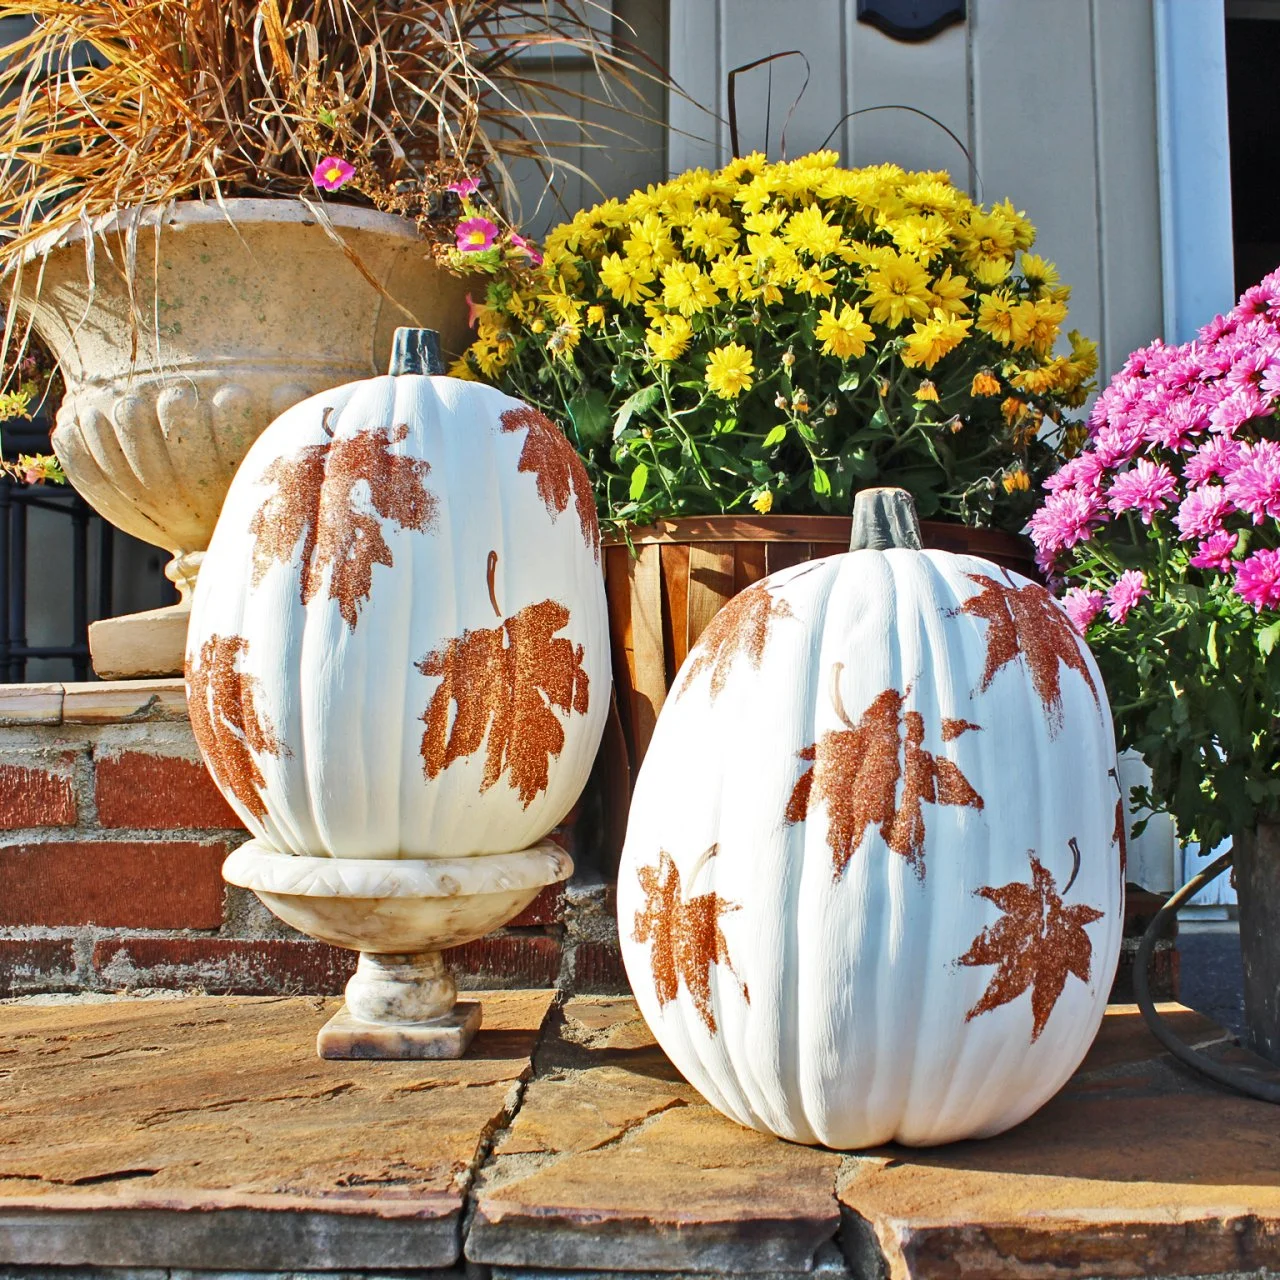
Glitter Leaf Fall Pumpkins
Our own summary of the original — the full post and photos live at hgtv.com.
You'll need
Directions
- Cover your work surface with paper. Then, head outdoors with scissors in hand to snip a few still-green leaves to use as stamps for applying the glue. Make sure to only gather fresh, pliable leaves, not ones that have already started to curl at the ends or are dried-out and brittle.
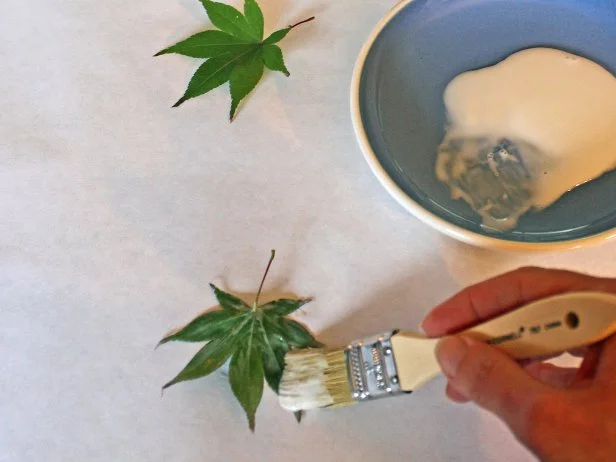
- Pour a small amount of glue into a shallow container, like a small bowl or plate. Dip chip brush into glue, then brush glue onto leaf. Immediately press the leaf, glue-side-down, onto the pumpkin.
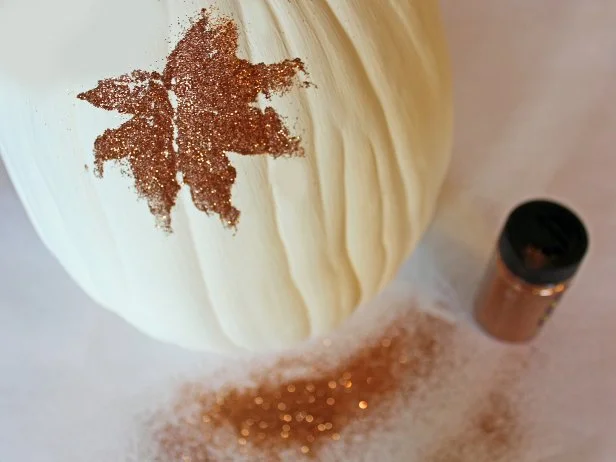
- Remove the leaf from the pumpkin by its stem and immediately shake on glitter, fully covering the area with the leaf-shaped glue stamp. When you feel that all the glue has been covered with glitter, tap the pumpkin to remove the excess glitter. Continue stamping the pumpkin with glue-covered leaves, then shaking on glitter till you're happy with the design. Tip: Vary each leaf's direction so the overall effect is that of falling leaves. Once glue has dried, you can brush off any errant glitter to create more defined leaf shapes.
- Using a permanent marker or paint pen, draw stems onto each of the leaves. Vary the direction of the stems to give the leaves more of a feeling of movement. Display your completed pumpkins either indoors or outdoors during dry weather.
More photos


Photos hosted by hgtv.com.