Decoupage & GlitterNo. 8204 · The 2026 edition
DIY Glitter Pumpkins
Our own summary of the original — the full post and photos live at simplisticallyliving.com.
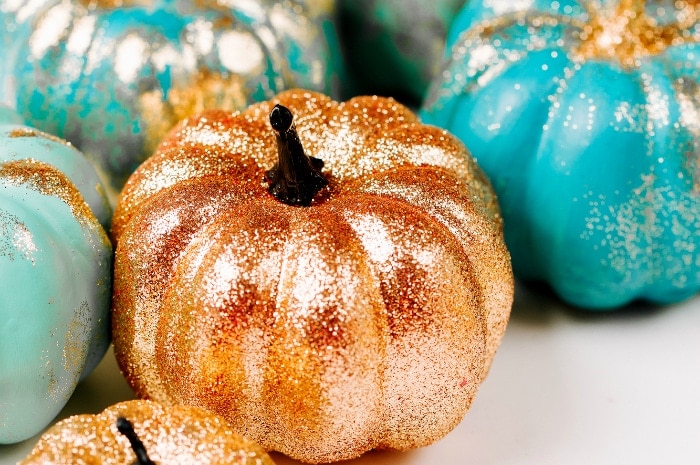
You'll need
Directions
- Begin by washing and drying your pumpkins thoroughly. You want to get off the dirt and any rough edges so you have a smooth surface (like in the image below). This will ensure you have a smooth look to the finished pumpkins. If you are using plastic pumpkins, you can skip the step above.
- Next, lay down the wax or parchment paper onto a flat, leveled surface. This will capture the excess glitter and serve as a place to store your pumpkins while they dry.
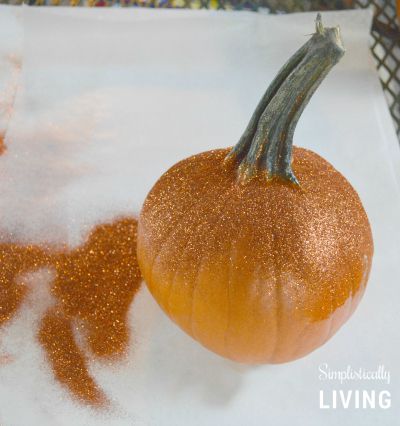
- Starting at the top of your pumpkins (near the stem), work your way down spraying small sections of the spray adhesive. Make sure you are several inches away from where you are spraying or you will get clumps of adhesive on your pumpkin.
- Take your glitter and dump it over the section you sprayed the adhesive on. The adhesive dries in about 15 seconds so you will want to work fast.
- Tap off any excess glitter onto the wax or parchment paper then complete steps 3- 5 until your pumpkin is covered entirely.
- Once your entire pumpkin is covered in glitter, place it on the wax paper and allow to dry overnight.
- You can then roll up the wax paper and dump the glitter back into the bottle and save it for your next project.
More photos

Photos hosted by simplisticallyliving.com.