Fabric & SewingNo. 2223 · The 2026 edition
Easiest Pumpkin Shirts to Make
Create adorable Halloween pumpkin shirts in minutes with this foolproof freezer paper stencil method.
Our own summary of the original — the full post and photos live at toddlerapproved.com.

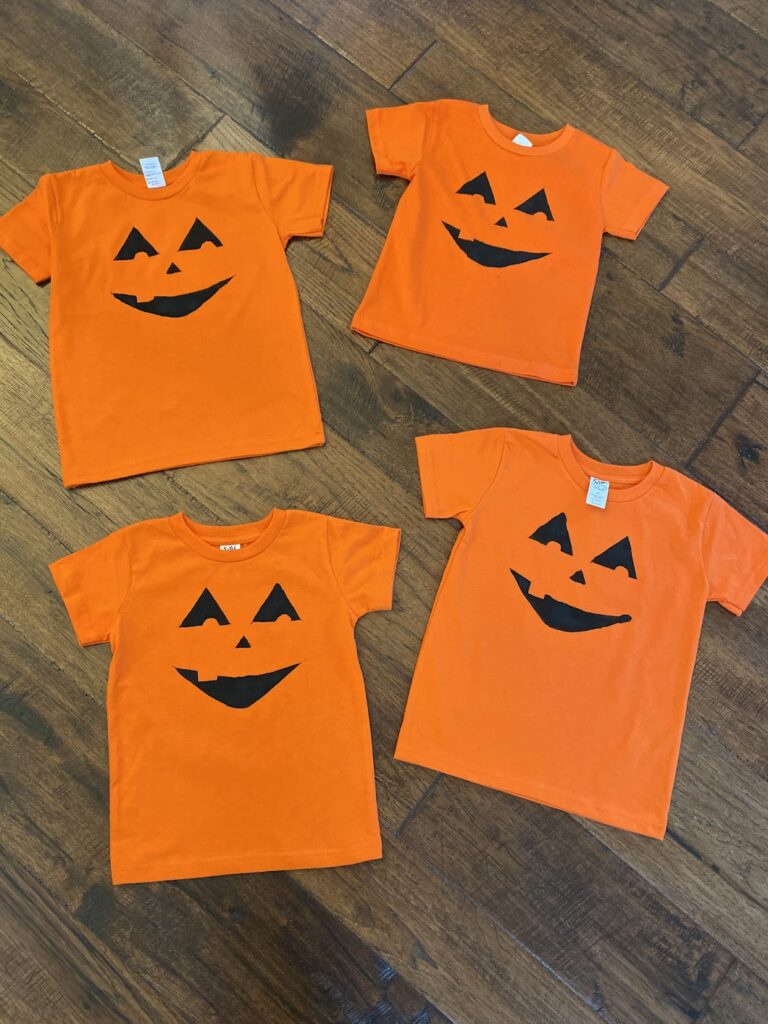
Using freezer paper as a stencil, you can easily make custom pumpkin shirts with your kids. Simply cut the design, iron the paper onto the shirt, let the little ones paint the pumpkin face, and then set the paint with a hot iron. It's a fun, mess-friendly craft that yields wearable Halloween art.
You'll need
Directions
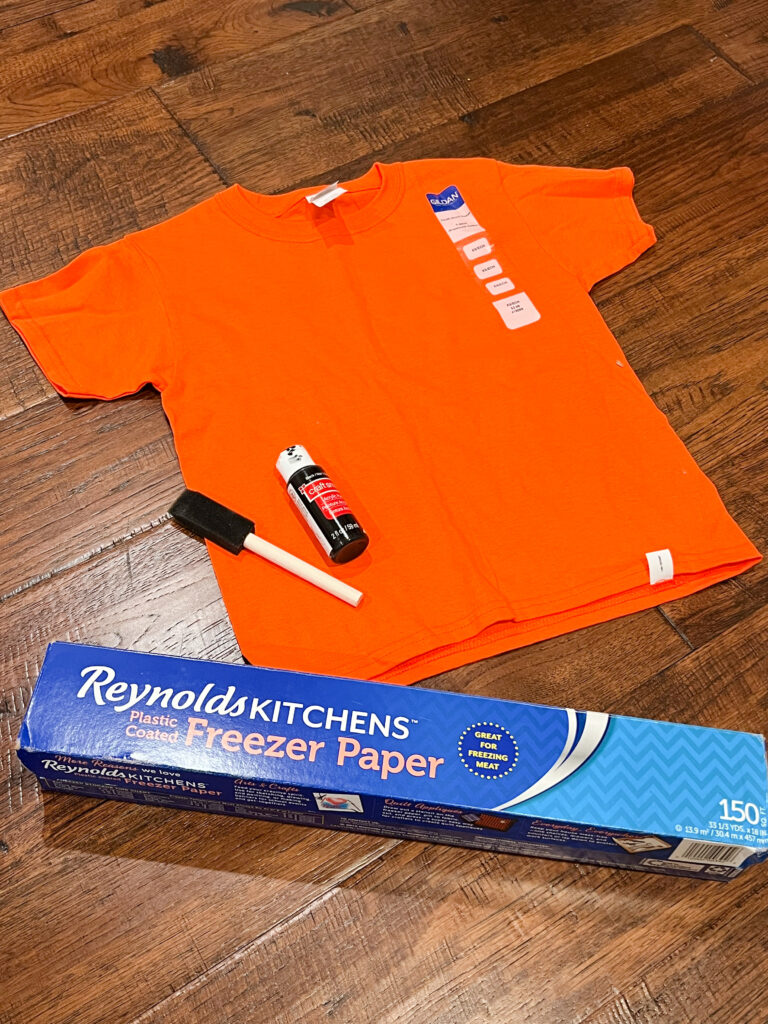
- Collect everything you'll need: orange t-shirts, black acrylic paint, freezer paper, an iron, a paintbrush, a small cup or bowl for the paint, a pumpkin stencil, a piece of cardboard or a cereal box, scissors, and a pencil.
- Print the pumpkin stencil you plan to use.
- Cut away the black parts of the pumpkin face from the stencil.
- Cut a piece of freezer paper large enough to fully cover the first t-shirt.
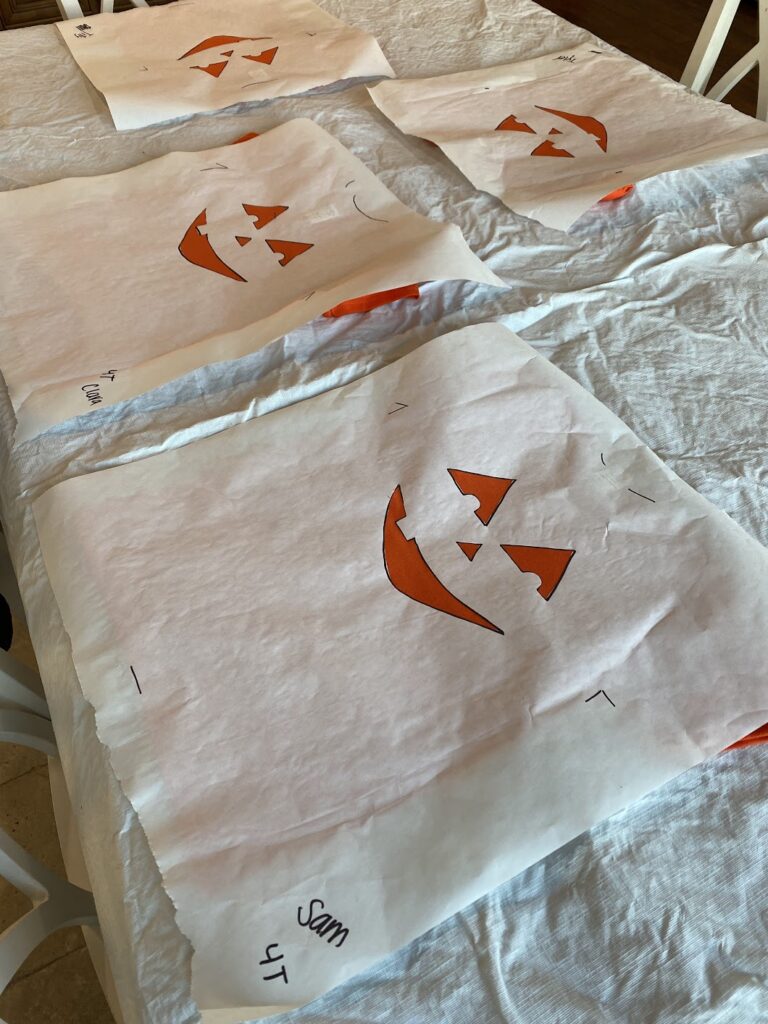
- Trace the cut-out pumpkin face onto the shiny side of the freezer paper, then cut out the traced shape.
- Position the freezer paper with the pumpkin cutout centered on the t-shirt, with the shiny side against the fabric.
- Turn on your iron and let it heat up.
- Press the hot iron over the freezer paper, moving it across the whole shirt until the paper is completely fused to the fabric.
- Slip a piece of cardboard or a cereal box inside the shirt to separate the front from the back.
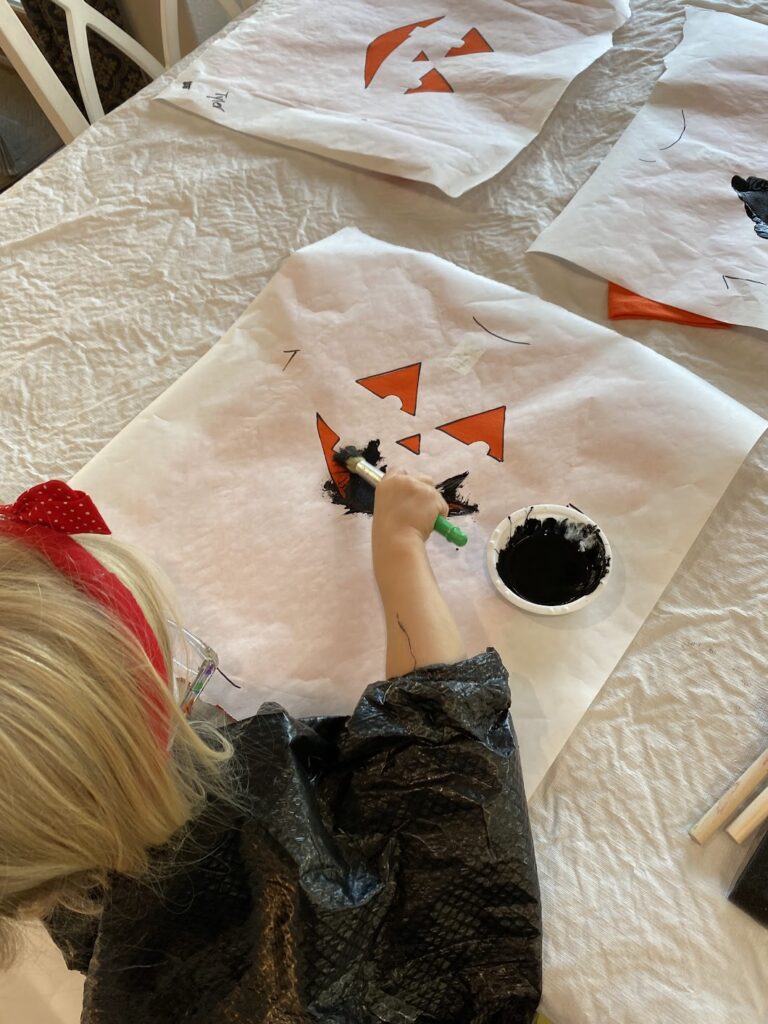
- Pour black acrylic paint into a small cup and give it to your child along with a paintbrush. Make sure kids wear old clothes that can get dirty—acrylic paint can stain.
- Have your child paint the exposed orange area (the pumpkin face) with black paint until it's fully covered.
- Let the paint dry slightly, then carefully peel the freezer paper off the t-shirt.
- After the shirt is fully dry (a couple of hours or the next day), use a dry iron and place a thin piece of fabric over the painted area. Press with a hot iron to set the paint. Make sure the iron is not set to steam.
More photos

Photos hosted by toddlerapproved.com.