Easy Treats Kids Can MakeNo. 3155 · The 2026 edition
Halloween Witch Hat Cookies
Turn ordinary cookies into adorable witch hats with chocolaty kisses and festive sprinkles—a spooky treat that's as fun to make as it is to eat!
Our own summary of the original by krista — the full post and photos live at werefarfromnormal.com.
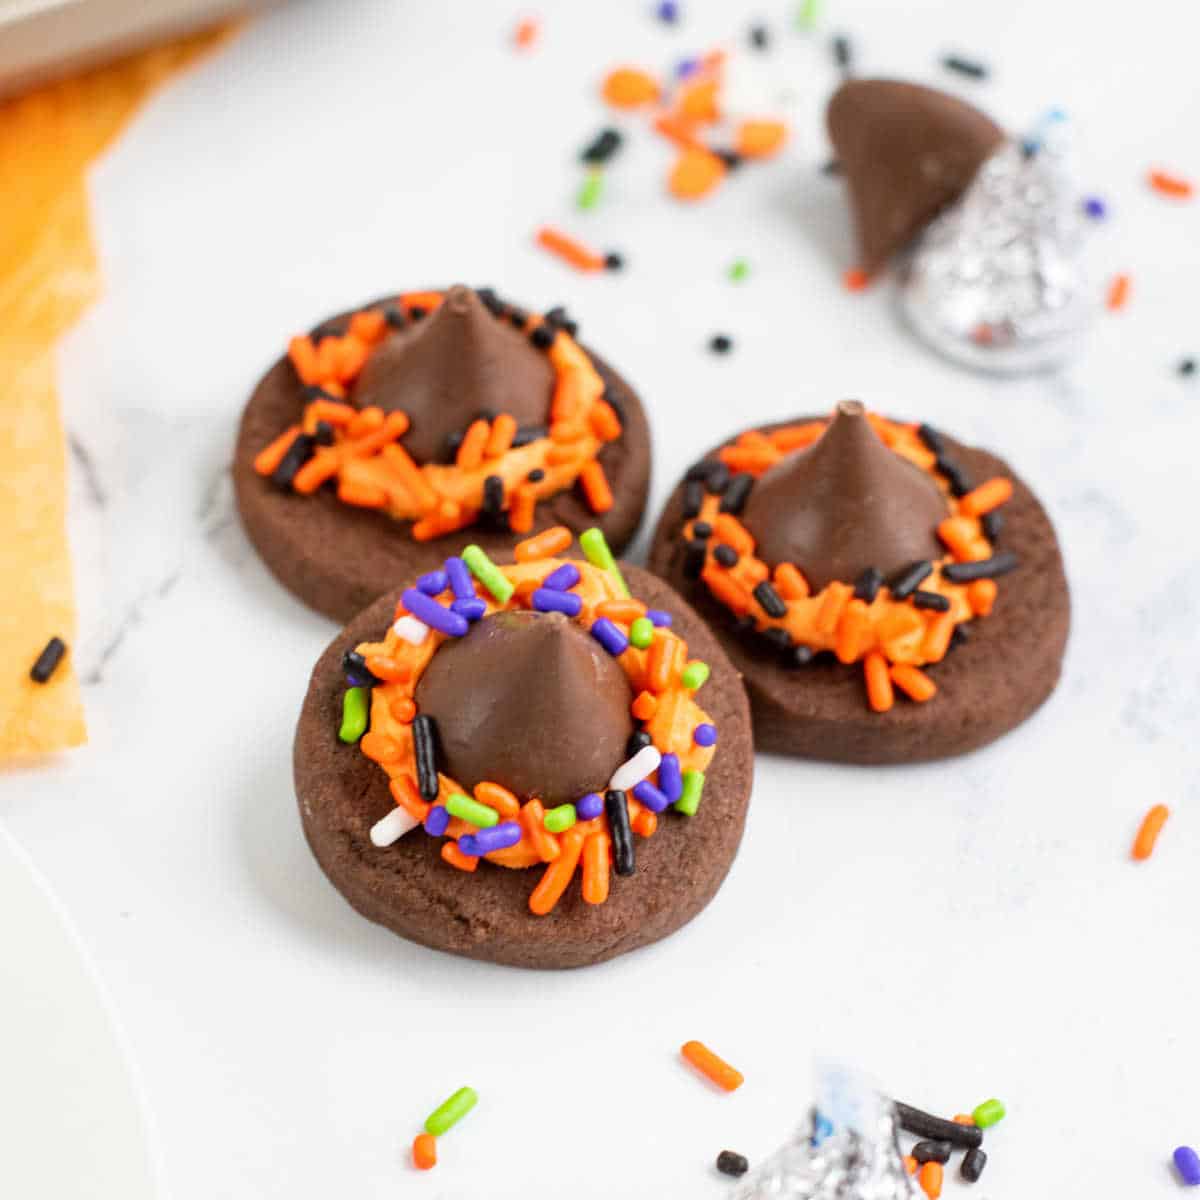
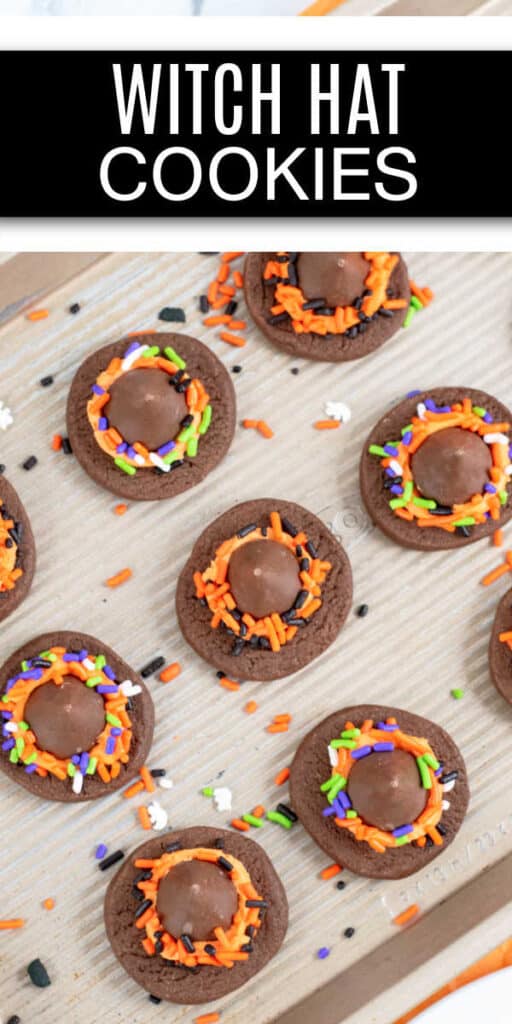
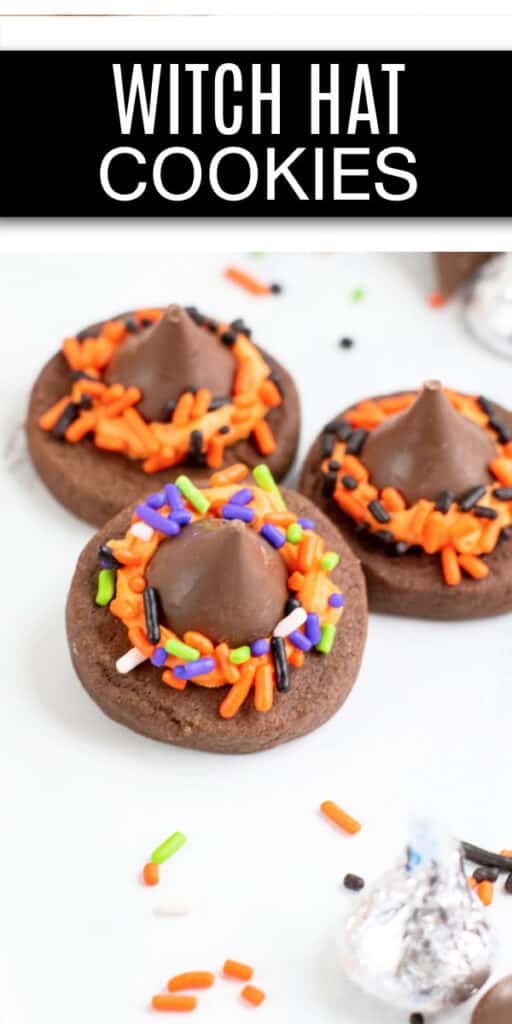
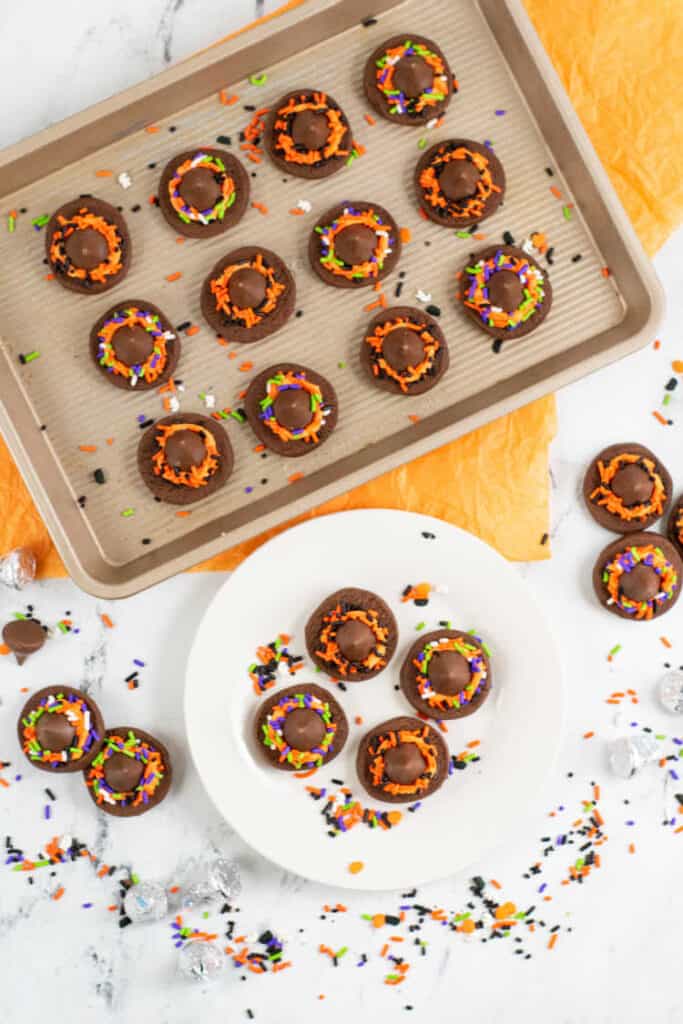
These Halloween Witch Hat Cookies start with a chocolate slice-and-bake cookie base. After baking and cooling, each cookie is topped with an orange-frosted Hershey's Kiss and decorated with Halloween sprinkles. The result is a cute and delicious treat perfect for spooky celebrations.
Ingredients
Directions
- Start by baking the cookies that will become the base for these witch hats. This simple chocolate slice-and-bake ice box cookie is both delicious and easy to make.
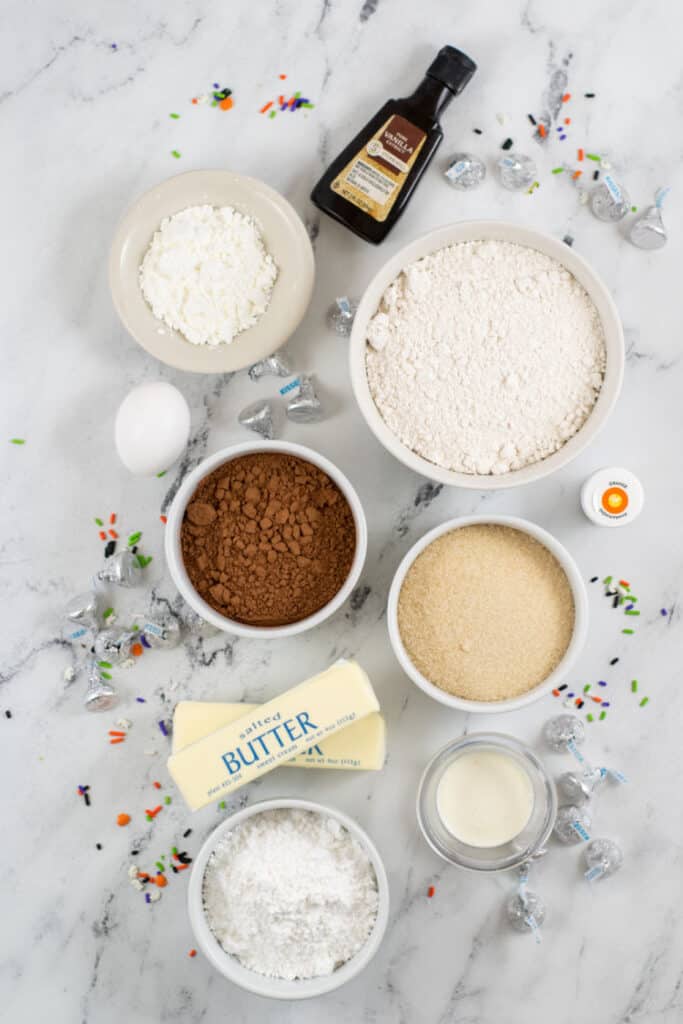
- In a medium bowl, whisk together 2 cups flour, 2 tablespoons corn starch, ¾ cup cocoa powder, and ½ teaspoon salt.
- Using an electric mixer, cream together 1 cup softened butter and 1 cup sugar until light and fluffy. Add 1 egg and 2 teaspoons vanilla, then mix until well blended.
- Gradually add the flour mixture to the butter mixture, mixing well after each addition.
- Remove the dough from the bowl and roll it into a log about 1½ inches in diameter. Doing this on parchment or wax paper prevents sticking. Wrap the log in parchment or wax paper and refrigerate for at least one hour.
- Once the dough is thoroughly chilled, it's time to bake the cookies.
- Preheat your oven to 350°F. Lining your baking sheet with parchment paper is recommended but not essential.
- With a sharp knife, slice the dough into rounds between ¼ and ½ inch thick. Place them on the prepared baking sheet.
- Bake for 8 to 12 minutes, until the cookies are set—they should look dry around the edges and slightly shiny in the center. Be careful not to overbake.
- Remove the cookies from the oven and let them cool on the baking sheet for 2 to 3 minutes, then transfer to a wire rack to cool completely.
- The cookies must be completely cool before you add the frosting and Hershey's Kisses, so allow plenty of time for cooling.
- When you're ready to decorate, prepare the frosting.
- In the bowl of an electric mixer, beat 8 tablespoons softened butter until light and fluffy. Gradually add 2 cups powdered sugar and 1½ tablespoons heavy cream, mixing after each addition until fully incorporated. Add ½ teaspoon vanilla and orange gel food coloring, mixing thoroughly. Add more coloring if needed to reach your desired shade. If you want multiple colors, add the vanilla first, then divide the frosting into separate bowls and tint each one.
- Unwrap 60 Hershey's Kisses so that assembly goes quickly.
- Fill a piping bag with the orange frosting and snip a small opening in the tip (or attach a small metal tip). Pipe a tiny dot of frosting onto the bottom of an unwrapped Kiss, then press it gently into the center of a cookie. Pipe a ring of frosting around the base of the Kiss and immediately add Halloween sprinkles so they stick.
- Repeat step 15 for all cookies until all are decorated.
- Store the decorated cookies in an airtight container until ready to serve.
More photos

Photos hosted by werefarfromnormal.com.