Tools & TechniquesNo. 3655 · The 2026 edition
How to Make a Pretty Fretwork Pumpkin
Transform a simple gourd into a glowing masterpiece with this easy fretwork technique that uses simple tools and tape guides.
Our own summary of the original — the full post and photos live at hgtv.com.
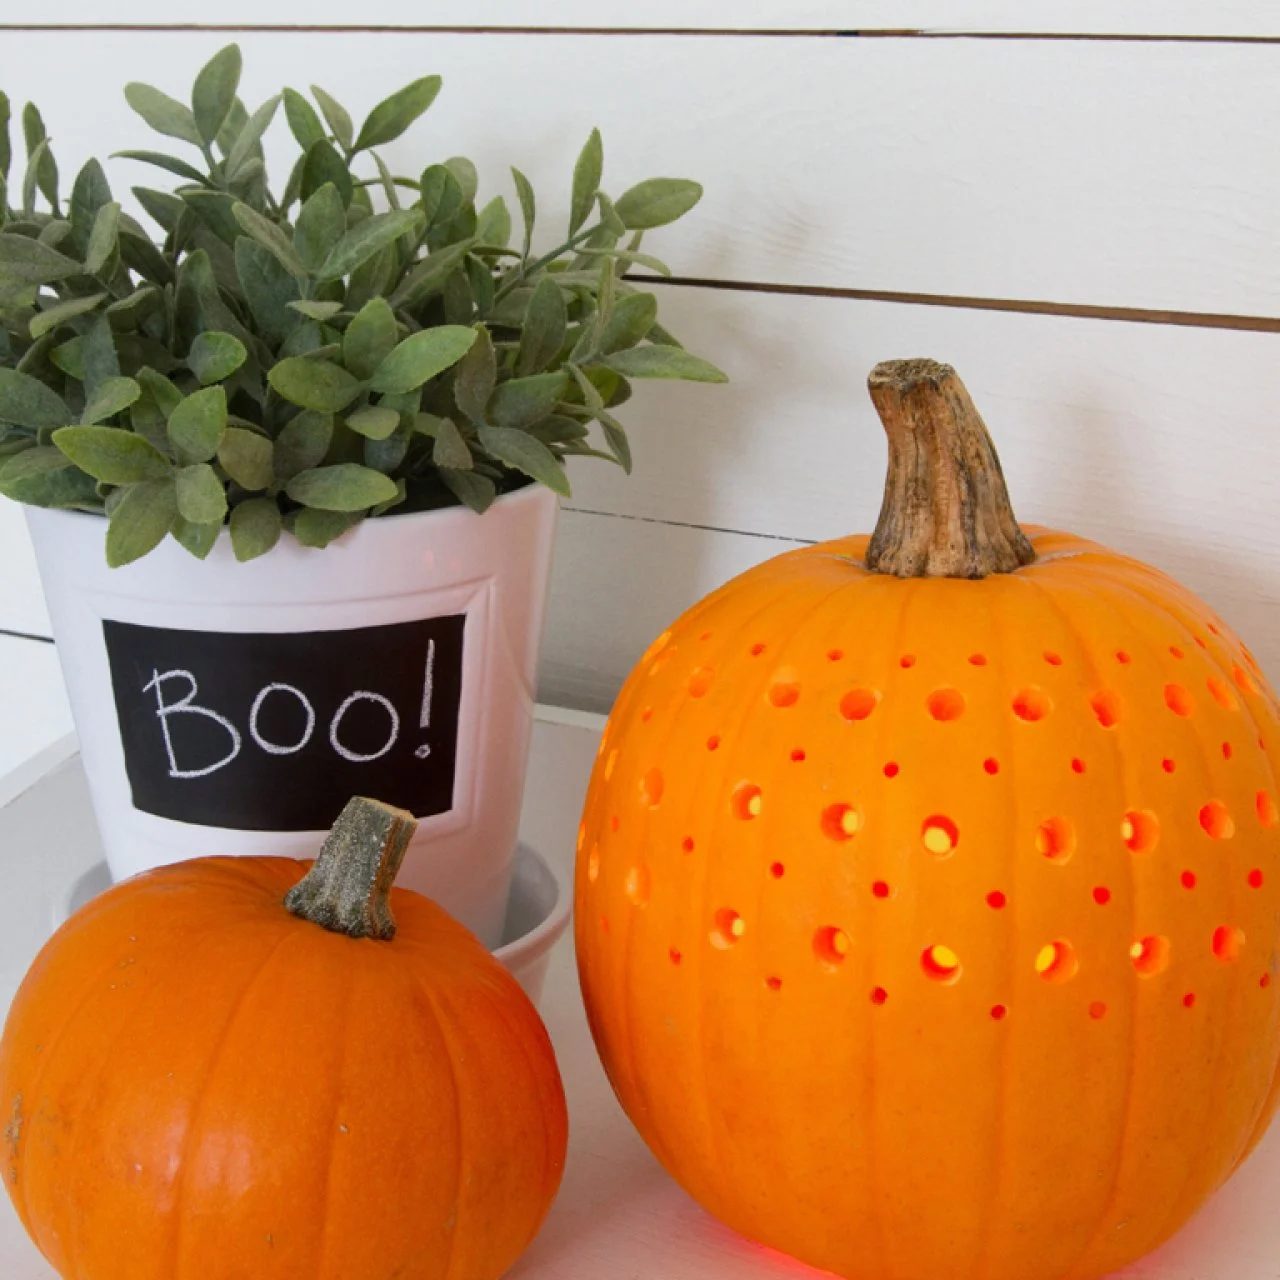
Learn how to create an intricate fretwork pumpkin design by drilling concentric circles of large and small holes using tape as a guide, then cleaning the openings and illuminating the gourd with a candle.
You'll need
Directions
- Spread out multiple sheets of newspaper on your work surface. Take a sharp knife or a specialized pumpkin saw and slice a wide opening at the base of the gourd. Scoop out every bit of the inner pulp and seeds using a big serving spoon.
- Stick a strip of painter's tape right in the middle of the pumpkin's exterior. Then, add a second strip of tape about two inches higher up from the first one.
- Swap in a wide drill bit and bore holes into the pumpkin just beneath the upper tape line. Create a full circle of these wide holes just above the lower tape line. Peel off both tape strips, then drill a third circle of wide holes directly on top of the upper circle you just made.
- Switch to a tiny drill bit. Drill smaller holes in the spaces between and above the wide holes, working your way around the entire pumpkin. Finish by drilling a final circle of small holes underneath the lowest circle of wide holes, ensuring these tiny holes sit directly between and above or below the larger ones.
- Wipe away any leftover pulp or skin from the drilled openings using paper towels and cotton swabs. Finally, set the finished pumpkin over a votive candle, either lit or battery-operated.
More photos
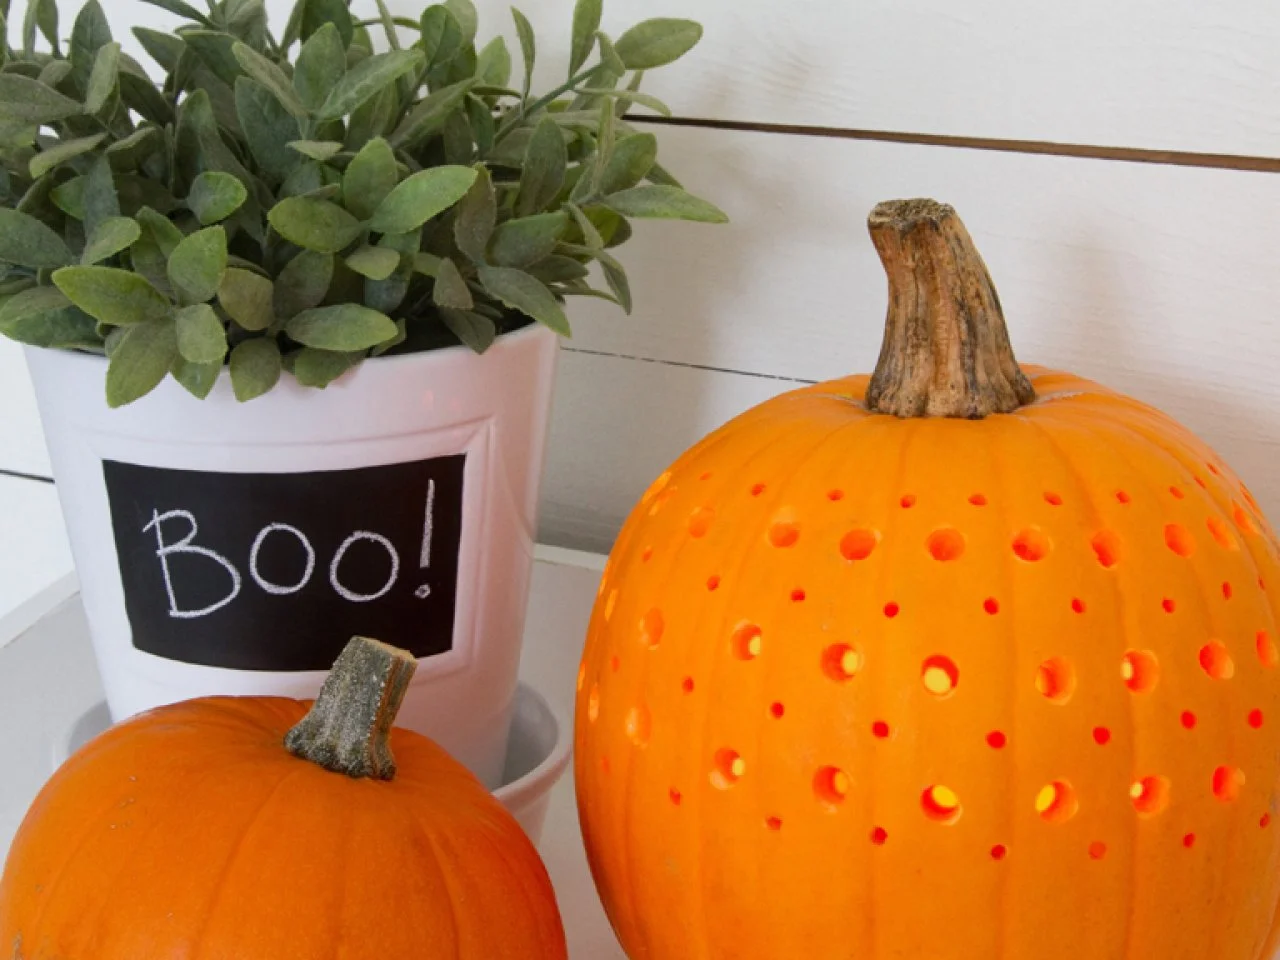


Photos hosted by hgtv.com.



:max_bytes(150000):strip_icc()/2377901_pumpk-17187-0f84c59d00204ebf8ae7e102120d6ebf-d64ae9eedd9045b2a3004dfc82fab1d5.jpeg)

