Fabric & SewingNo. 7653 · The 2026 edition
How to Make Fall Pillow Covers
Transform plain pillows into festive fall decor with these easy DIY covers using fabric, iron-on vinyl, and Cricut.
Our own summary of the original — the full post and photos live at gyctdesigns.com.
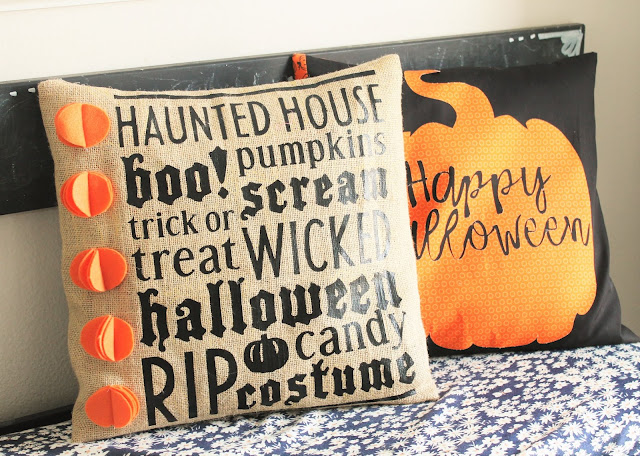
Create custom fall pillow covers by combining black and orange fabrics, adding buttons and appliques, then using Cricut to cut out iron-on subway art. Press the designs onto burlap and sew the covers using an envelope method. Personalize with Halloween motifs and warm autumn colors.
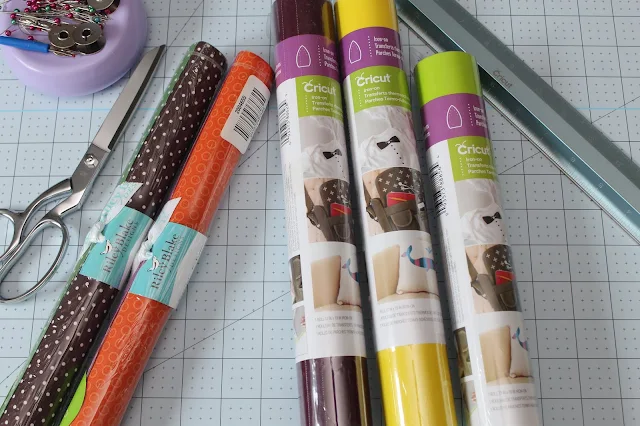
You'll need
Directions
- Measure your pillow cover's full length, then divide it into three equal parts. Cut two-thirds from black fabric and one-third from orange pumpkins fabric.
- Sew a hem along the edge of your pillow cover, then attach decorative buttons.
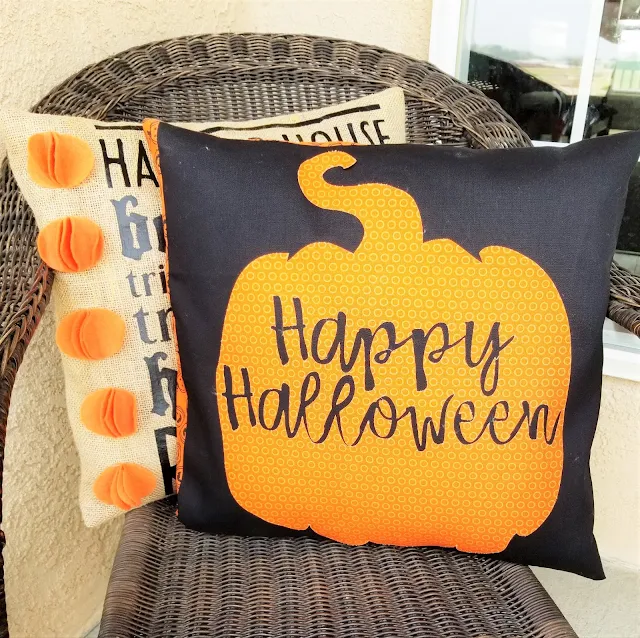
- Use Cricut fusible fabric to cut out a Halloween pumpkin shape with your Cricut Maker, employing the rotary blade for the appliques.
- Apply the fusible fabric to your pillow covers by pressing each section for a few seconds. For extra security, you can stitch around it, but it's optional.
- Load the Halloween Subway art design in Cricut Design Space. Since your pillow is about 16x16 inches and the mat only handles 12 inches wide, split the design to fit a roughly 12x15 inch area, requiring two mats.
- Cut the subway art design from black iron-on vinyl using your Cricut Maker. Remember to mirror the image in Design Space before cutting, then weed away the excess vinyl.
- Transfer the iron-on to burlap with the Cricut EasyPress. Following the temperature guide, press at 305°F for 30 seconds.
- When sewing burlap, consider switching to a zig-zag stitch (though not required). Then follow an envelope pillow cover tutorial to cut burlap to the correct size for your pillow.
More photos


Photos hosted by gyctdesigns.com.