Fabric & SewingNo. 7486 · The 2026 edition
Sweater Pumpkins
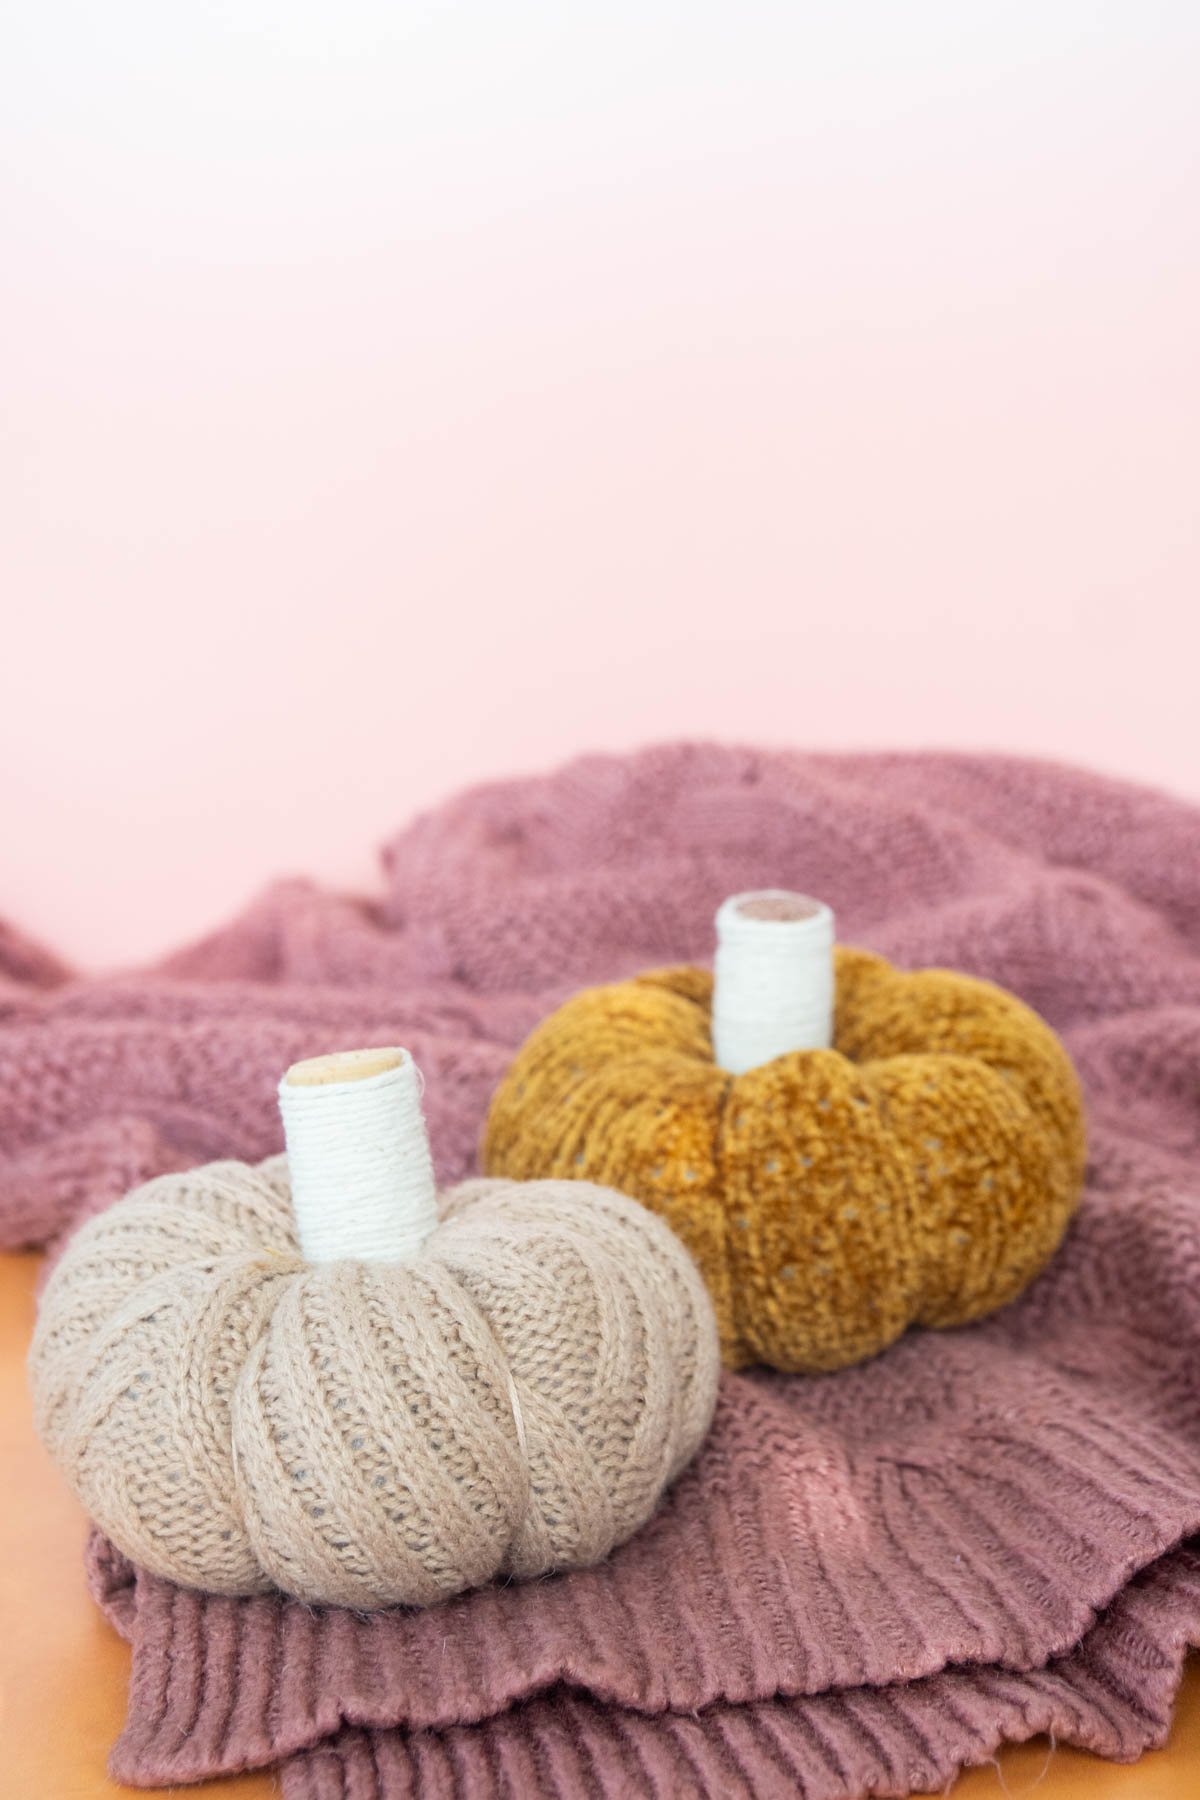
Transform an old sweater into a festive fall decoration with this easy DIY project. Using simple household items like pillow stuffing and a cork, you can craft a charming pumpkin that captures the coz
Our own summary of the original — the full post and photos live at playpartyplan.com.

This project guides you through turning a sweater sleeve into a stuffed pumpkin. You will cut the sleeve, sew the ends shut, fill it with stuffing, and use thread to create ridges. Finally, attach a twine-wrapped cork to the top to serve as the stem.
You'll need
Directions
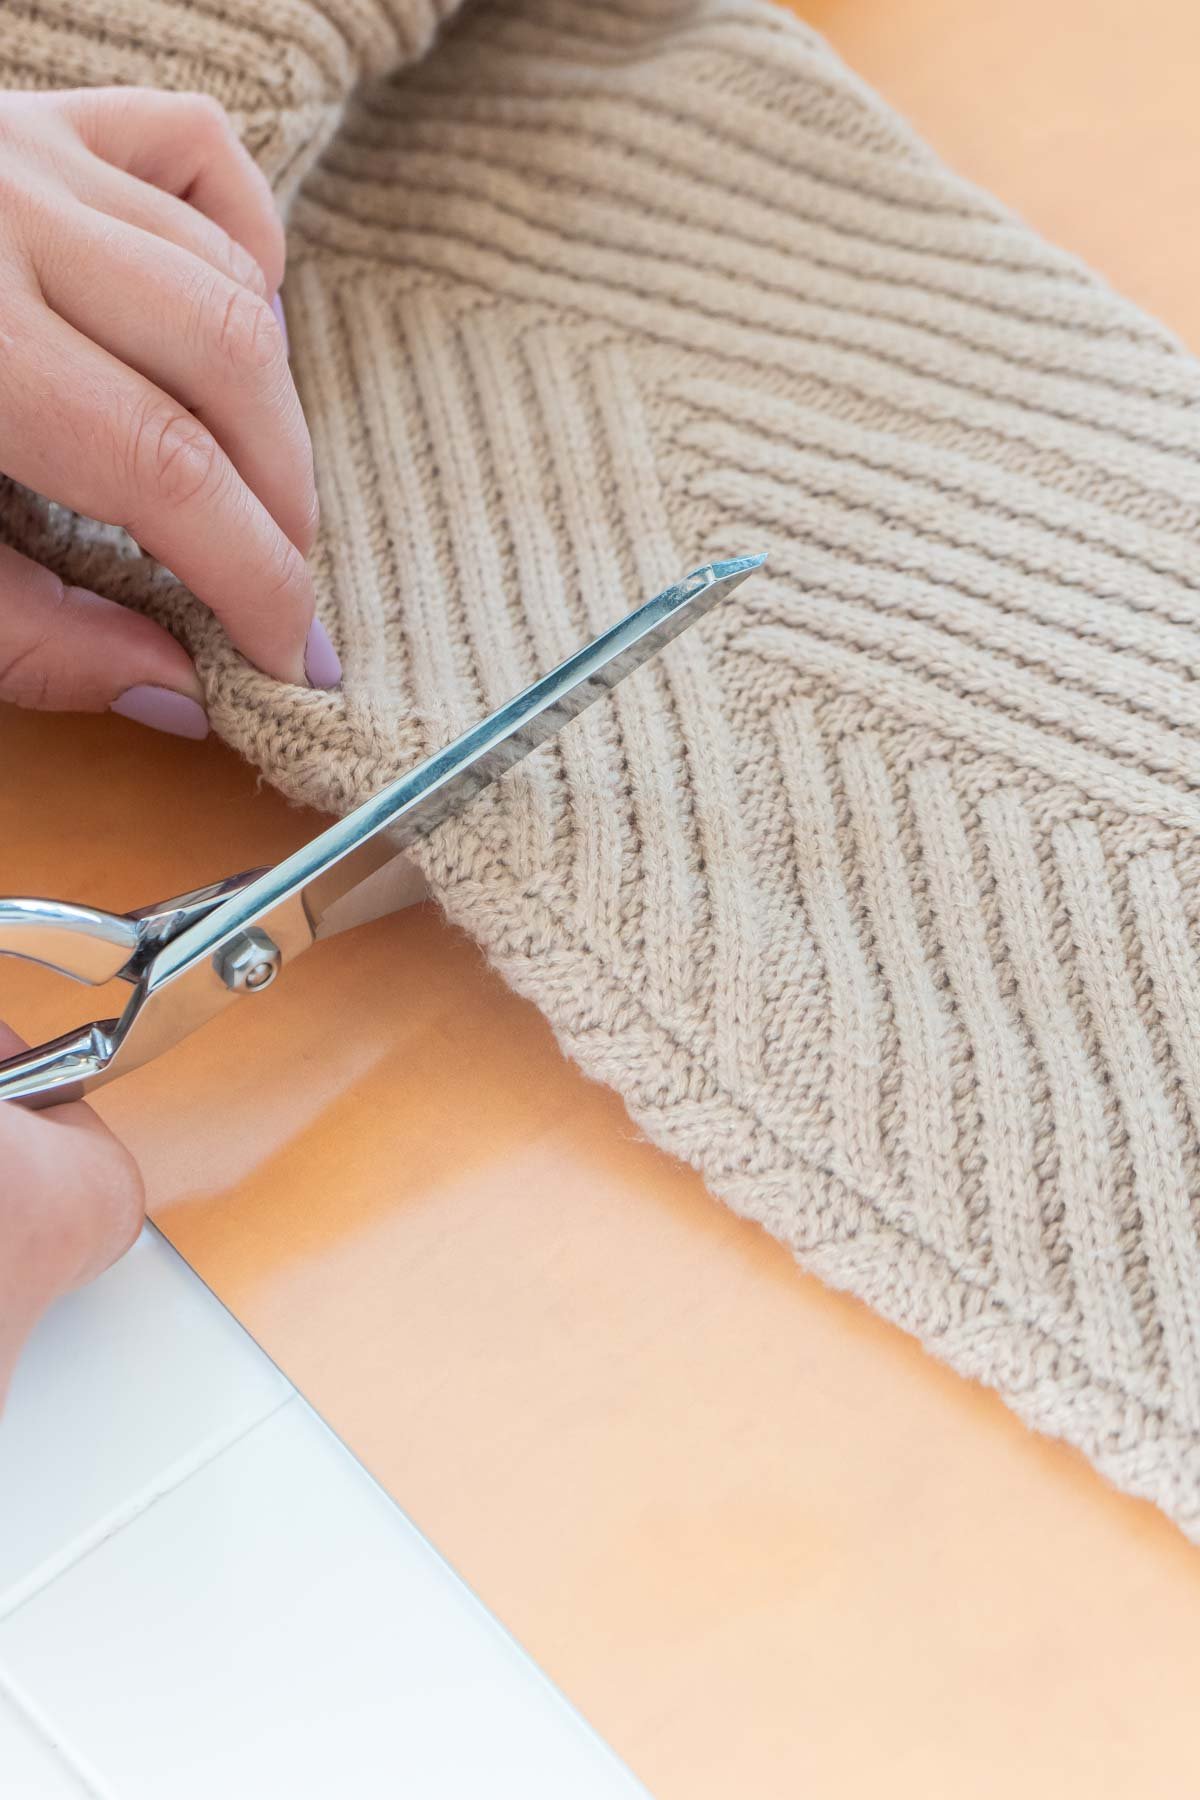
- Lay the sweater sleeve flat on your work surface. Using sharp scissors, slice straight down from the cuff seam to the shoulder seam to free the tube of fabric.
- Measure four inches away from your first cut and slice vertically again, creating a second opening along the sleeve.
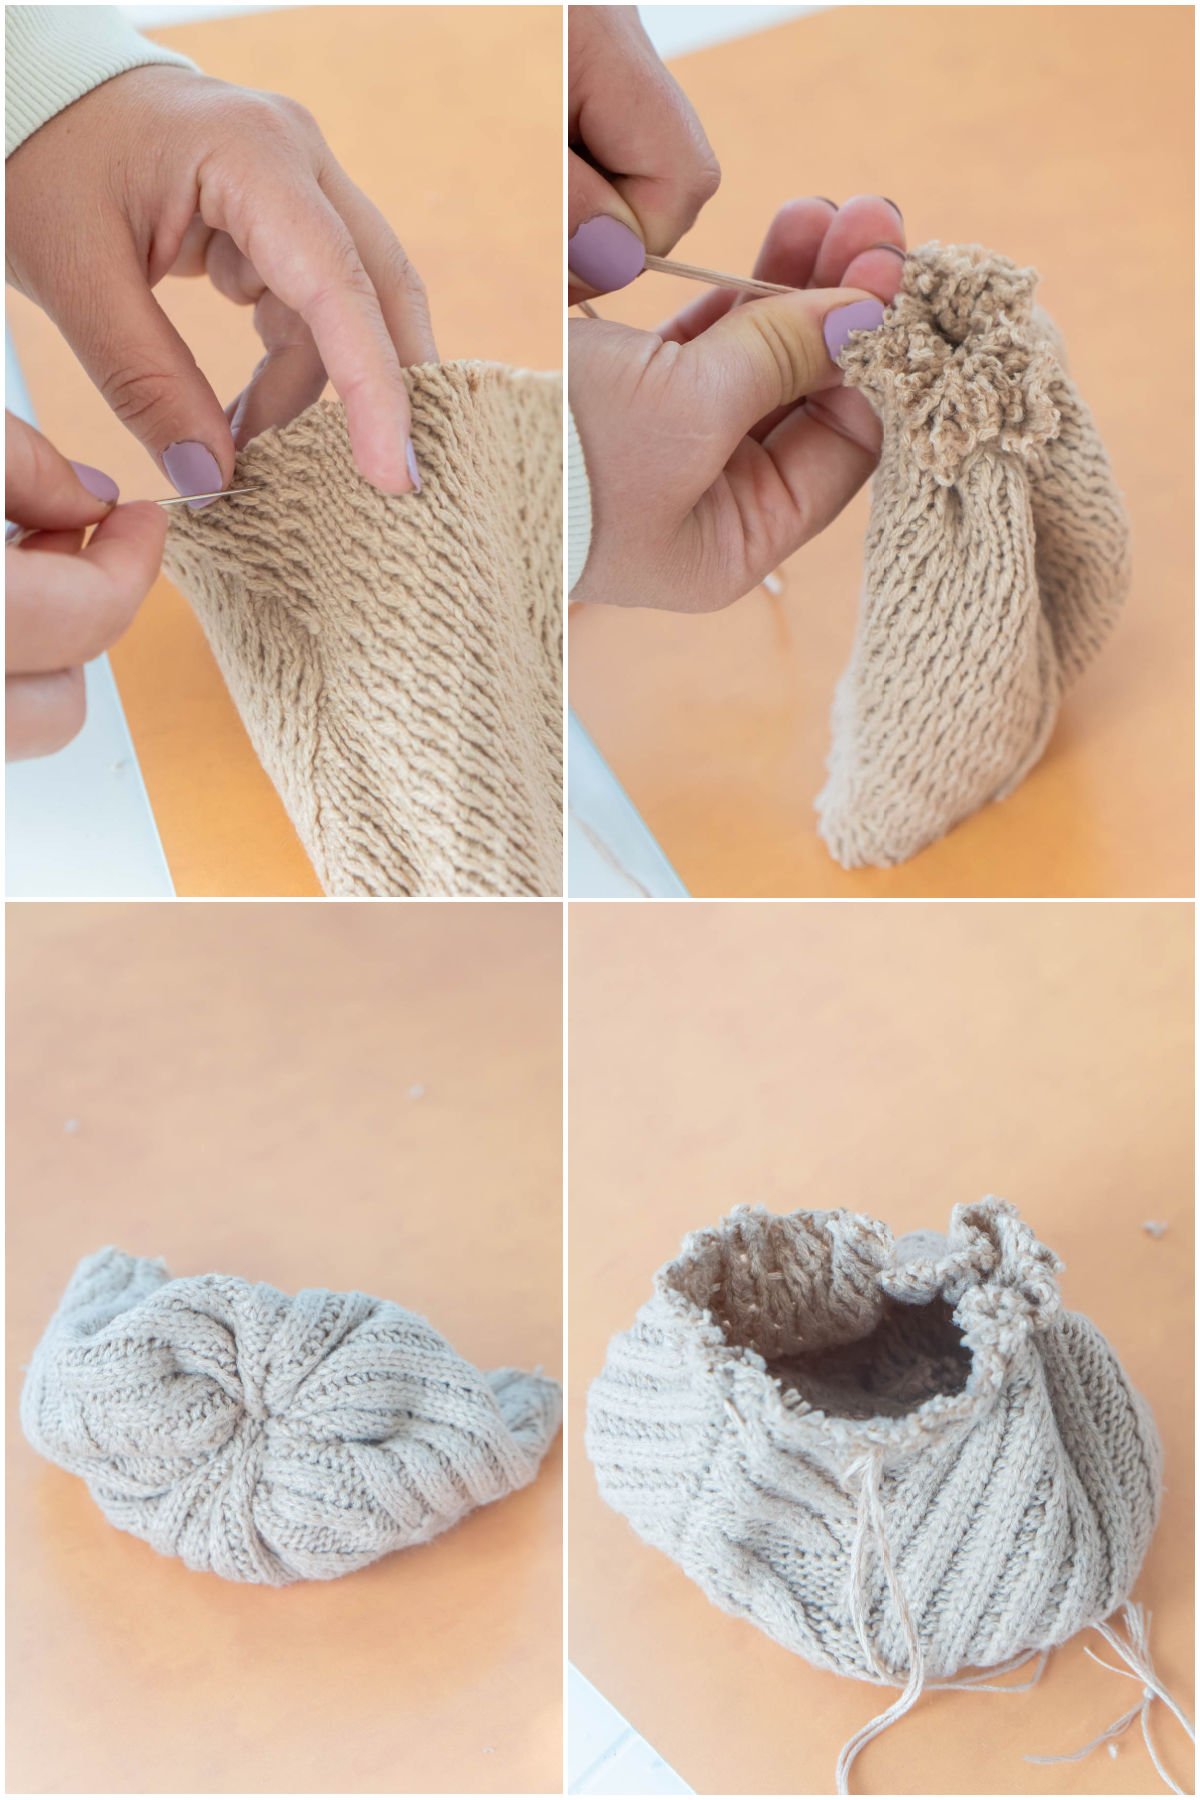
- Thread your needle and knot the two ends together to create a doubled strand. Ensure the thread is long enough to circle the sleeve opening one and a half times.
- Flip the sleeve inside out so the original seam faces outward.
- Sew a running stitch approximately a quarter-inch from the raw edge of the opening. Work all the way around the circle, being careful not to pierce through both layers of fabric simultaneously.
- When you return to your starting point, pull both thread ends firmly to cinch the fabric closed.
- Secure the thread with tight knots to keep the circle shut.
- Trim any excess thread, then turn the fabric right-side out so the raw edges are hidden inside.
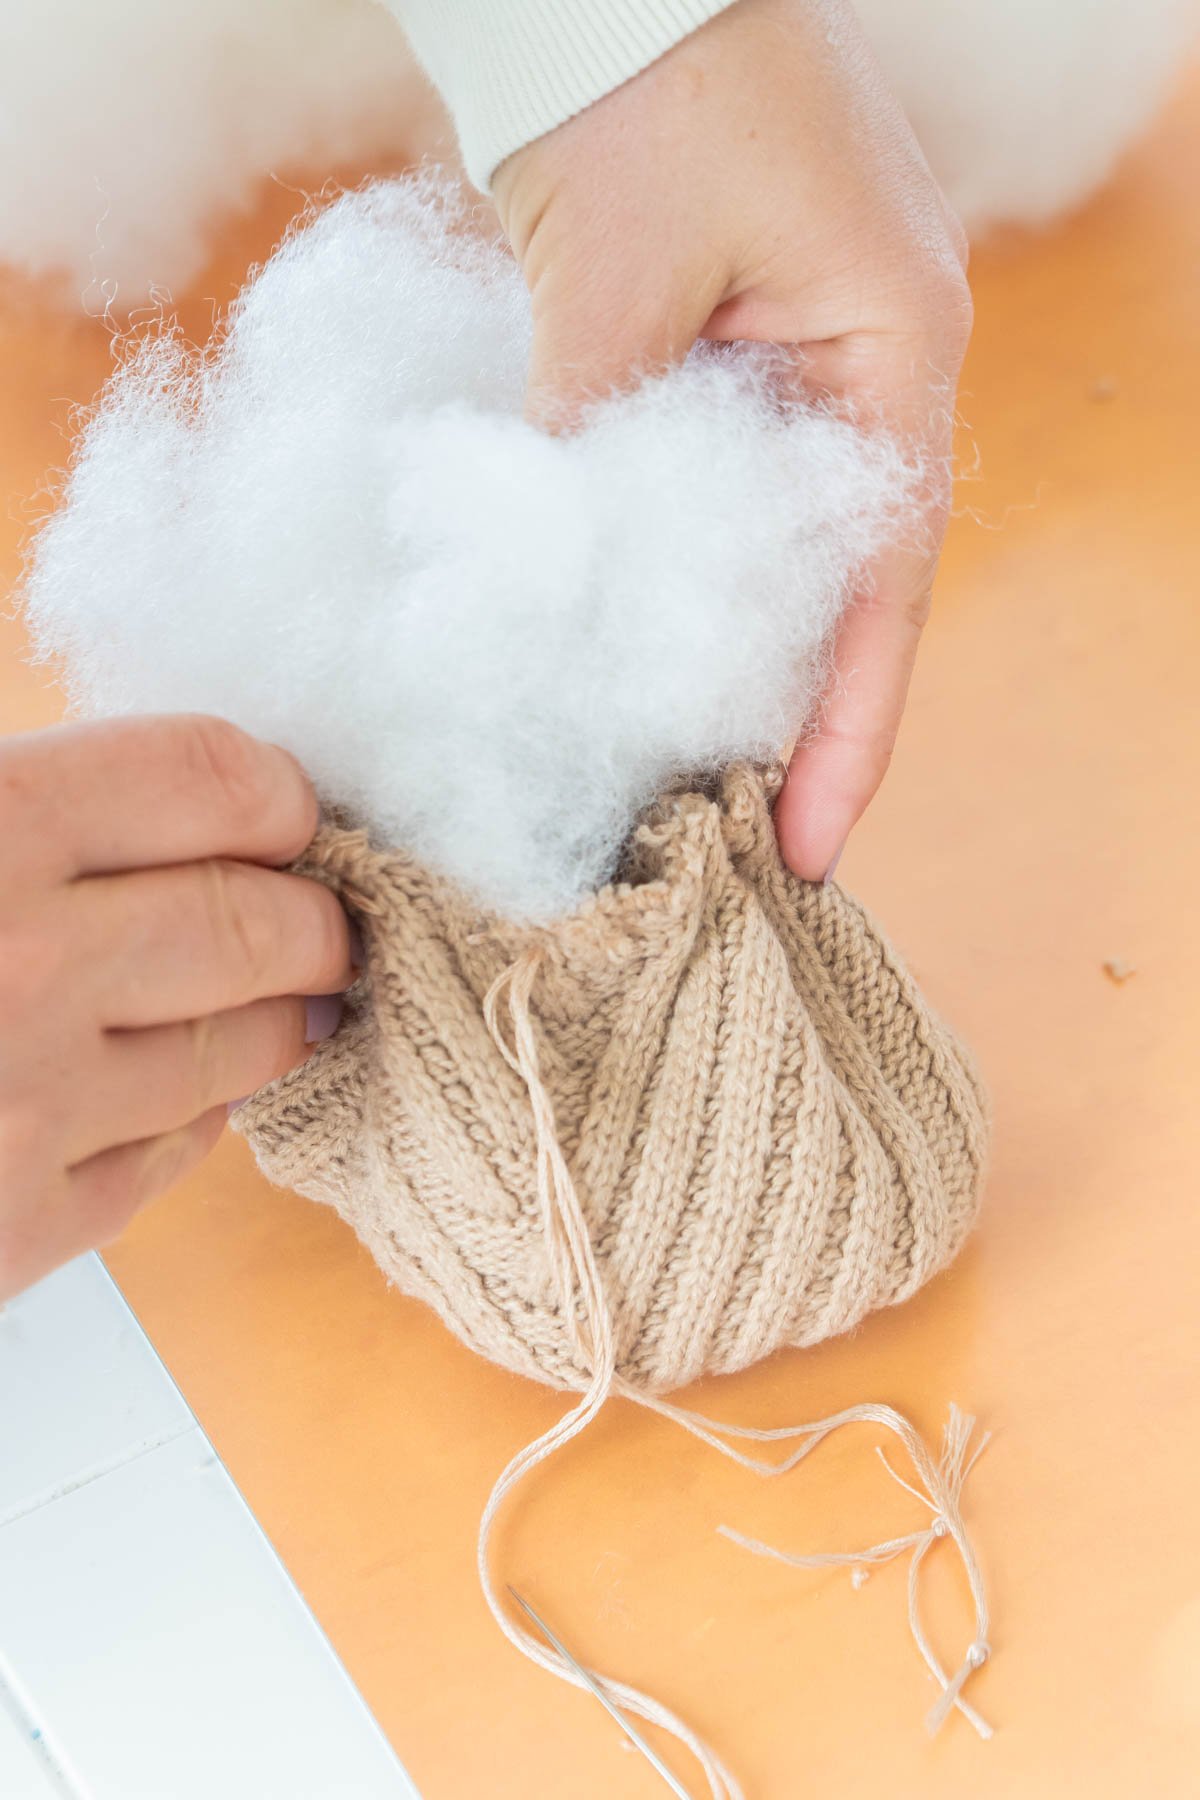
- Thread your needle again and sew a running stitch around the remaining open end of the sleeve.
- Return to your starting point and set the needle and thread aside temporarily.
- Fill the sleeve with pillow stuffing until it is plump and firm, but leave enough room to close the opening easily.
- Hold the thread in one hand while using the other to pinch the fabric edges together, pulling the thread tight to seal the pumpkin.
- Tie off the thread securely. Tuck any loose fabric flaps inside the body using your fingers or a blunt tool like a pen.
- Shape the stuffed body with your hands to make it as round and symmetrical as possible.
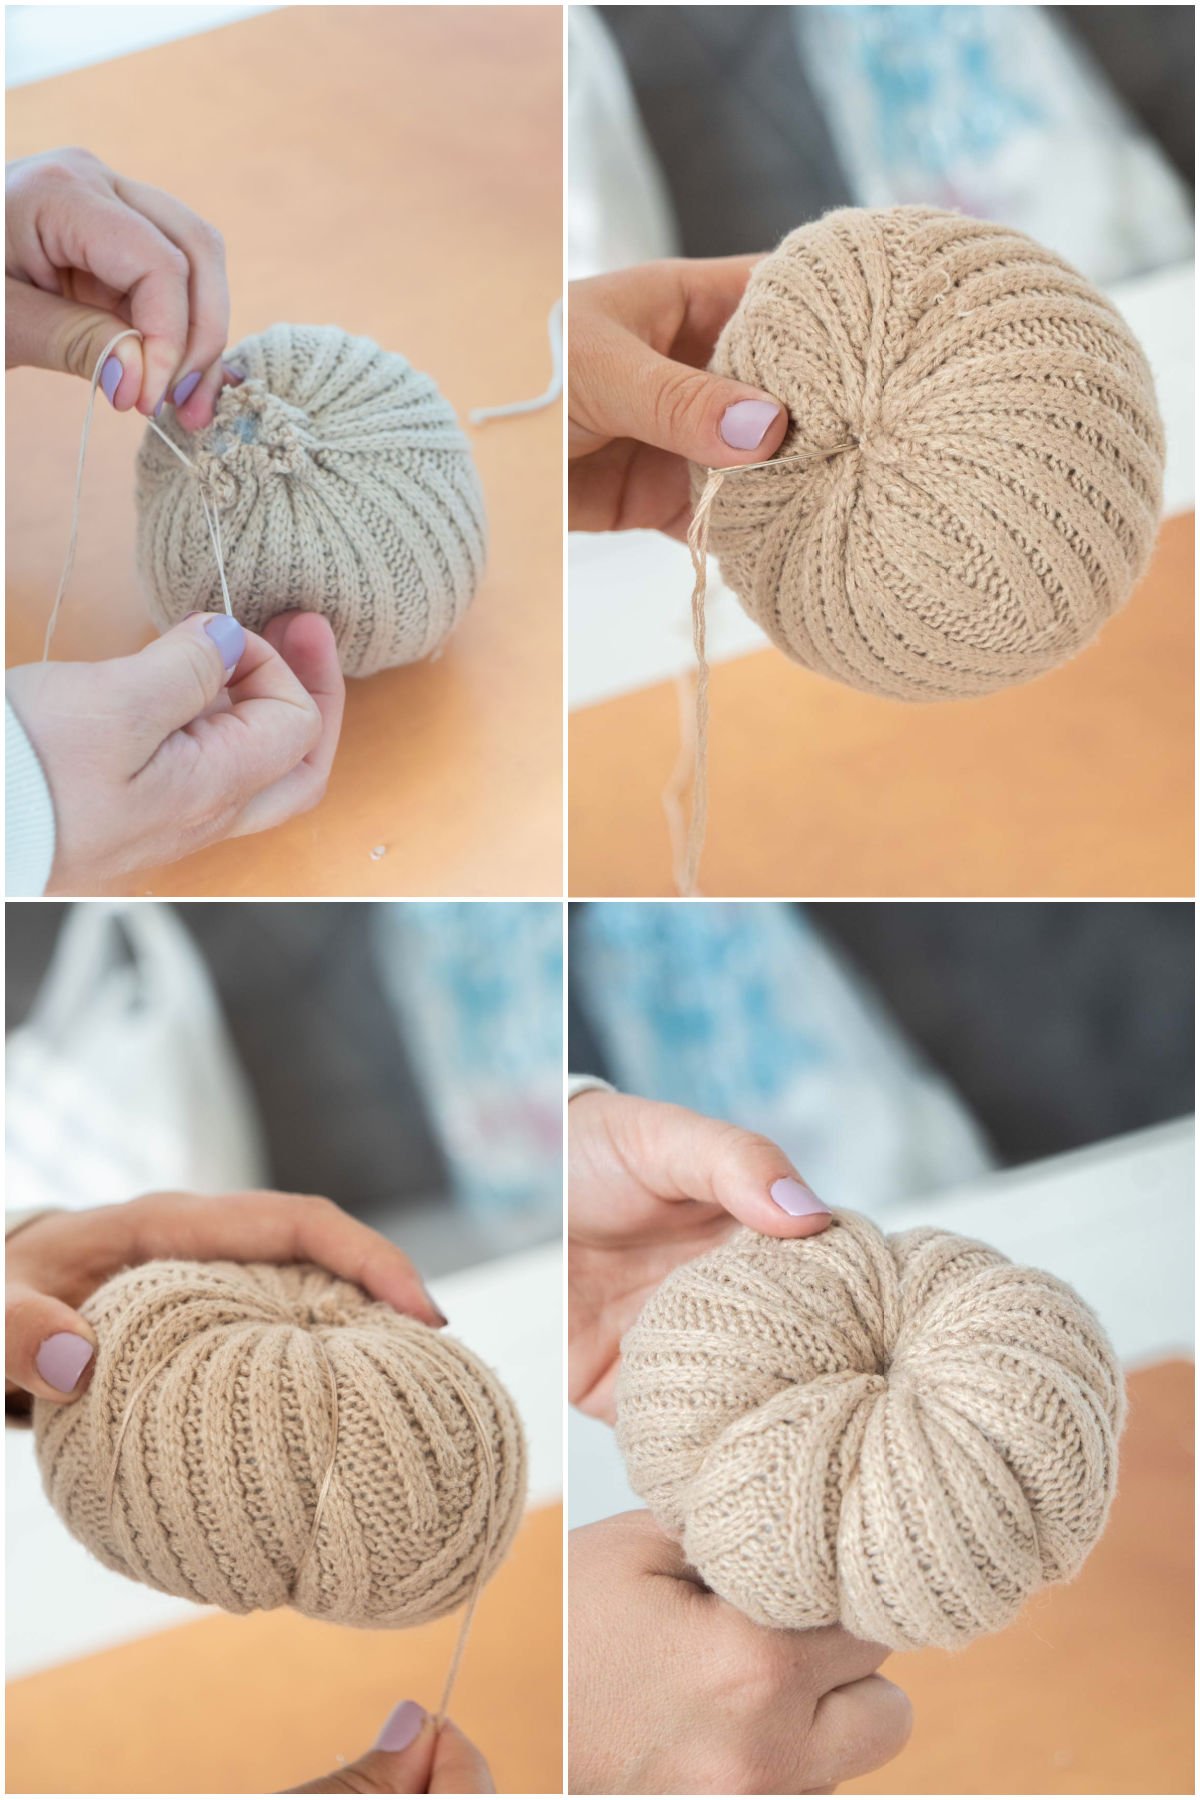
- Double-thread your needle and tie a large knot at the end to prevent it from slipping through the stuffing. Cut a length of thread long enough to wrap around the pumpkin three times, adjusting for size.
- Insert the needle through the top center of the pumpkin and push it out through the bottom center. Pull the thread completely through.
- Bring the needle back to the top and repeat the process, creating a loop that runs from top to bottom. Pull this loop tight to form the first ridge.
- Repeat this top-to-bottom stitching five more times, spacing the threads evenly to create six total ridges.
- Go back through each ridge individually to tighten them and define the pumpkin shape. Tie off the thread at the bottom once satisfied.
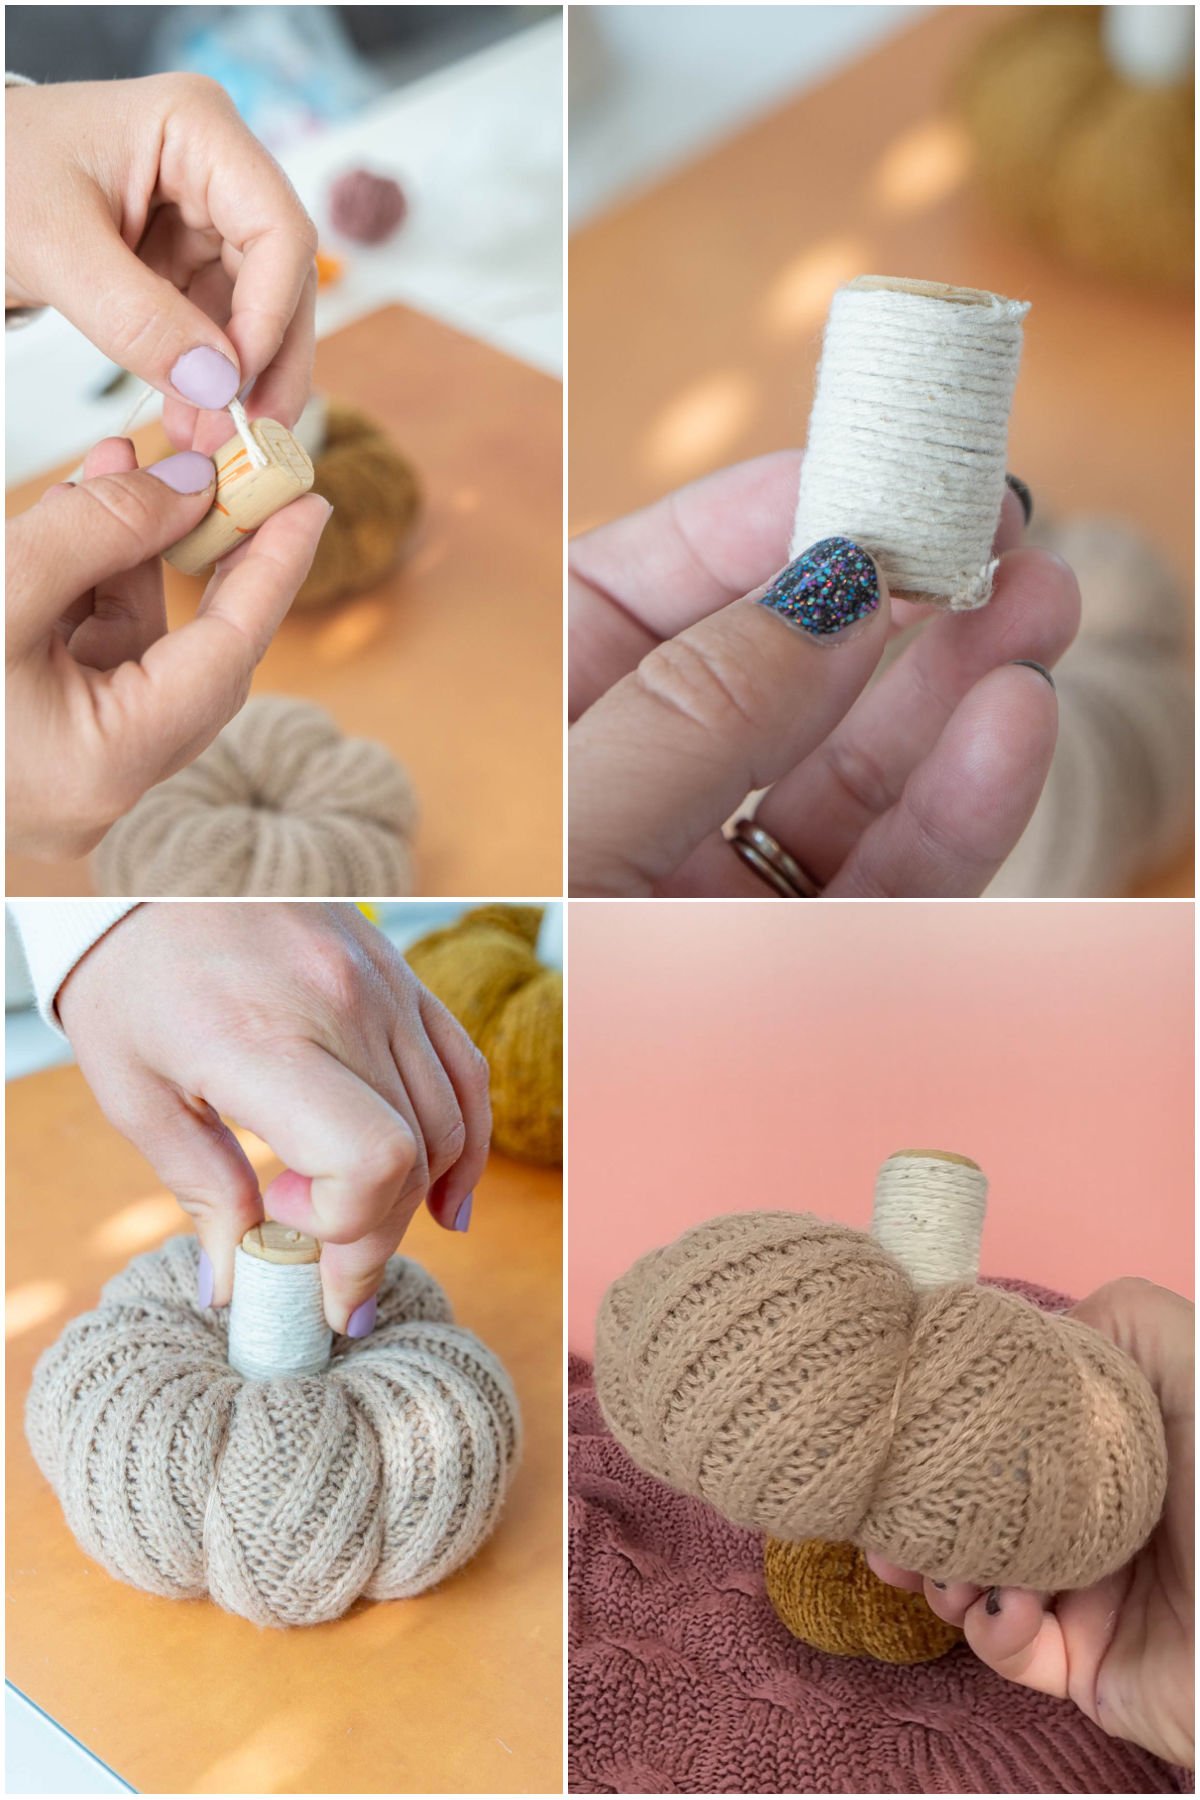
- Apply a small dot of hot glue to the top rim of a cork, then press one end of the twine into the glue.
- Wrap the twine tightly around the cork until you reach the base, securing it with another dot of hot glue.
- Add hot glue to the bottom of the wrapped cork and press it firmly onto the top of the pumpkin to complete the stem.
More photos
Photos hosted by playpartyplan.com.