Dollar Store HacksNo. 9656 · The 2026 edition
Wooden Block Pumpkins
Turn Dollar Tree tumbling blocks into adorable pumpkin decorations with this easy DIY craft.
Our own summary of the original by Jinxy Media — the full post and photos live at thriftyjinxy.com.
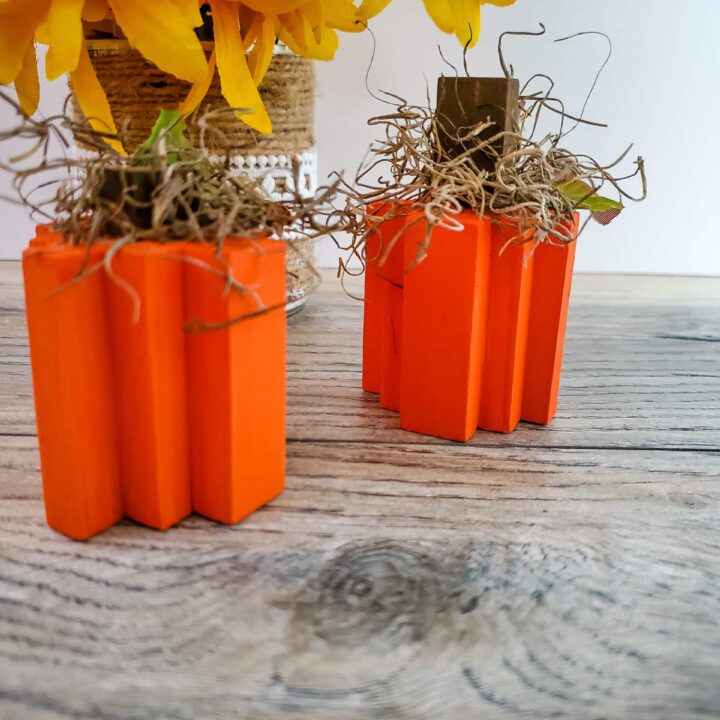
This craft uses wooden blocks from a tumbling tower game to build a pumpkin shape, which is then painted and decorated with moss and sunflower leaves. The step-by-step process involves gluing blocks together, painting them, and attaching natural accents for a charming fall look.
You'll need
Directions
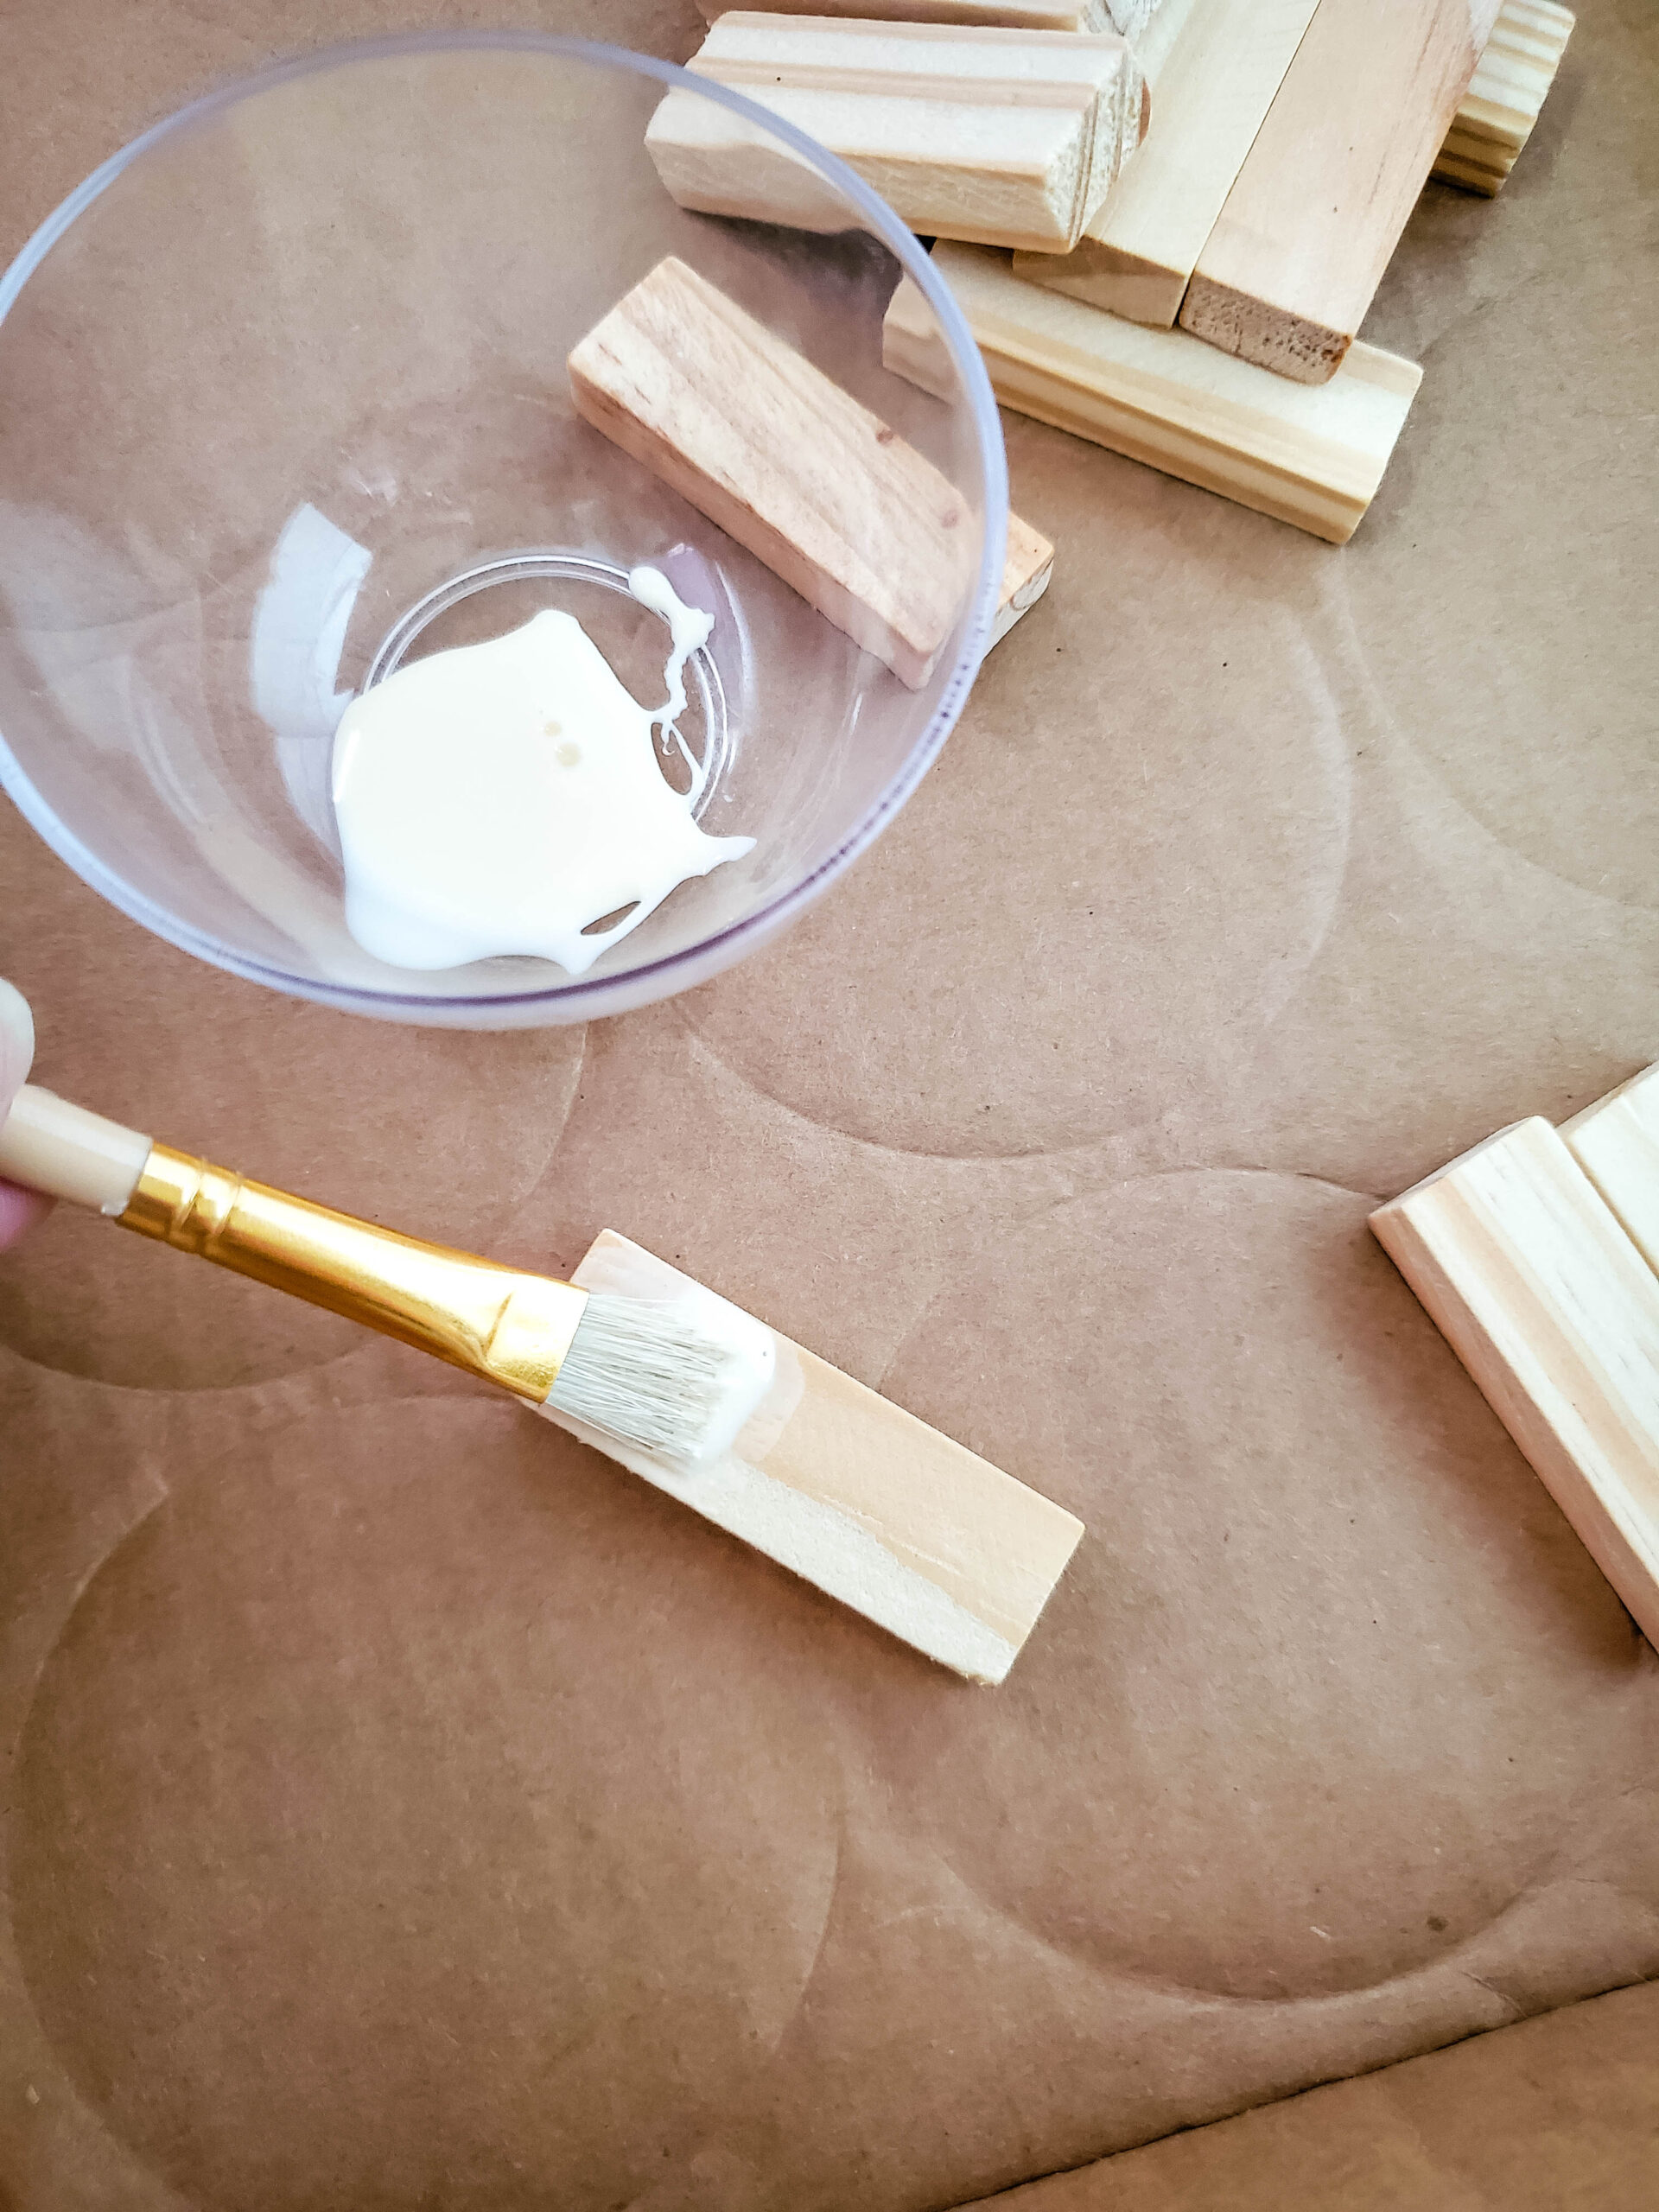
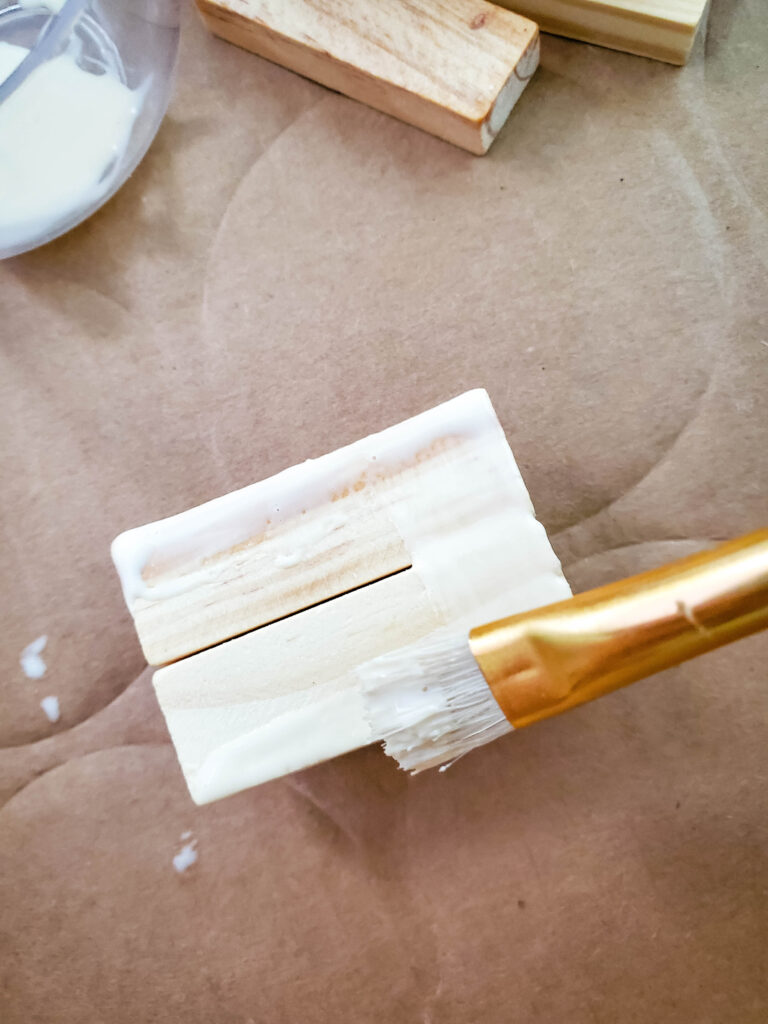
- With a small paintbrush, coat the entire front side of a single block using wood glue.
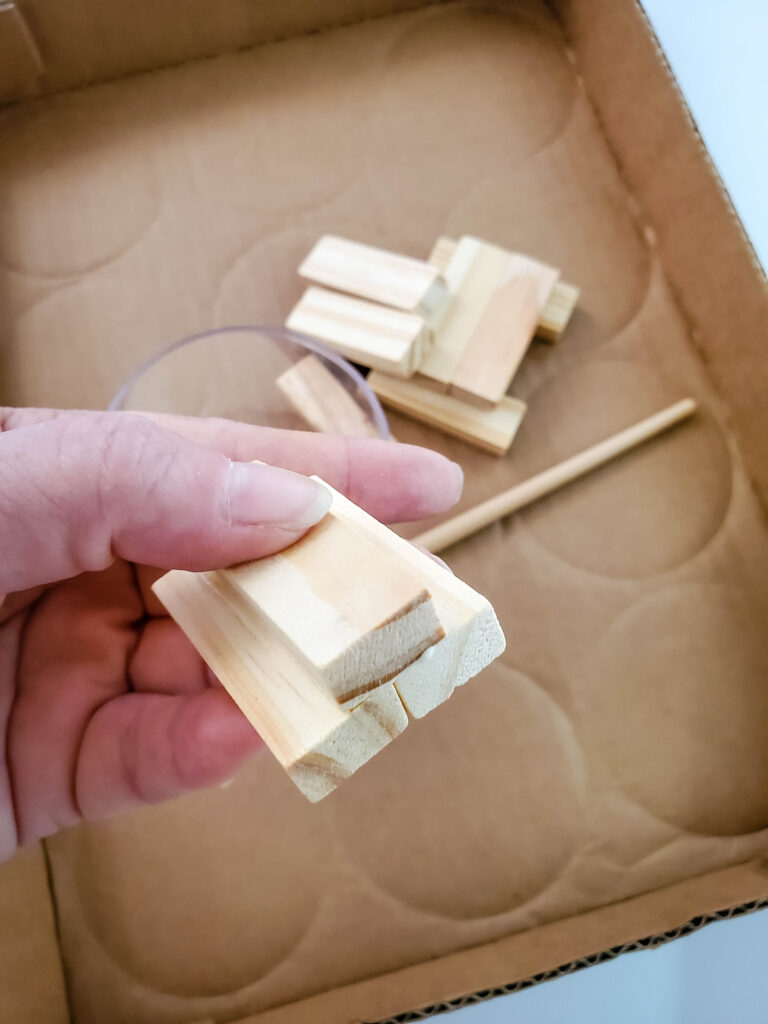
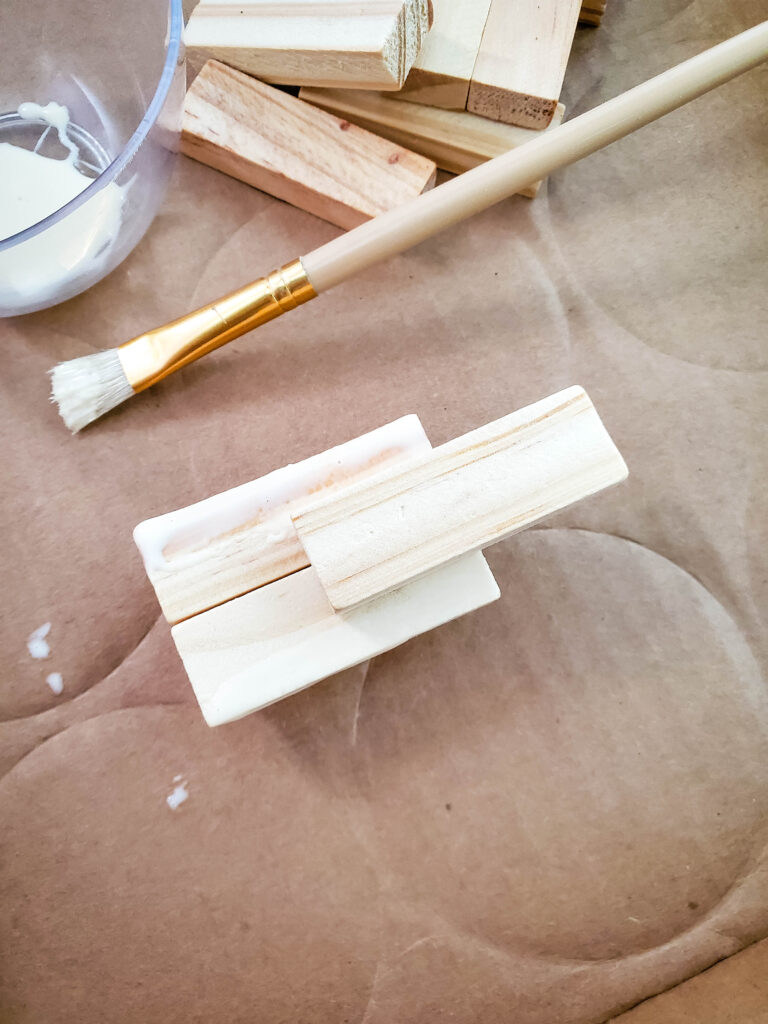
- Place two blocks on top, each positioned so half sits on the glued block and the other half hangs off.
- Brush wood glue onto the sides and top surfaces of the two blocks you just attached.
- Set one block in the middle of those two, but only halfway onto the glued area—this will become the stem.
- Position two more blocks on either side of that stem, aligning them flush with the tops and bottoms of the blocks from step 2, while letting them slightly overlap the sides.
- Apply glue to the inner sides of the two blocks you just glued, as well as the lower part of the protruding stem from step 4.
- Set two blocks centered between those three blocks, then apply a dab of glue to the middle of each of those two blocks.
- Center one block between those last two blocks. This completes the pumpkin shape. Stand the assembly upright to let the glue dry completely.
- Using either King's Gold or Harvest Orange paint, cover the whole pumpkin body, leaving the single upward-standing block unpainted.
- Paint that stem block with Melted Chocolate paint.
- Detach the leaves from the sunflower stems.
- Separate the three leaves from the main leaf cluster by cutting them apart.
- Using tacky glue and a small paintbrush, put a tiny amount of glue on the bottom of the leaf's backside.
- Stick that leaf behind the stem, a bit to one side. Then gather a small clump of moss, bunch it together, and slide it over the stem.
More photos
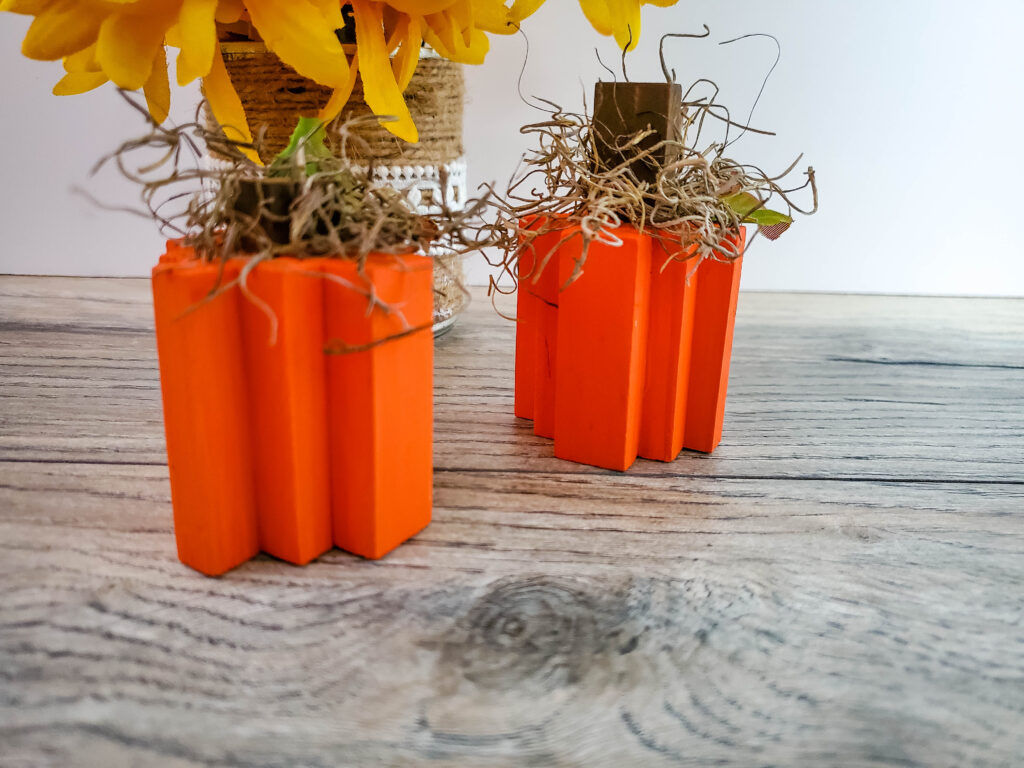
Photos hosted by thriftyjinxy.com.