Wreath MakingNo. 6640 · The 2026 edition
Creepy Crows & Bones Wreath
Transform a plain straw wreath into a creepy masterpiece with dyed cheesecloth, crow figurines, and bone accents.
Our own summary of the original — the full post and photos live at thetiptoefairy.com.
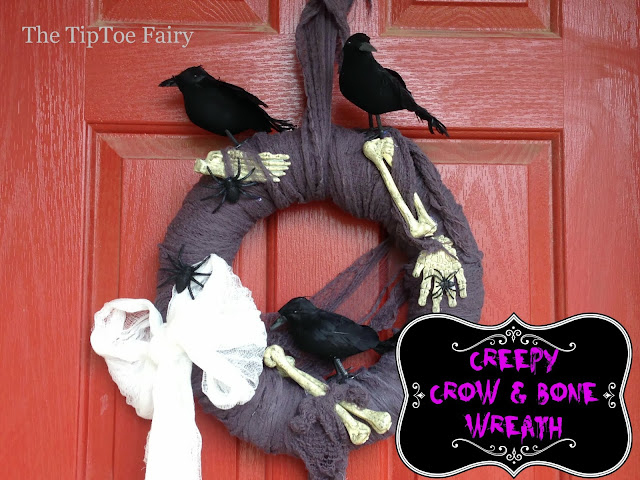
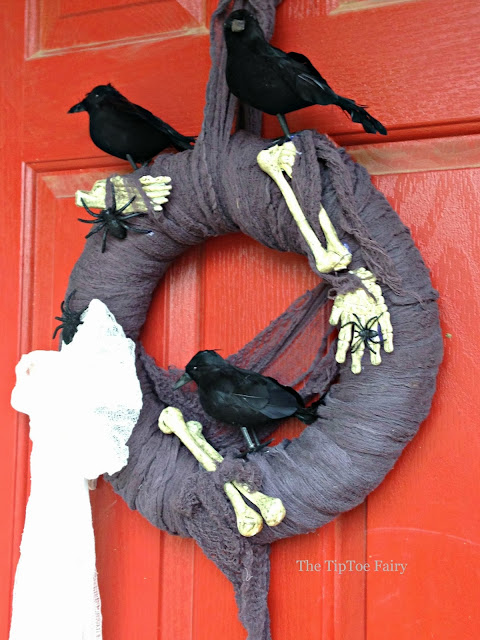
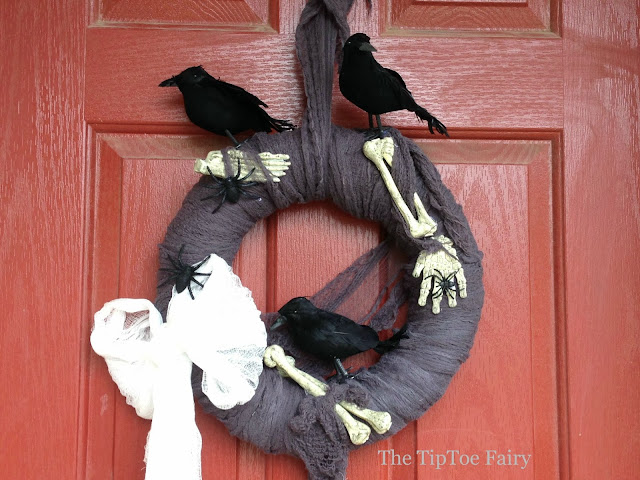
This DIY wreath uses black-dyed cheesecloth to wrap a straw base, creating a tattered and eerie look. Add Dollar Tree crows, skeleton parts, and spiders, then finish with a fabric bow for a spooky Halloween decoration.
You'll need
Directions
- Unwrap the cheesecloth. From the first package, set aside 1.5 to 2 yards and keep that portion white; you'll use it for the bow later.
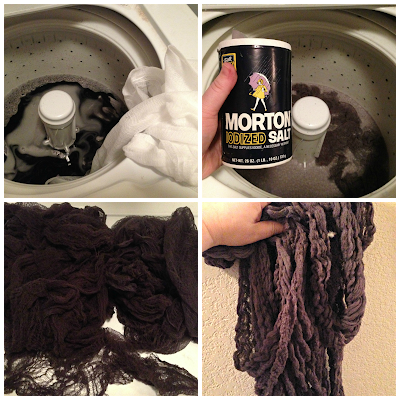
- If you have a top-loading washing machine, set it to the hottest water, longest cycle, and smallest load size. (For front loaders, refer to the Rit Dye guidelines.)
- Start the washer. Once it begins filling, add the entire packet of black Rit dye and 1 cup of salt, then toss in the remaining cheesecloth (not the white reserved portion).
- When the cycle finishes, the cheesecloth will be dark gray or black. It may be tangled; gently untwist it before moving to the next step.
- Place the dyed cheesecloth in the dryer and run it for 20 minutes.
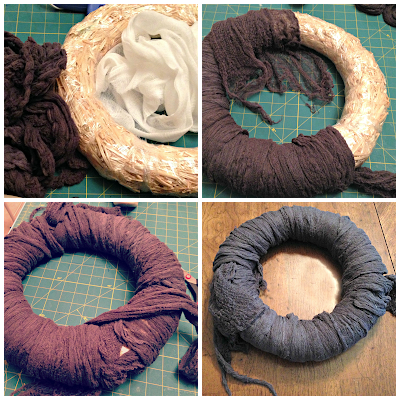
- Keep the straw wreath inside its plastic wrapper to avoid mess. Tie one end of the black cheesecloth to the wreath, then wrap it around the entire ring, leaving about 8 to 10 inches of ragged ends hanging when you finish one piece and start the next. This tattered look adds to the creepiness.
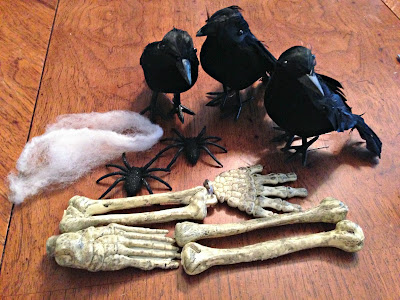
- Arrange your creepy decorations—such as skeleton parts, spiders, and the three crows—on the wreath. Use hot glue to secure them in place.
- Cut a strip of leftover black cheesecloth to create a hanging loop at the top. The raggedy it appears, the better.
- Take the white cheesecloth you saved earlier and form a bow. Tie it like a standard bow, then pull the loops outward to make them fuller. Optionally, spray the bow with fabric stiffener to help it hold its shape.
- Attach the white bow to the wreath with hot glue or by tying it in place.
More photos

Photos hosted by thetiptoefairy.com.